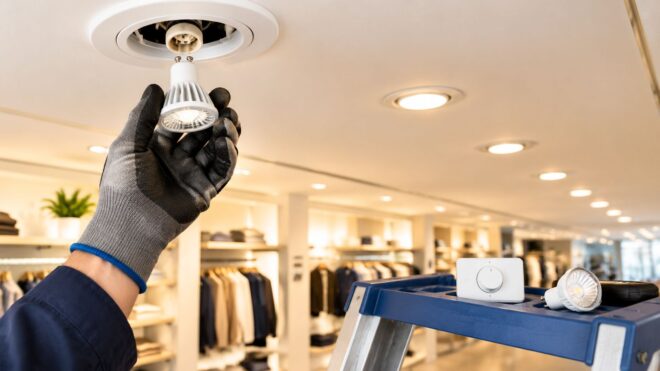
You're standing in a store, office, or model unit after hours with a box of replacement lamps, a ladder, and a work order that looked simple that morning. The halogen lamps are failing, they're hot, and the LED equivalent promises far lower wattage for the same light. What usually goes wrong isn't the idea of switching. It's treating an LED replacement for halogen bulbs as a purchase instead of a test of the lamp, fixture, transformer, dimmer, and controls together.
Why Halogen-to-LED Retrofits Fail
A retail property manager rolls out new LED lamps across track heads on a sales floor. In the back room, each lamp looks brighter than the halogen it replaced. On the floor, one row flickers when staff dim it for closing, another drops out at low settings, and a third leaves dark gaps between displays because the beam is narrower than the original.
That result is common because a quick visual check doesn't prove functional equivalence. A lamp can look bright at the source while delivering the wrong light at the merchandise, desk, or countertop. A different color temperature can make finishes look cold, and a different beam shape can create glare in one spot and shadows in the next.
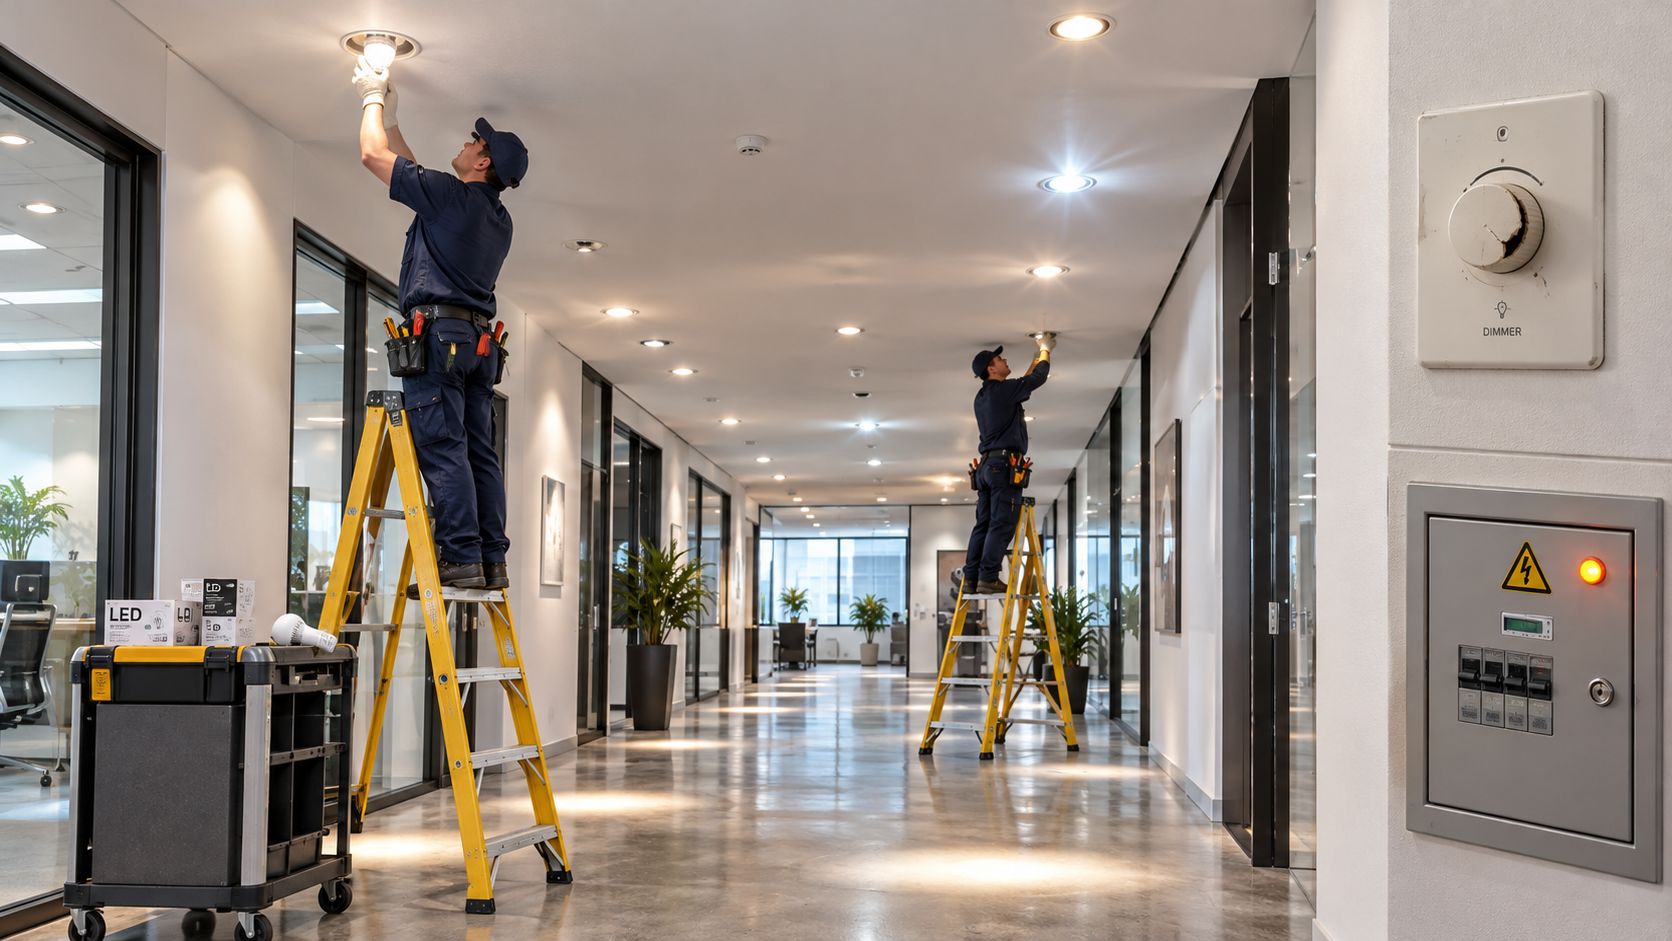
A successful retrofit reproduces the usable light and control behavior you already have, at lower wattage. Brightness at the lamp face proves neither.
What Success Actually Requires
Judge an LED replacement for halogen bulbs against several criteria at once:
- Delivered lumens and beam distribution: Enough light, sent where the halogen sent it.
- Color quality: A CCT and CRI that keep merchandise, finishes, and faces looking right.
- Electrical compatibility: The lamp's voltage, driver, transformer, and dimmer working as a set.
- Heat conditions: Enough airflow in the actual fixture for the LED and its driver.
- Control behavior: Clean startup, stable dimming, and no conflict with sensors or scheduling.
Miss one and the project stops being a lamp change. Flicker generates tenant complaints. Dropout at low dim levels makes a hospitality space unusable at night. Repeated early failures send a technician back up the ladder and wipe out the maintenance saving you were counting on.
That distinction matters before you order. Some retrofits are a lamp swap. Others are a small lighting system project involving controls or fixtures, and you will spend less by recognizing that on day one than by discovering it after a property-wide purchase is already installed.
Match Halogen and LED Specifications
Start with what the installed halogen does, not with a catalog claim of equivalence. Pull one lamp from each fixture type and read the markings. Note the form factor and base, whether that's MR16/GU5.3, GU10, G9, G4, or PAR, because the same-looking lamp can exist in line-voltage and low-voltage versions that aren't interchangeable.
Record the original wattage, operating voltage, beam angle, lumen output, color temperature, and dimming method for each lamp. Add the fixture rating, whether the housing is enclosed or open, and the physical clearance around the lamp. Some LED versions run slightly larger because of heat sinks or driver housings, and a lamp that fits the socket can still foul a trim ring, lens, or dust cover.
Match Light, Not Watts
The most common specification error is matching watts. The International Energy Agency data on halogen and LED luminous efficacy puts a typical halogen at approximately 20 lumens per watt and today's LEDs at close to 100 lumens per watt, which is why a 50-watt halogen can often be replaced by an LED using roughly 7 to 10 watts for similar illumination. Wattage tells you energy use. Lumens and beam distribution tell you whether the space works.
A neutral installation guide covering halogen-to-LED checks identifies base, voltage, lumen equivalence, dimmer compatibility, and transformer suitability as the required checks, and laboratory work behind that guidance found an LED MR16 prototype matching a 35-W halogen's luminous flux while consuming 5 W. Use that as a reason to compare outputs, not as a shortcut around testing your own fixtures.
Practical rule: If a quote lists LED watts and a claimed halogen equivalent but no delivered lumens, beam angle, or CCT, it isn't a specification yet. It's a guess.
Where Beam and Color Go Wrong
In retail, a narrower replacement beam concentrates light on one shelf and leaves the bay beside it dull, even when total lumens match. In an office, a wider, cooler lamp can raise glare on screens and make a finished room look washed out. In hospitality, a small CCT difference between visible lamps over a bar or banquette reads as a defect, because guests see the lamps side by side.
Build one lamp schedule from these records and use it for sampling, quotations, and verification later.
Halogen-to-LED Matching Record
| Record | Existing Halogen | Proposed LED | Verification Needed |
|---|---|---|---|
| Base and form factor | Type recorded from lamp | Same base confirmed | Socket fit and clearance |
| Voltage | Line or low voltage noted | Matching rating | Transformer check if low voltage |
| Lumen output | Rated or measured output | Comparable delivered lumens | Lux readings at task points |
| Beam angle | Original distribution | Same or justified change | Dark zones and hot spots |
| CCT and CRI | Existing appearance noted | Suitable match | Side-by-side color comparison |
| Dimming method | Dimmer model identified | Listed as compatible | Full-range dimming test |
| Fixture conditions | Enclosed, rating, condition | Within lamp limits | Heat and socket inspection |
That schedule is what turns "equivalent" into something a supplier can quote against and a technician can verify.
Choose the Right Retrofit Approach
Not every halogen installation should get a drop-in lamp. Four paths cover most commercial work, and the right one depends on what your sample testing reveals about the fixture and controls.
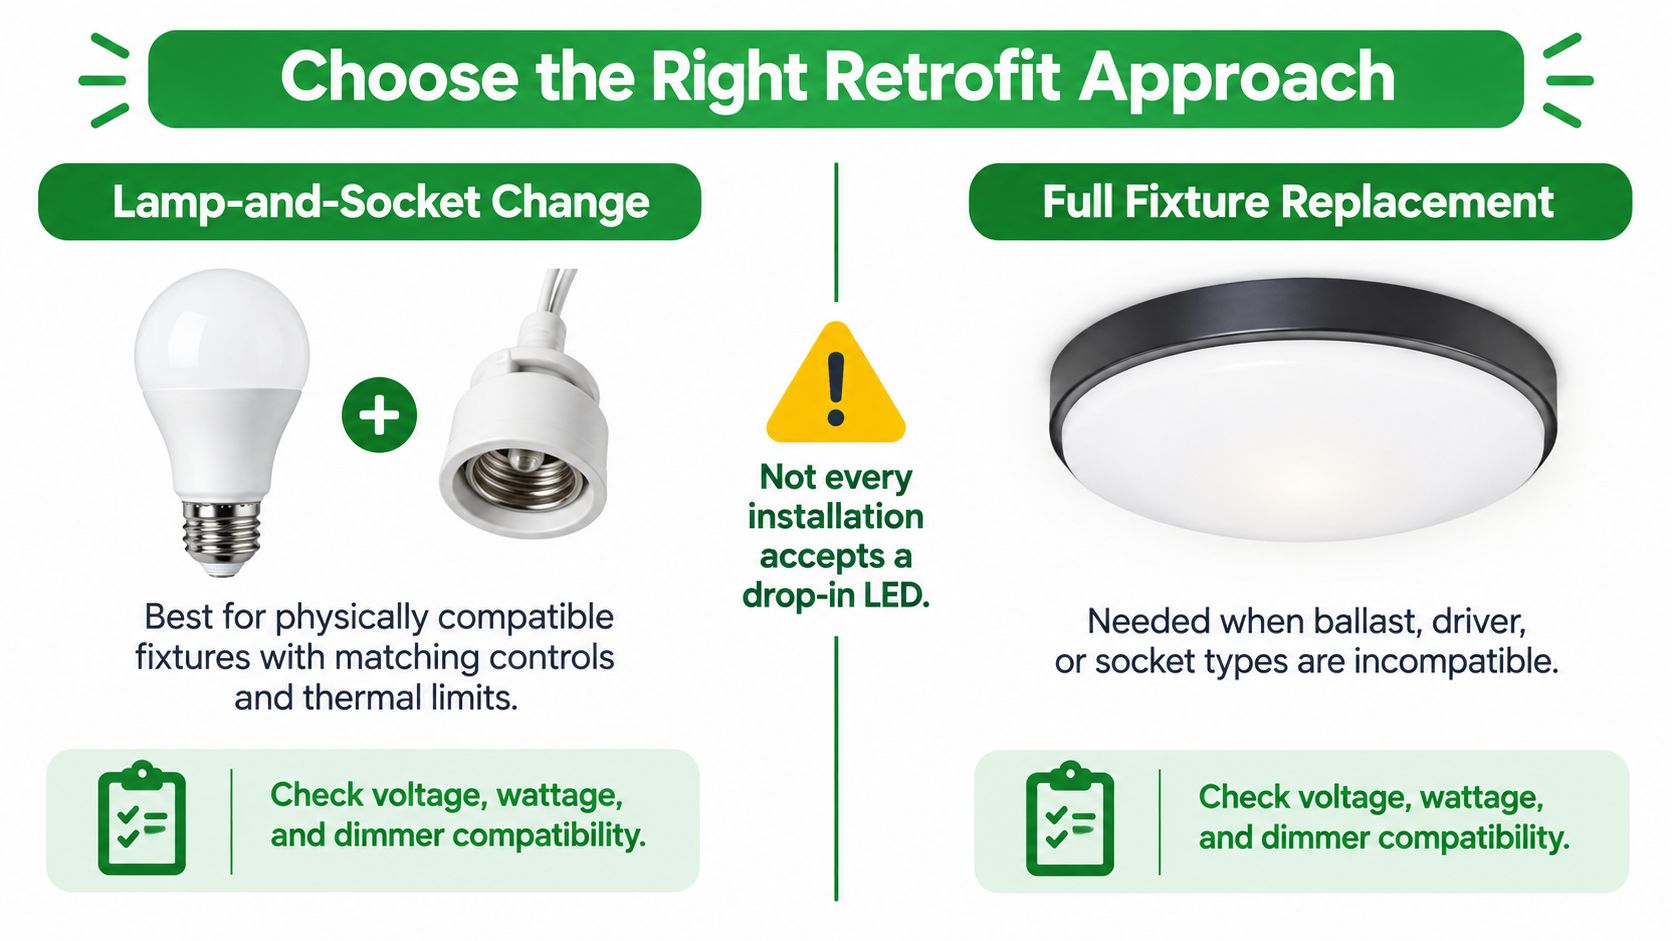
A lamp-and-socket change fits fixtures that are physically sound, have the right base and clearance, keep the lamp within its thermal limits, and already work with an LED-compatible control. It's the least disruptive option and the fastest to roll out. It's also the option most often chosen without the checks that make it valid.
When the Lamp Isn't the Whole Job
A controls change is the fix when the lamp tests well on a compatible circuit but flickers, buzzes, or loses range on the installed dimmer. Replacing one dimmer can stabilize every lamp on that circuit, which is usually cheaper than hunting for a specialty lamp that tolerates an unsuitable control.
On 12-volt MR16 and GU5.3 systems, the transformer is part of the specification. Correct voltage alone isn't enough. The transformer has to accept the LED's much lower load and work with its driver, and where it can't, replacing the transformer is a legitimate part of the retrofit rather than a failure of it. Reviewing the broader scope of retrofit LED lights for existing commercial fixtures helps you frame that conversation with an owner before procurement locks in a lamp-only budget.
Full fixture replacement becomes the cleaner choice when the housing traps heat, the socket is heat-damaged, the reflector is degraded, or the optical design can't produce the distribution the space now needs. An integrated fixture also removes the transformer and separate driver from the equation, because the manufacturer has already matched those components.
Compare the options on scope, disruption, service life, and maintenance consequences, not lamp price alone. A lamp swap that needs three return visits costs more than a fixture change done once. Conversely, replacing sound fixtures across a whole property to solve one dimmer problem is wasted capital. Let the sample results, not habit, decide which path each fixture type takes.
Install and Test the Retrofit
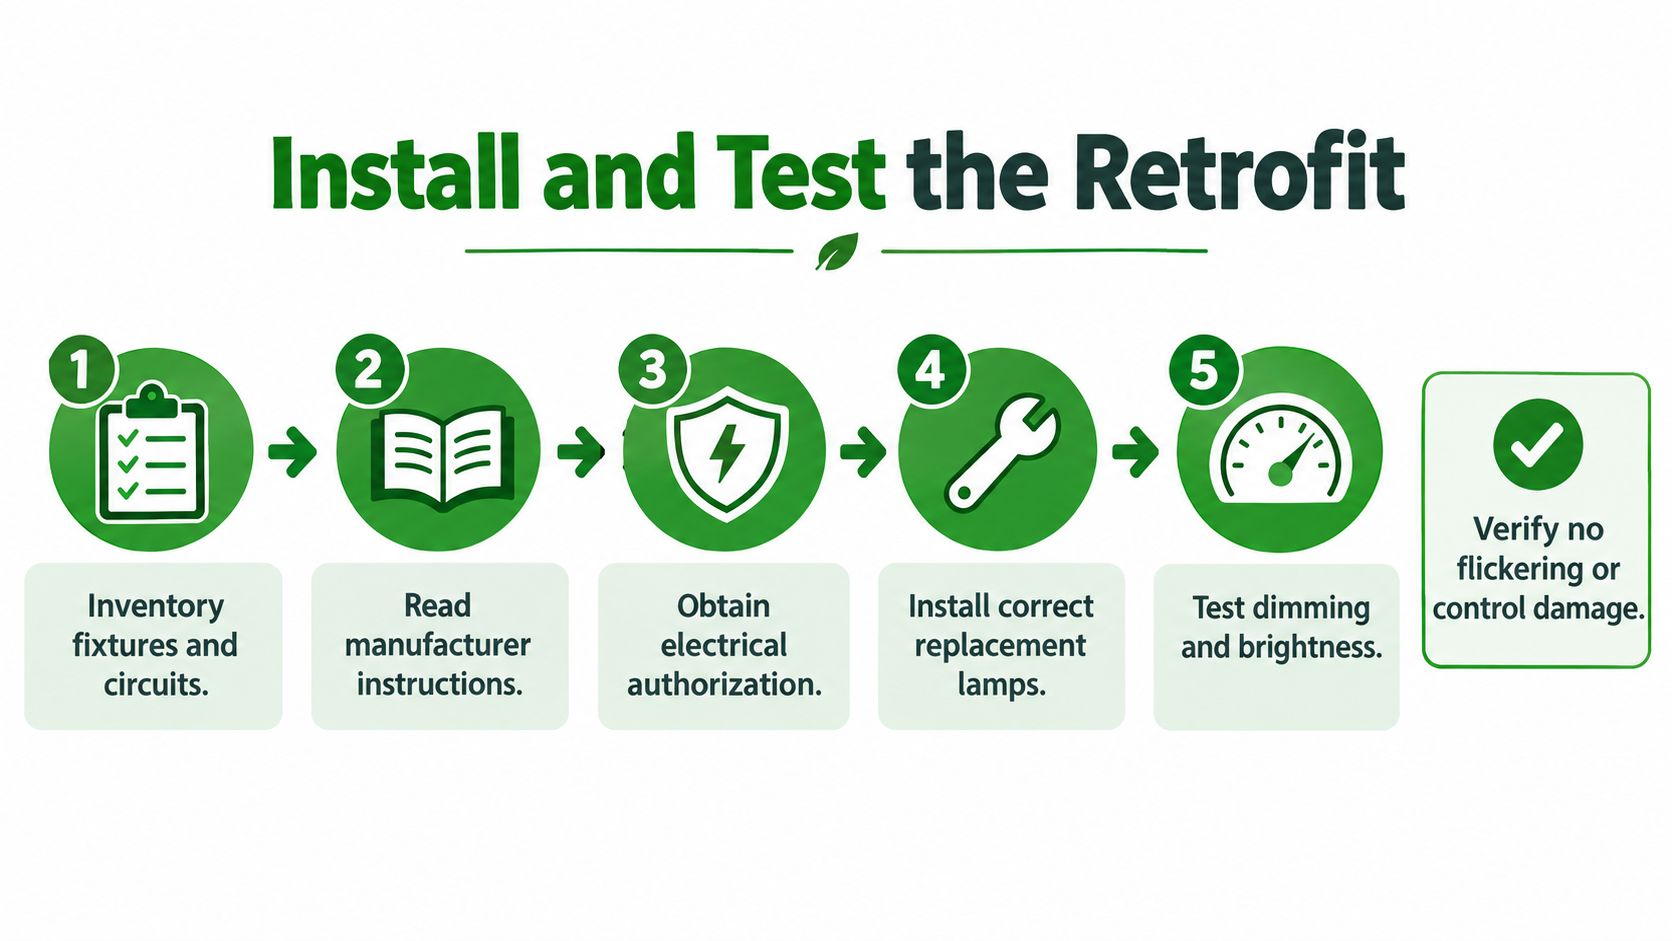
Good retrofits follow a field sequence that starts well before anyone touches a lamp. Inventory every fixture and circuit first, using the lamp schedule you built, and confirm which circuits share dimmers, sensors, or transformers. Read the manufacturer's instructions for the exact lamp, dimmer, and transformer combination, because compatibility lists are specific to models, not product categories.
Confirm who's authorized to do the electrical work and how each circuit will be isolated. Halogen lamps run hot, so let them cool, switch the circuit off, and verify it's de-energized before removal. Handle lamps by the housing, not the pins or lens.
Inspect Before You Install
Use the open fixture to check what years of halogen heat have done to it:
- Sockets and pins: Look for discoloration, brittleness, loose contacts, or corrosion.
- Wiring and insulation: Check for heat damage near the lamp compartment.
- Reflectors and trims: Clean or flag degraded surfaces that will distort the new beam.
- Clearance and airflow: Confirm the LED fits without forcing and isn't sealed into a housing it isn't rated for.
Installing a new lamp into a damaged socket produces intermittent faults that get blamed on the lamp. Fix the socket or move that fixture to the replacement list.
Sample First, Then Scale
Install a small representative sample in the actual luminaires and run them under normal thermal conditions through startup and full dimming cycles. Watch for non-starting lamps, visible flicker, low-end dropout, color differences between lamps, glare, hot spots, and dark areas. Check how sensors, schedules, and any emergency or control-system functions behave with the new load.
That discipline is backed by independent testing. The DOE-backed CALiPER long-duration testing of retail lamps followed 17 retail lamps over more than 7,500 hours and found LED lamps generally held lumen output better than halogen benchmarks but showed greater average early color shift, with the most rapid change in the first 500 hours. The same body of demonstration work found a nominal 12-W LED PAR38 drawing 10.2 W could replace a 60-W PAR38 halogen one for one, and Smithsonian demonstration results in it recorded nearly 12% average lumen decline in tested MR16 LED lamps after extended operation. Early commissioning checks catch the uniformity problems that matter most where lamps are visible together.
Don't approve a substitution by standing under it. Measure it, dim it, and leave it running long enough for the fixture to reach normal operating temperature.
Record the lamp model, measured watts, representative lux readings at task points, CCT and CRI, dimmer range, and fixture conditions for every sample. Take the same readings after rollout at the same points. That record is what lets you repeat a successful substitution across a property, trace a failure to a specific lamp and control combination, and reorder the correct lamp two years later instead of starting the compatibility process over.
Once the sample passes, release the full order for that exact model, install circuit by circuit, and dispose of removed halogen lamps and packaging as you go so completed areas return to service cleanly.
Use Property-Type Retrofit Scenarios
The same lamp can pass in one property type and fail in another, because acceptance criteria change with how the space is used. Treat each setting below as a planning scenario that tells you what to inspect and what evidence to record.
Retail depends on product presentation. Beam uniformity across shelving, glare control at eye level, and lamp-to-lamp color consistency matter more than raw output. Sample a full bay, not a single track head, and compare how packaging colors read under the proposed CRI against the existing halogen before committing.
Multifamily work is about consistency and resident disruption. Check low-voltage under-cabinet and accent fixtures unit type by unit type, because transformers often vary between phases of a property. Standardizing on one tested lamp per fixture type keeps maintenance stock simple and prevents a patchwork of color temperatures across units.
Offices and Hospitality
In offices, schedule around occupied hours and verify illumination at desk level, not just below the fixture. Test dimming and occupancy controls with the reduced load, since a control that behaved with halogen wattages may need adjustment or replacement. Glare complaints surface fast in screen-heavy work, so include the people who sit under the sample in the acceptance check.
Hospitality spaces expose every mismatch. Warm color tones, smooth low-end dimming for evening scenes, and decorative fixtures with tight clearance all need verification. A lamp that's slightly too long for a visible sconce or pendant shade is a design failure even if it performs electrically.
| Property Type | Inspect First | Evidence to Record | Typical Path |
|---|---|---|---|
| Retail | Beam overlap, glare, color match | Lux at displays, CCT and CRI | Lamp swap if controls pass |
| Multifamily | Transformer types by unit phase | Lamp model per fixture type | Standardized lamp or transformer |
| Office | Desk-level light, sensors, dimming | Lux at workstations, dimmer range | Lamp swap plus controls check |
| Hospitality | Warm tone, low-end dimming, clearance | Side-by-side color, dropout point | Lamp swap or fixture change |
Visual approval alone isn't sufficient in any of these settings. A manager's walk-through confirms appearance on one afternoon. Your recorded lux, dimming range, and color comparison confirm the retrofit will still perform on a dimmed evening shift or under a full sensor-controlled load, which is when occupants judge it.
Resolve Dimming and Low-Voltage Problems
"Dimmable" printed on a box doesn't mean dimmable in your building. That label describes the lamp's driver in isolation. Your result depends on the lamp, transformer, dimmer, total circuit load, and driver working together, and any one of them can be the reason a retrofit misbehaves.
Independent testing makes the point directly. The U.S. Department of Energy MR16 lamp and transformer compatibility testing found some MR16 LEDs flickered when dimmed and behaved differently on magnetic and electronic transformers, concluding compatibility should be tested with the specific lamp, transformer, dimmer, and circuit configuration rather than inferred from a datasheet. Lutron's technical guidance in that research notes flicker or dropout below roughly 20% dimming may reflect LED and transformer incompatibility or driver limitations, not just a defective dimmer.
Read the Symptom
Different symptoms point to different parts of the system:
- Flicker at a fixed dim level: Suspect lamp, transformer, and dimmer interaction on that circuit.
- Dropout at low settings: Suspect minimum-load or driver limits as output falls.
- Random startup or non-starting: Suspect the transformer isn't recognizing or sustaining the reduced load.
- Brightness instability across lamps: Suspect mixed lamp models, mixed transformers, or uneven circuit loads.
For 12-volt circuits, identify the transformer type and its minimum-load rating, then calculate the new connected load after conversion. Replacing several halogen lamps with low-wattage LEDs can drop the total below what an older transformer needs to operate stably. Circuit length and load distribution matter too, and understanding how voltage drop is defined and calculated helps separate a wiring contribution from a component incompatibility.
Work the diagnosis in order. Test the lamp on a known-compatible setup, then in the actual fixture, then across the full dimming range, documenting each result. When a transformer or dimmer is the limiting component, replacing it, or replacing the fixture, is usually the economical answer. Continuing to trial specialty lamps against an unsuitable control burns labor and leaves you with a non-standard lamp you'll struggle to reorder.
Complete a Safe and Scalable Retrofit
Before you release a property-wide order, run the retrofit against a closing checklist. Confirm compatible bases and electrical ratings for every fixture type, representative sample results in the actual luminaires, acceptable startup, flicker, and dimming behavior, and illuminance readings at representative task points. Add thermal observations from fixtures run at normal temperature, plus emergency lighting and control-system checks wherever those functions share the circuit.
Confirm compliance obligations at the same stage rather than after installation. If your project touches controlled lighting in California, align the scope with the applicable Title 24 lighting requirements so controls, documentation, and acceptance testing are planned into the work instead of retrofitted onto it.
Keep Building Lamps and Vehicle Lamps Separate
Don't let a building retrofit habit spill into fleet maintenance. Recent UK government MOT guidance on approved LED bulbs in halogen headlamps accepts approved LED replacement bulbs in compatible halogen headlamp units only when specific approval requirements are met, and excludes several vehicle categories and non-compatible conversions. A brighter-looking headlamp conversion can still produce poor roadway illumination and unsafe glare if the LED emitters don't sit where the halogen filament sat. Building lamp rules don't transfer, so verify approval markings and local road regulations separately.
Release standard: Sample the exact proposed combination in the actual fixture, document the result, correct any system-level incompatibility, then scale the approved model.
That sequence gives property teams a defensible handoff. Procurement orders one documented lamp per fixture type, installers repeat a tested combination, and maintenance holds the right spares. There's no universal LED replacement for halogen bulbs that works everywhere, and the properties that accept that early are the ones that convert once, without the flicker complaints and return visits.
If your retail, office, multifamily, or hospitality property still runs halogen accent, track, or downlight fixtures, Access Electrical and Lighting can inventory your existing lamps and controls, test LED samples in your actual fixtures, and complete the lamp, transformer, dimmer, or fixture changes the results call for. Visit Access Electrical and Lighting to discuss a documented retrofit plan for your Southern California property.