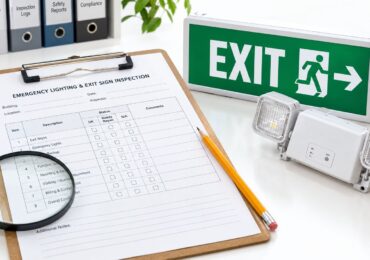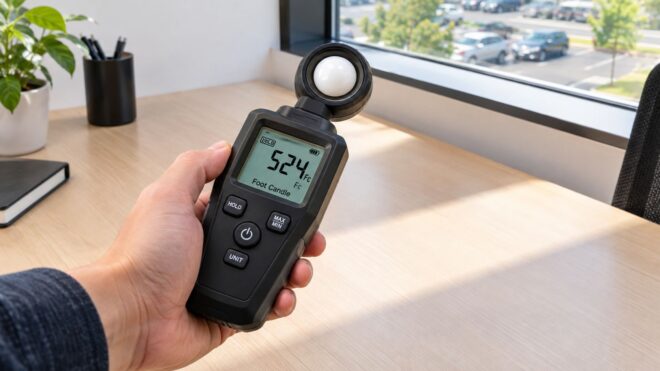
A tenant reports that the parking lot feels dim after dark. Around the same time, an inspection raises a concern about emergency lighting. You can replace lamps based on appearances and hope the problem is solved, or measure the light where people walk and work, then document what you find.
A foot candle light meter makes that second approach possible. It won't decide whether a site meets every applicable code or design requirement, but it can turn a vague complaint into a repeatable measurement. The value is only useful, though, when the meter is reliable and the sensor is positioned correctly.
Why a Foot Candle Light Meter Matters on Commercial Sites
A property manager can see that a parking area looks uneven, but appearance alone won't show where the dark zones are or whether a repair improved them. A meter gives the team readings at specific locations, making it easier to distinguish a failed fixture from a broader lighting problem. The same principle applies indoors: a tenant's report of a dark corridor is a reason to inspect, not a measurement of the corridor's actual illumination.
That distinction matters when people use the results to make decisions about safety, maintenance, or compliance. A single reading can help identify a problem, but it can't establish that an entire area is adequately lit. The measurement needs context: where it was taken, what surface was measured, and what the lighting system was doing at the time.
From complaint to useful evidence
On a commercial site, lighting conditions can change from one point to the next. A parking surface may be bright near a pole and dim farther away. A corridor may have a dark stretch near a failed lamp, while emergency fixtures may need to be checked along the egress path rather than at one convenient spot.
A meter helps the maintenance team locate and describe those differences. Repeated readings can support a comparison before and after a repair or retrofit, and they can help flag patterns such as uneven output, blocked optics, or controls that aren't operating as expected. They don't, by themselves, identify the cause. That takes inspection of the fixtures, controls, and site conditions.
Practical rule: Treat a meter reading as evidence about a specific place and condition, not a verdict about the whole property.
Why documentation matters
A defensible survey is useful because it gives property teams something concrete to act on. It can guide where to investigate, help verify whether planned work changed measured conditions, and provide a record to discuss with inspectors or contractors. The reading is strongest when someone else can return to the same location, reproduce the setup, and understand what was measured.
That's why the meter is more than a handheld gadget. Used carefully, it's a verification tool for maintenance and retrofit work. Used casually, it can create false confidence, especially when one spot reading is treated as proof that an entire parking lot, office, or egress route meets its requirements.
What a Foot Candle Light Meter Measures
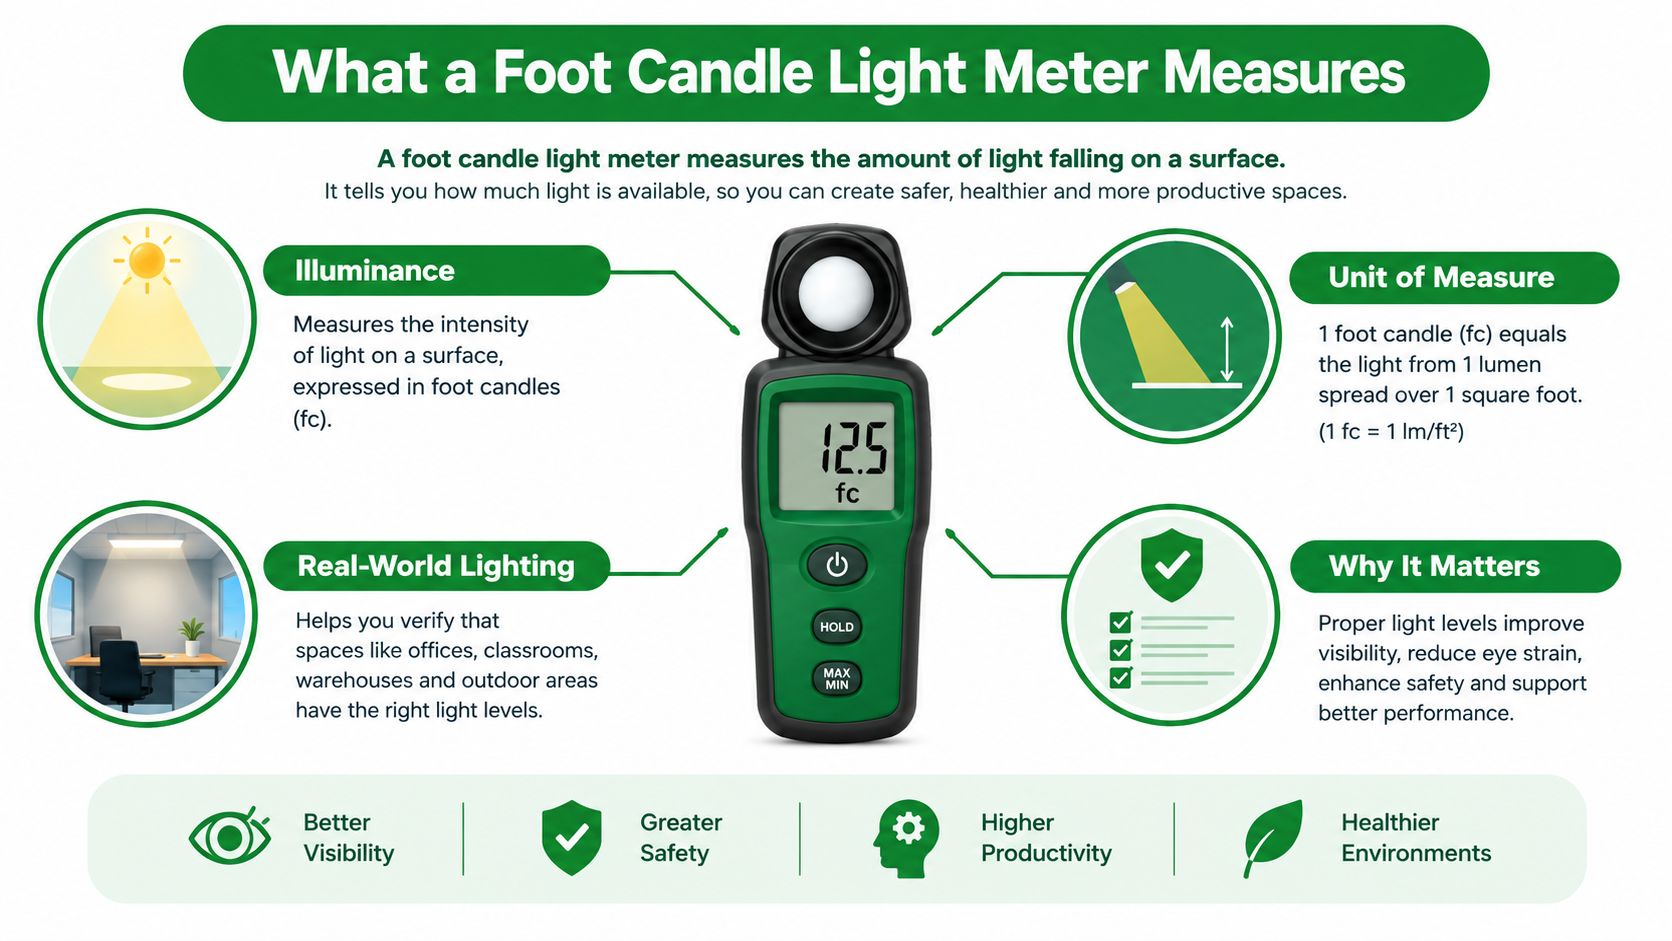
A foot-candle light meter measures illuminance, the amount of visible light landing on a surface at the point where you place the sensor. It says nothing about how much light a fixture emits, and it says nothing about how bright a wall looks to a person standing in the room. Those are different quantities, and mixing them up is how unreliable figures end up in retrofit files and inspection reports.
One foot-candle equals one lumen per square foot. The name comes from a simple reference case: the illumination produced by a one-candela point source at a distance of one foot under controlled geometry. Real buildings never match that reference case. Fixtures spread light across wide areas, finishes reflect some of it back, and the number on the display reflects your measurement setup as much as the fixture itself. NIST's description of the foot-candle identifies its symbol as fc and its dimensional form as lumens per square foot.
Understanding fc and lux
Illuminance also has a metric unit, lux. One foot-candle is approximately 10.764 lux, and one lux is about 0.0929 foot-candle. The conversion comes up constantly in the field, because spec sheets and compliance documentation often work in lux while most handheld meters on US sites display fc. Changing units changes the number on paper, not the light in the room.
A quick reference for common values: 10 fc is approximately 107.6 lux, 50 fc is approximately 538.2 lux, and 100 fc is approximately 1,076.4 lux, based on the NIST unit relationship cited above. If a report arrives in lux and your meter reads fc, convert foot-candles to lux before putting the two figures side by side.
A reading belongs to a place
Same fixture, different numbers. Move the sensor a few feet and the result shifts, because distance, angle, and obstructions change how much light arrives. A tilted surface, a parked vehicle, a racked pallet in an aisle. Each one changes what the sensor sees.
The value on the screen describes illuminance at that spot, under those conditions, at that moment. Recorded that way, with a location and setup attached, the number becomes useful evidence: existing conditions documented, uniformity checked across a space, before-and-after results verified on a retrofit. Written down without that context, the same number can be challenged, misread, or used to defend conditions the site never had.
How to Take a Reliable Reading
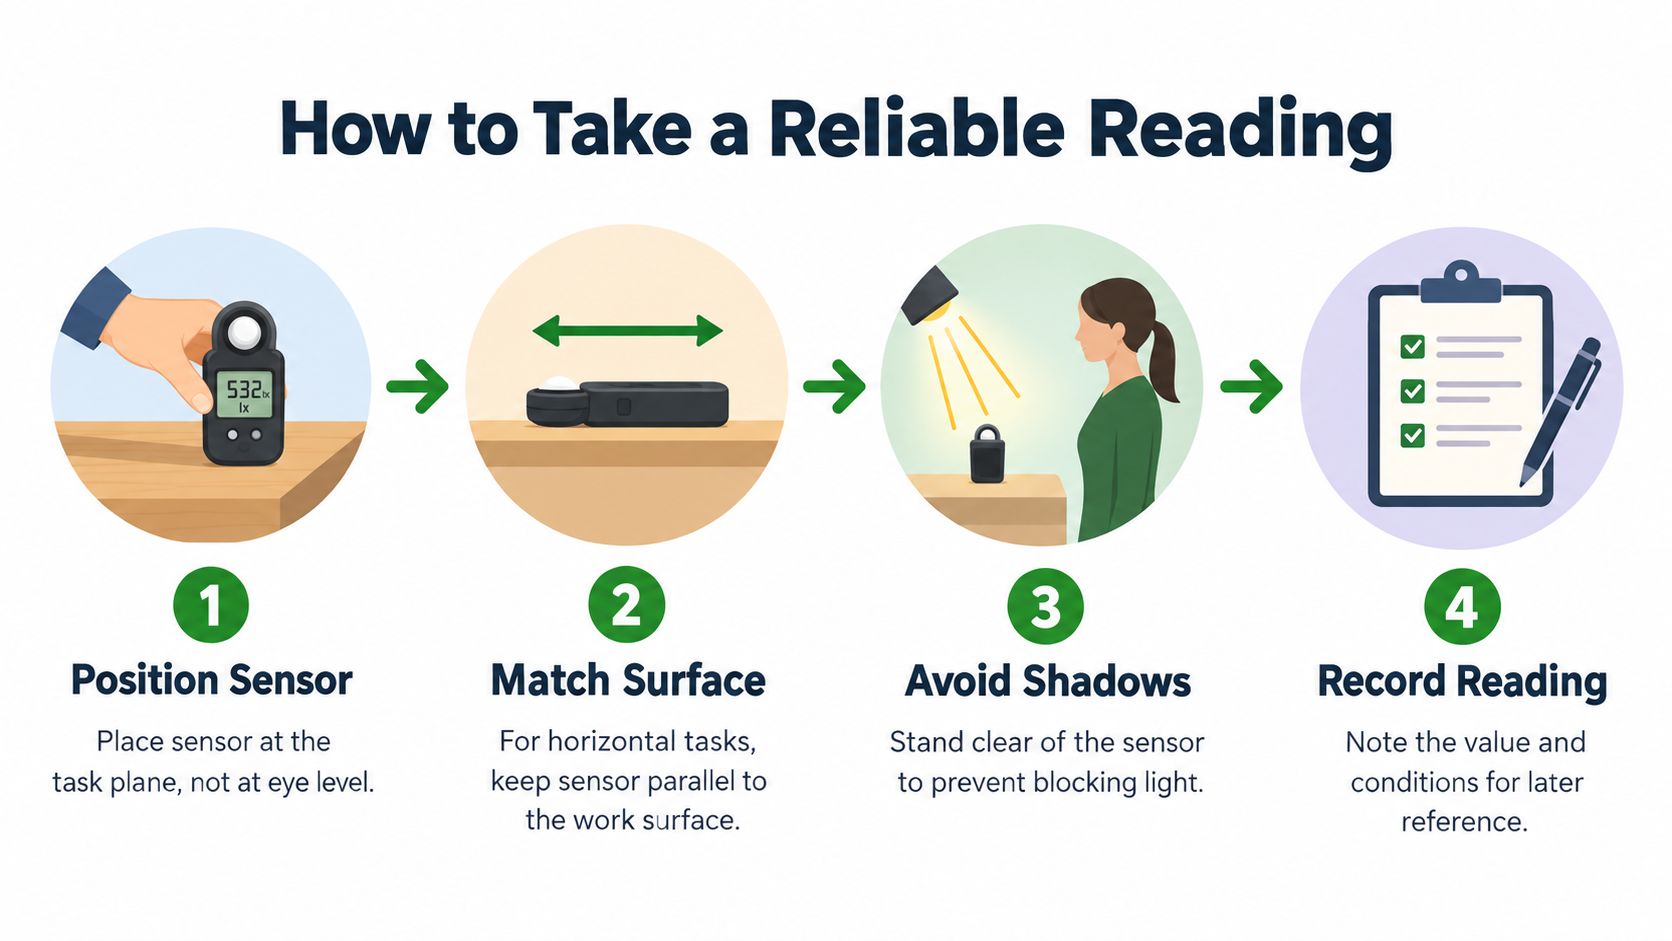
A defensible reading starts with the task plane, the surface where the work happens or where light needs to be evaluated. Measure a desk horizontally, for example. For a wall, sign, or vertical emergency-lighting assessment, position the sensor vertically. The sensor's orientation should match the surface being assessed, not the person holding the meter.
OSHA specifies that illumination is measured at the task or working surface. Its maritime standard sets average minimum thresholds of 5 foot-candles for active work areas and 1 foot-candle for other work areas (OSHA maritime illumination requirements). Those figures apply to that specific standard, not as universal targets for every commercial space.
Geometry can change the result
A cosine-corrected sensor is designed to account for the angle at which light arrives. Tilting it away from the task plane changes the projected area receiving light and can produce a reading that doesn't represent the surface you intended to assess. Holding the meter casually at eye level while measuring a desk, for instance, answers a different question from placing its sensor flat on the work plane.
Keep the sensor unobstructed, and stand clear so your body doesn't shade it. If daylight or nearby fixtures contribute to the reading, record that condition. A measurement made with controls in one state can't be fairly compared with one made after schedules, dimming, or switching have changed.
Survey the area, not just one spot
A single reading can help locate a suspected problem. It can't reveal whether the rest of the area is consistent. Take readings at documented points across the relevant zone, then use the pattern of results to look for dark areas or uneven performance.
- Mark locations: Record the grid point or recognizable location and the sensor height.
- Describe orientation: Note whether the reading was horizontal or vertical.
- Record operating conditions: Identify the control state and whether daylight or neighboring fixtures affected the measurement.
- Compare the pattern: Use average and minimum values to help identify dark zones, failed lamps, blocked optics, or control-system scheduling issues.
The result is a survey another person can interpret and repeat. That's more useful than a lone figure without a location or setup.
Calibration, Accuracy, and the Limits of Your Meter
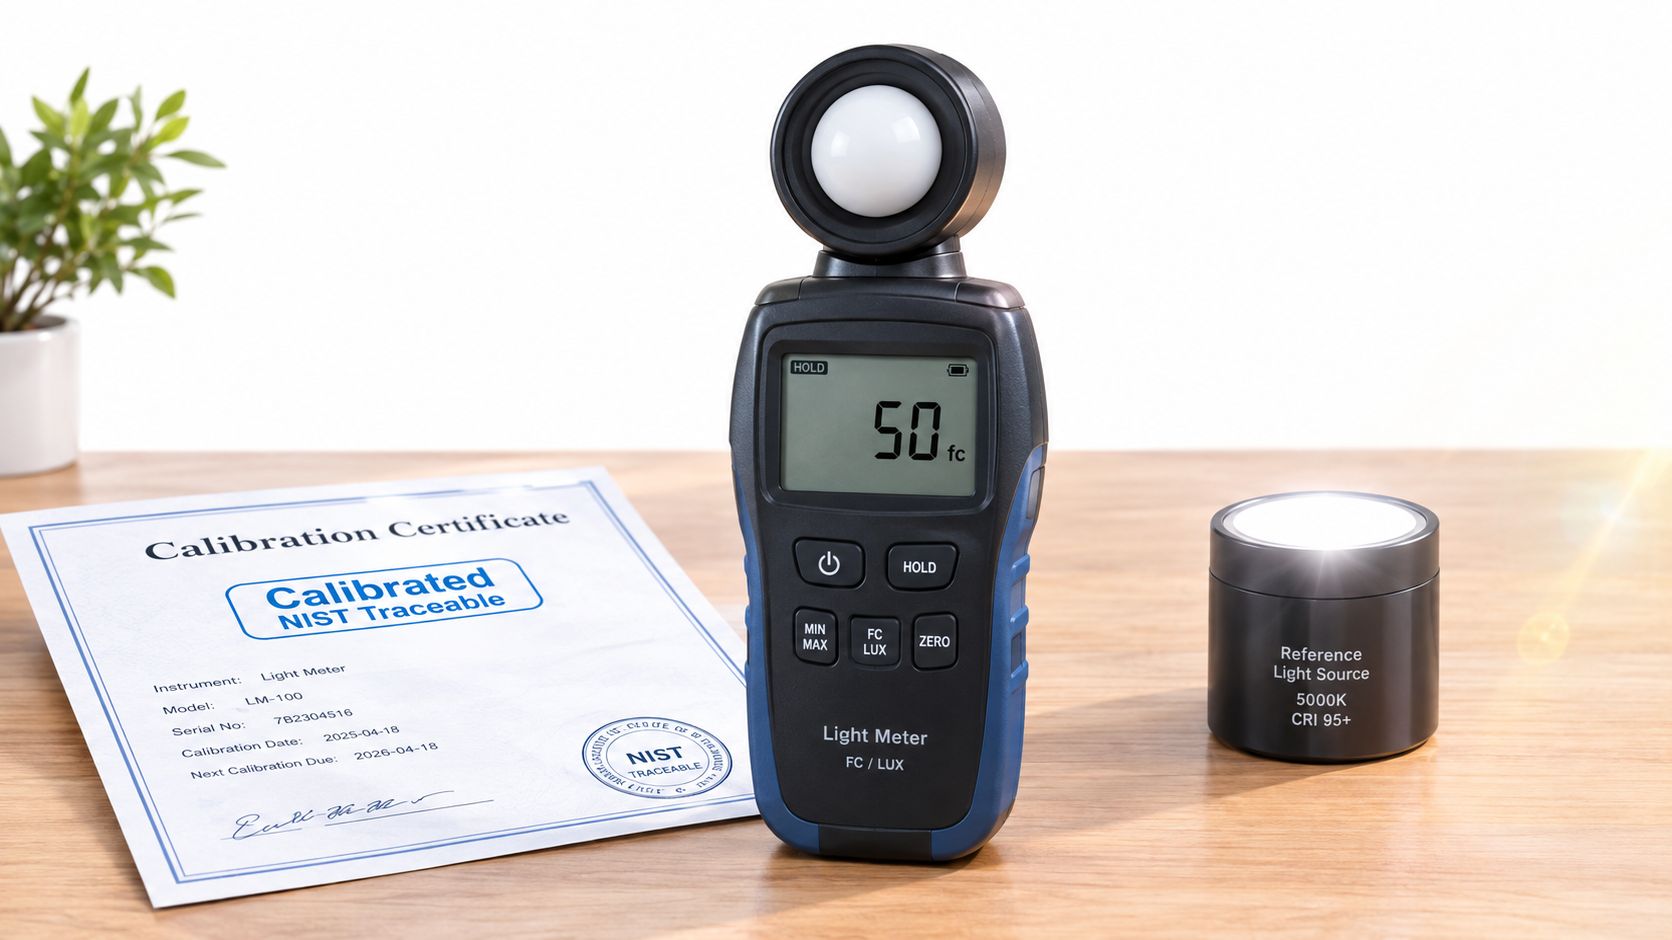
A meter showing 28 fc in a corridor designed for 30 can turn a routine inspection into a dispute, and sometimes the gap lives inside the instrument instead of the lighting system. A foot-candle meter is a calibrated photometer: its detector and optical filter are built to approximate the human eye's response to visible light, and age, impact damage, and spectral mismatch all erode that accuracy over time. A wide measurement range only describes what the display can show. It gives no indication of whether those digits will survive scrutiny in a Title 24 acceptance test or a retrofit verification report.
NIST's photometer calibration procedures compare working instruments against standard photometers using a 1,000-watt FEL lamp operated at 2,856 K, checking responsivity at set distances and letting the source stabilize so output drift and temperature shifts don't corrupt the result. Field work runs on the same logic: a current calibration, a sound sensor, and stable operating conditions carry as much weight as the digits on the screen.
Prepare the instrument and site
Check the zero, the battery, and the units before the first reading. Clean the sensor, keep it unobstructed, and give newly switched fixtures time to reach normal output before comparing results. Record the meter's model, serial number, and calibration date alongside the survey, because a compliance file that can't name its instrument invites challenge.
Spectral response is the quieter failure mode. A meter that tracks a broad-spectrum source closely can read a narrow-spectrum LED differently from a fluorescent or metal-halide fixture that looks equally bright to the eye. When that bias exists, it skews every reading the same way. Taking more measurements with a misbehaving instrument produces a precise record of the same error, so calibration history deserves more attention than repetition.
Use phone apps for screening, not proof
A smartphone app can flag an obviously dark zone or support early troubleshooting.
Don't hand it a compliance role. In one study, a phone app's mean absolute percentage error was 15.8%, with individual errors ranging from 0 to 428 lux across tested lighting situations (smartphone lighting study). Near a design or regulatory threshold, spread like that can push a result across the pass-or-fail line.
Treat a phone reading as a screening signal that shows you where to look. The certified number still comes from traceable instrumentation, and any measurement that could drive a safety decision, a repair order, or a sign-off deserves that confirmation.
Typical Foot Candle Targets for Commercial Properties
A desk, a parking surface, a retail display, and an emergency egress path serve different purposes, so no single foot-candle figure works as a universal pass-or-fail threshold. The applicable requirement depends on the task, the space, and the governing standard. A number pulled from another building tells you what that building needed, not what yours does.
When an inspector or commissioning agent reviews your log, the first question is which standard each value is being judged against. OSHA requirements depend on the type of work and the standard that applies. IES recommendations have their own history: the Illuminating Engineering Society shifted from treating foot-candles as the primary illuminance unit to using lux as the governing unit in 1979 (IES unit-history discussion). That transition is one reason older specifications and newer documents express targets differently, and why a survey file should name the standard it measured against.
Use a reference table carefully
The values below are conversion examples, not prescribed targets for particular room types. They show how common foot-candle readings correspond to lux, which helps when reviewing a meter display or translating a specification written in the other unit.
| Reference Reading | Foot-candles | Lux |
|---|---|---|
| Lower-level example | 10 fc | Approximately 107.6 |
| Mid-level example | 50 fc | Approximately 538.2 |
| Higher-level example | 100 fc | Approximately 1,076.4 |
The conversions follow the foot-candle to lux relationship described by NIST earlier in this article. They are not recommendations for parking lots, offices, or retail spaces. For an actual project, check the applicable code, design documents, and task requirements before deciding whether a measurement is adequate.
Keep both units in the record
A target of 500 lux is approximately 46.5 foot-candles using the precise conversion. An older shortcut of dividing lux by 10 gives 50 foot-candles, which is easier to calculate but less precise, as the IES unit history noted earlier. That gap matters when someone compares a rounded conversion against a project specification and the two numbers disagree by enough to change a pass into a question.
For California properties, Title 24 documentation should be handled against the project's applicable requirements and test procedures. A meter reading can support verification, but it doesn't replace those requirements. If a report or specification uses OSHA terminology, review the OSHA lighting standards that apply instead of relying on a generic table of supposed "typical" levels.
Reporting Lighting Measurements for Compliance and Maintenance
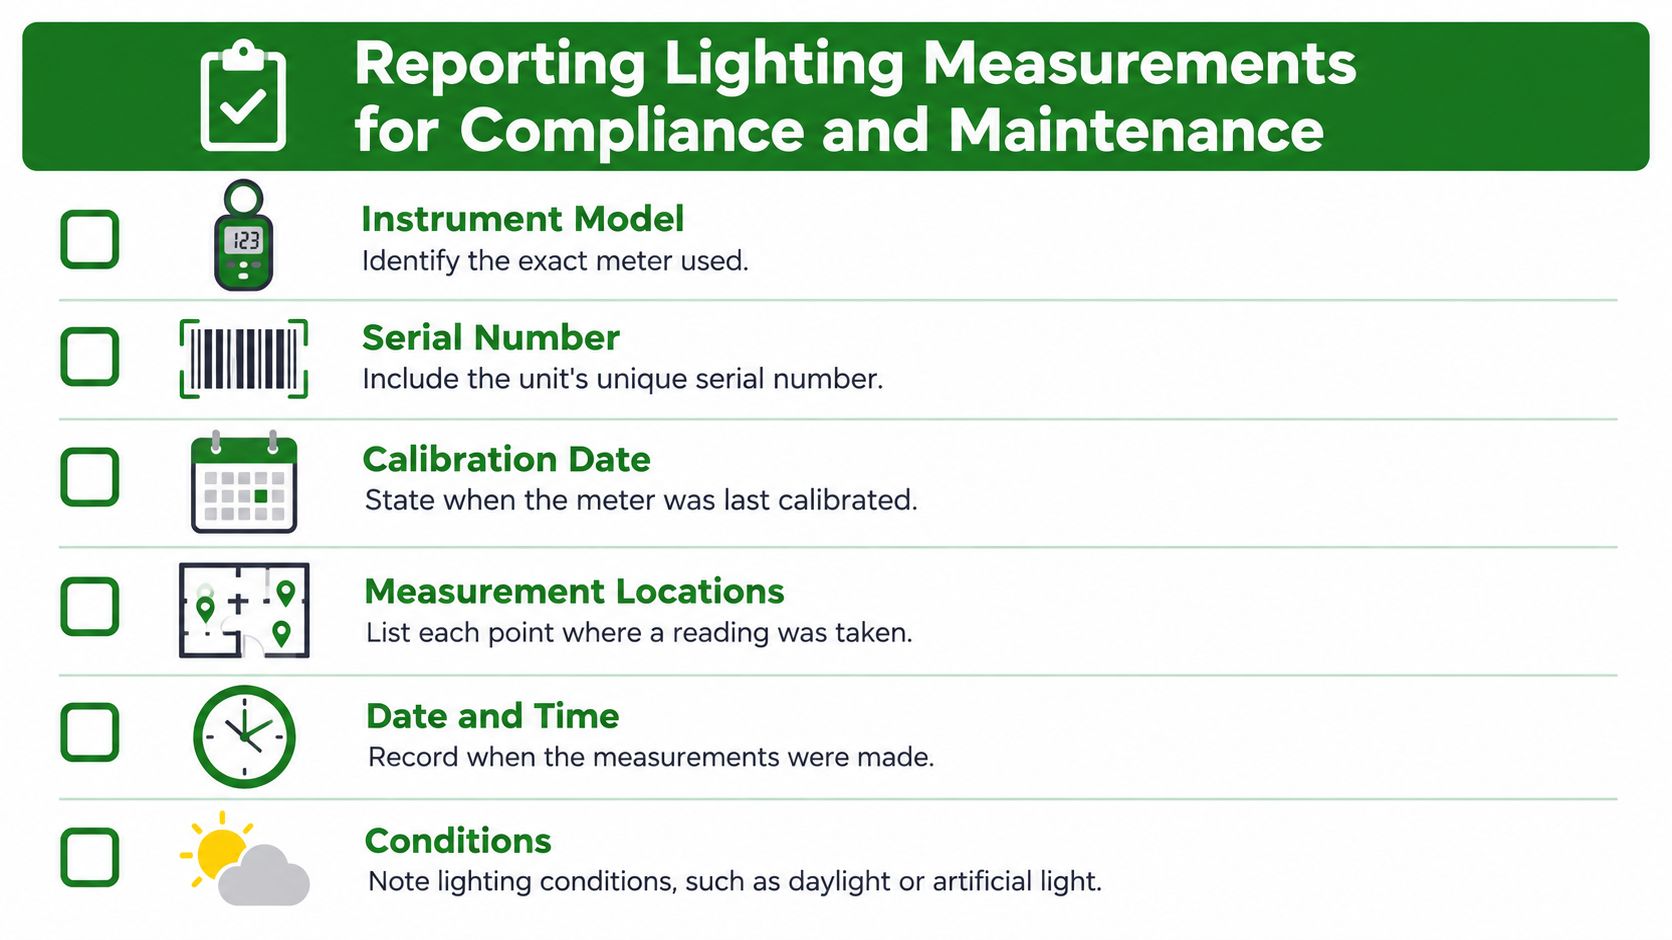
A defensible lighting report reads like a chain of custody for light: who measured, where, at what plane, with which instrument, under what control state. When an inspector, Title 24 reviewer, or property manager questions a number later, that context is what lets the value stand.
For repeatable work, the NIST calibration procedures described earlier support using a meter with current traceable calibration and recording the instrument model, serial number, calibration date, certificate number, and units. Add the surveyor's name and the survey method, including grid spacing or point count, so a reviewer can judge whether the sample supports the reported average and minimum.
Make the report repeatable
Mark each measurement point on a plan or reflected ceiling grid, with sensor height and whether the reading was horizontal, vertical, or aimed at a task surface. Note dimming level, occupancy or daylight sensor state, time of day, and whether exterior light or adjacent tenant fixtures could have contributed. If the survey was taken before and after work, label the sets as found and as-left rather than letting them merge into one average.
Report average and minimum only with the locations and method behind them. Averages describe the broad condition. Minimums expose the weak points that trigger complaints, egress concerns, or a failed acceptance check.
Use results to guide the next action
Treat low readings as a pattern to explain, not a verdict by themselves. A cluster near one luminaire points toward lamp or driver failure, a blocked optic, dirt depreciation, or local obstruction. Uniform low values across a retrofit can implicate spacing, distribution, controls programming, or a design target that no longer matches the space.
File the report with maintenance and project records, and use a foot-candle calculator when readings need conversion or review against a specification written in the other unit. Phone apps are useful for screening, but the variability described earlier makes calibrated equipment the better basis for compliance, repair approval, or warranty disputes.
Access Electrical and Lighting provides commercial lighting installation and maintenance, emergency-lighting testing, and Title 24 testing, certification, and documentation for properties in Southern California. If you need help verifying readings or addressing lighting issues at your site, visit Access Electrical and Lighting to discuss the work with its team.