A commercial LED retrofit downlight project can cut lighting energy use by about 50% in a documented CFL-to-LED example, with annual savings of $6.37 per lamp at the electricity price used in that analysis. The right payback depends on lamp wattage, operating hours, labor, controls, and local utility costs, so a blanket promise of an average period under three years isn't a reliable basis for approving the work.
The familiar situation is a property with recessed fixtures that still turn on, but consume too much power, create uneven light, or require repeated lamp changes. A facility manager may be tempted to order a box of retrofit kits and treat the project as a simple maintenance swap. That approach can leave you with flicker, overheated drivers, failed emergency circuits, or a Title 24 documentation gap.
A led retrofit downlight upgrade works best when the product, housing, controls, ceiling conditions, and compliance requirements are reviewed as one system. The least expensive fixture on the purchase order isn't necessarily the lowest-cost choice over its service life. In Southern California commercial properties, the installation method and control strategy can matter as much as the LED module itself.
Planning a Successful Lighting Upgrade
A lighting project usually begins with a complaint about dark corridors, failed lamps, high utility bills, or inconsistent color across a tenant space. Treating that complaint as a one-for-one lamp replacement misses the larger opportunity. A well-planned upgrade can reduce operating costs, improve visual comfort, simplify maintenance, and give the property a cleaner path through inspection.
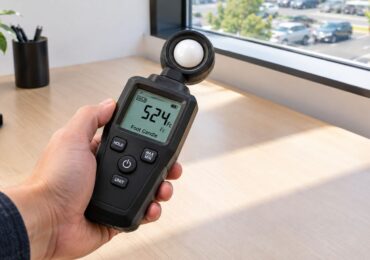
Start with a room-by-room survey before selecting a product. Record the existing housing type, aperture, trim, lamp or ballast arrangement, ceiling construction, circuit, dimming method, emergency connection, and whether insulation contacts the fixture. Photograph representative conditions, because a property that appears to have one downlight type may contain several generations of cans and trims.

Build the decision record first
Use the survey to create a short decision record for each fixture group:
- Existing condition: Identify the lamp source, housing depth, trim condition, ballast or transformer, and visible signs of heat damage.
- Lighted environment: Note whether the space is dry, damp, wet, insulated, enclosed, or exposed to unusual heat.
- Electrical interface: Confirm line voltage, switching, dimming, emergency operation, and available control wiring.
- Compliance scope: Identify which fixtures fall under the current project permit, energy-code review, emergency-lighting requirements, and Title 24 documentation.
- Maintenance objective: Decide whether the priority is minimal disruption, consistent optics, simple future servicing, or a fully integrated controls platform.
The building type changes the answer. A retail center may need consistent color and glare control across a sales floor. An office may need quiet dimming and reliable occupancy response. A multifamily property may place greater value on fast installation in occupied units and durable trims that tolerate repeated cleaning.
Practical rule: Don't approve a fixture schedule until the installer has opened representative housings and tested the actual conditions.
The scale of the opportunity can be substantial. A 2013 DOE survey found about 95,000 compact fluorescent downlights in General Services Administration commercial buildings, illustrating how many recessed fixtures can exist in a single federal building portfolio before modernization. The same DOE and GSA LED downlight findings reported that LED downlight lamps lasted four to six times as long as CFLs and used roughly half as much electricity in the cited comparison.
Planning also protects the schedule. Ordering hardware before checking the housing, controls, and emergency circuits often creates a second mobilization. A short site survey is cheaper than discovering that an attractive trim doesn't sit flush, a dimmer won't regulate the driver, or a retrofit kit isn't suitable for an insulated plenum.
Retrofit Kits vs Integrated LED Fixtures
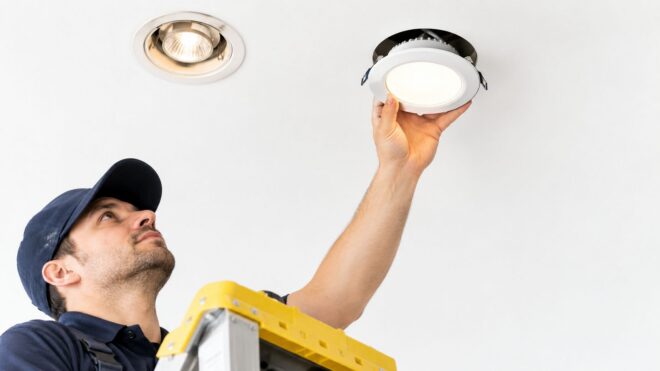
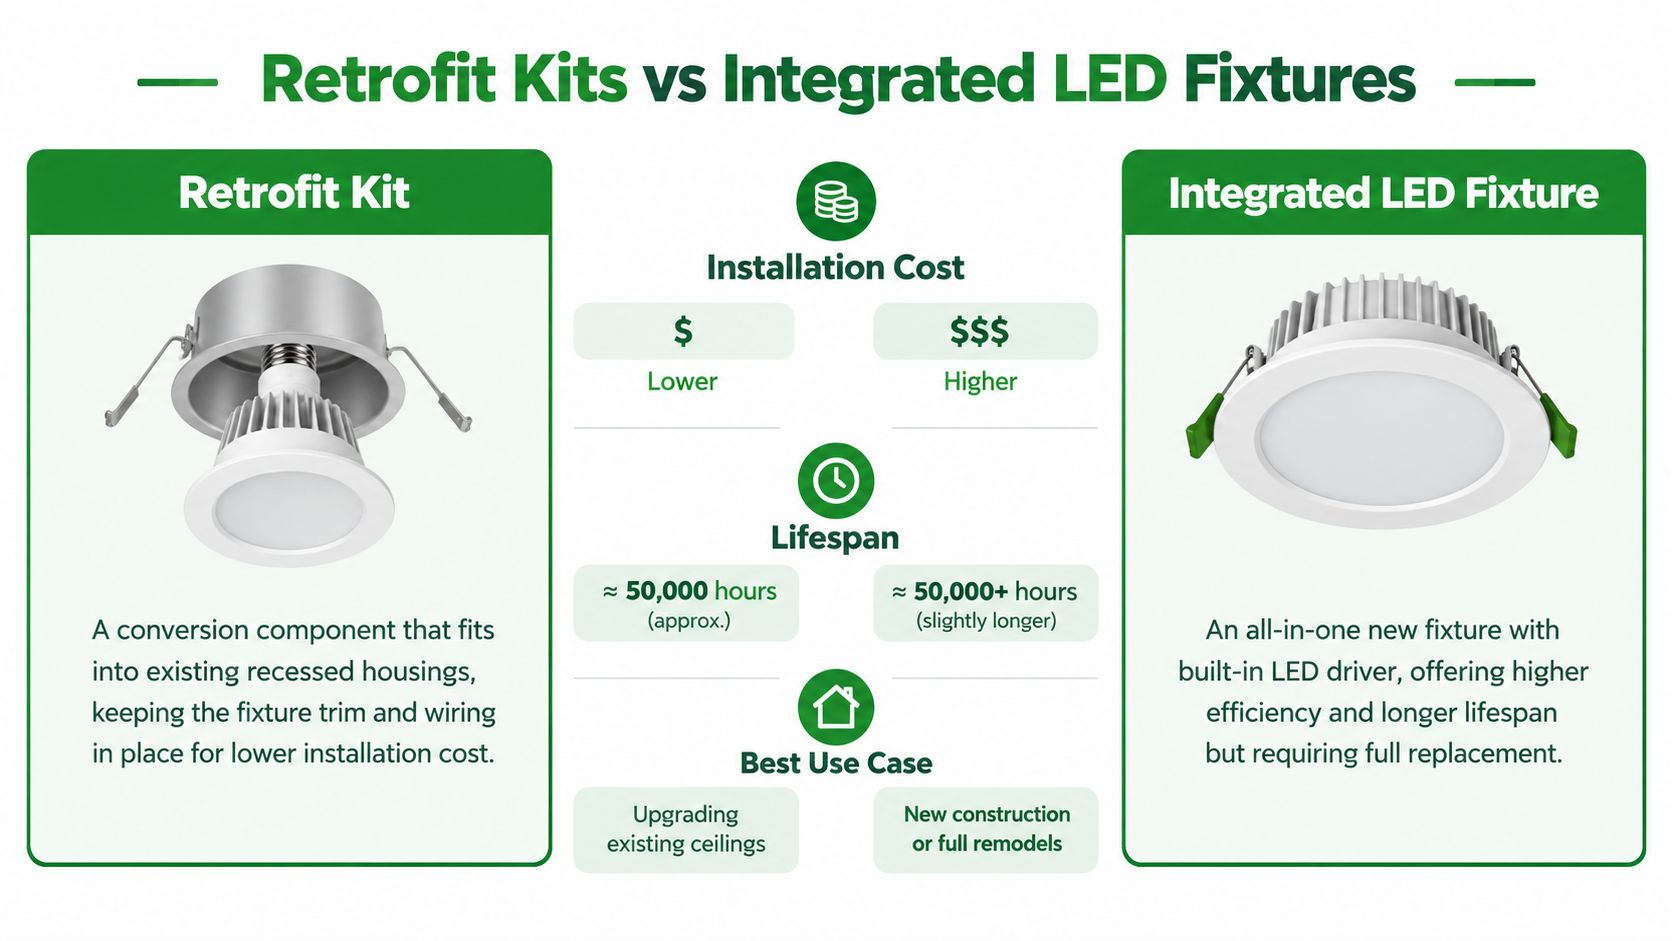
The hardware choice comes down to whether you want to preserve the existing housing or replace the entire luminaire. A retrofit kit inserts an LED module, driver, reflector, and trim into an existing recessed can. An integrated LED fixture removes the old unit and installs a complete luminaire designed as one optical and thermal system.
Retrofit kits are often the practical choice in occupied buildings. They can preserve the ceiling appearance, reduce demolition, and limit disruption to tenants. They also make sense when the existing housing is sound, correctly sized, accessible, and compatible with the new module. The risk is that the old can remains part of the thermal and mechanical system, so the new LED assembly inherits its limitations.
Integrated fixtures normally require more installation work. They can provide better heat paths, more controlled optics, and a cleaner match between the driver and light engine. That advantage matters in tight plenums, performance-critical spaces, and projects where the existing cans are damaged, inconsistent, or difficult to identify. The higher initial scope can be justified when it prevents repeated service calls or produces a more uniform result.
Make the choice by risk, not price
| Decision factor | Retrofit kit | Integrated LED fixture |
|---|---|---|
| Ceiling disruption | Usually lower when the existing housing is suitable | Greater because the old luminaire is removed |
| Thermal performance | Depends heavily on the existing can and enclosure | Engineered as a complete luminaire |
| Optical consistency | Can vary with housing, trim, and module pairing | Usually easier to control across the installation |
| Best fit | Sound existing recessed housings and occupied spaces | Damaged, cramped, inconsistent, or full-remodel conditions |
| Future service | Module or driver replacement depends on the product design | Complete-luminaire replacement may be required |
The commercial guide to retrofit LED lights is useful as a starting point, but the final selection still belongs to the site survey. Ask whether the kit is listed for the exact housing family, whether the driver is replaceable, how the trim is retained, and what happens if a driver fails after the warranty period.
A retrofit doesn't automatically mean lower total cost. If the old cans restrict airflow, the trim wobbles, or the optics produce glare, a complete fixture may deliver the better lifecycle result. Conversely, replacing every housing when the existing infrastructure is sound can add labor and ceiling repair without improving the outcome.
For a commercial project, request a sample installation before releasing the full order. Test the appearance, dimming range, startup behavior, trim fit, and light distribution at occupied viewing angles. A product that looks acceptable on a cut sheet can perform poorly once installed in the actual ceiling.
The Financial Case for Modernization
The financial case for an LED downlight retrofit rests on two returns: lower electricity use and fewer service calls. The second often determines whether the project pays off. A lamp change may require access equipment, tenant coordination, ceiling protection, and staff time, while an aging driver can create repeat visits that do not appear in the original fixture price.
The DOE and GSA comparison offers a benchmark, not a promise for every building. In its documented retrofit example, the LED downlight used roughly half as much electricity as the CFL, saving 50%, or 60 kWh per year. That reduction equaled $6.37 per lamp annually at the then-national average rate of $0.11 per kWh. The DOE findings report also notes annual savings potential of about 278 trillion Btu if LED downlight luminaires were wholly adopted in the described context. Use those figures as reference points, then calculate the result from the actual load and operating schedule.
Calculate the whole project
Price each fixture group across the same cost categories:
- Energy: Compare existing input wattage with the proposed LED input and apply actual operating hours.
- Labor: Include access equipment, ceiling protection, tenant coordination, testing, and cleanup.
- Controls: Price compatible dimmers, sensors, daylight controls, commissioning, and documentation.
- Maintenance: Allow for lamp changes, driver access, emergency testing, and the future replacement plan.
- Compliance: Include design review, permits, Title 24 support, and corrective work if the first specification fails review.
The market data explains why retrofit kits remain relevant while integrated fixtures gain ground. A 2024 Northwest lighting distributor survey reported that LEDs represented 78% of downlight applications in 2024, compared with 77% in 2023. LED retrofit kits accounted for 30% of downlight sales, while LED fixtures accounted for 40% in the same survey. High LED adoption has not removed the need to work within existing ceilings.
In offices, retail centers, and multifamily properties, a full fixture replacement can impose closure, relocation, and coordination costs absent from the fixture quote. A retrofit can limit disruption, provided the product works with the housing, controls, emergency operation, and required California documentation. If those conditions fail, rework can erase the labor saving.
For each materially different ceiling condition, compare at least one retrofit option with one integrated option. Approve the lower-cost path only after checking light quality, thermal limits, control behavior, emergency performance, Title 24 certification, and service access. Sticker price is one input. Total installed and maintained cost is the decision.
Evaluating Site Conditions and Suitability
A retrofit can look correct from the occupied side of the ceiling and still be the wrong specification. On a Southern California project, inspect a representative sample of each housing type before approving the product. The cavity affects driver heat, trim fit, service access, and the luminaire's rating after installation. A low nominal wattage does not prevent early failure if the LED operates in a tight or enclosed housing beyond its thermal limit.
The Illuminating Engineering Society reports that screw-in and plug-in LED retrofit lamps can achieve up to 80% energy savings, while identifying full-luminaire replacement as the lower-risk option where thermal management and optics matter. Its IES guidance on retrofit risk also cautions against retrofit lamps in very tight cans or enclosed luminaires unless lamp wattage and thermal suitability have been verified. The guidance cites CALiPER testing with retrofit units ranging from 10.0 to 14.5 W input power and 39 to 69 lm/W efficacy, with a 50 lm/W mean. The spread is a practical warning: the wattage label alone does not predict installed performance.
Start above the ceiling, not with the product carton. Open sample housings and record what exists:
- Clearance: Check the module and driver against insulation, framing, and other equipment.
- Enclosure: Identify whether the can is open, gasketed, or effectively sealed once the trim is fitted.
- Insulation contact: Confirm that the proposed fixture is approved for actual insulation-contact conditions.
- Moisture: Match the rating to parking structures, canopies, exterior soffits, and other exposed areas.
- Ceiling material: Check for fire-rated assemblies, special support, or a different mounting method.
- Heat sources: Inspect areas above kitchens, mechanical spaces, electrical rooms, and equipment zones for higher ambient temperatures.
Record damaged sockets, loose junction-box covers, deformed housings, and insulation packed tightly around the can. These conditions can turn an apparently simple lamp change into corrective work. A recessed lighting calculator can help compare fixture spacing and output assumptions, but it cannot replace that field inspection or confirm the condition of an existing housing.
A retrofit is suitable only when the existing housing becomes a verified part of the new luminaire system.
Then assess the light distribution. A narrow beam can produce bright spots and dark areas. A wide beam may reduce contrast while increasing glare. Review trim geometry, distribution, glare behavior, and delivered lumens at the work plane. In offices and retail spaces, check how the source changes walls, merchandise, finishes, and displays.
Where housings vary across a property or the visual requirements are demanding, specify an integrated fixture for a more predictable optical and thermal system. Its purchase price may be higher, but reduced rework and easier service can lower total ownership cost. Approve a retrofit only after the housing, thermal path, optics, and maintenance access have been verified.
Controls and California Title 24 Compliance
A retrofit can pass the fixture test and still fail in operation. In a Southern California commercial project, the control plan must account for switching, dimming, occupancy behavior, daylight response, emergency operation, and the records needed for the applicable permit and inspection path. These decisions affect energy performance, occupant complaints, rework, and compliance after installation.
Check dimmer compatibility before ordering the LED retrofit downlight. An existing phase-control dimmer may have been chosen for a much larger incandescent or halogen load. The lower load of an LED driver can cause flicker, buzzing, a limited dimming range, or unreliable startup. Match the driver and dimmer using the manufacturer's compatibility information, rather than assuming that a familiar wall control will work.
Build the control schedule before the fixture order
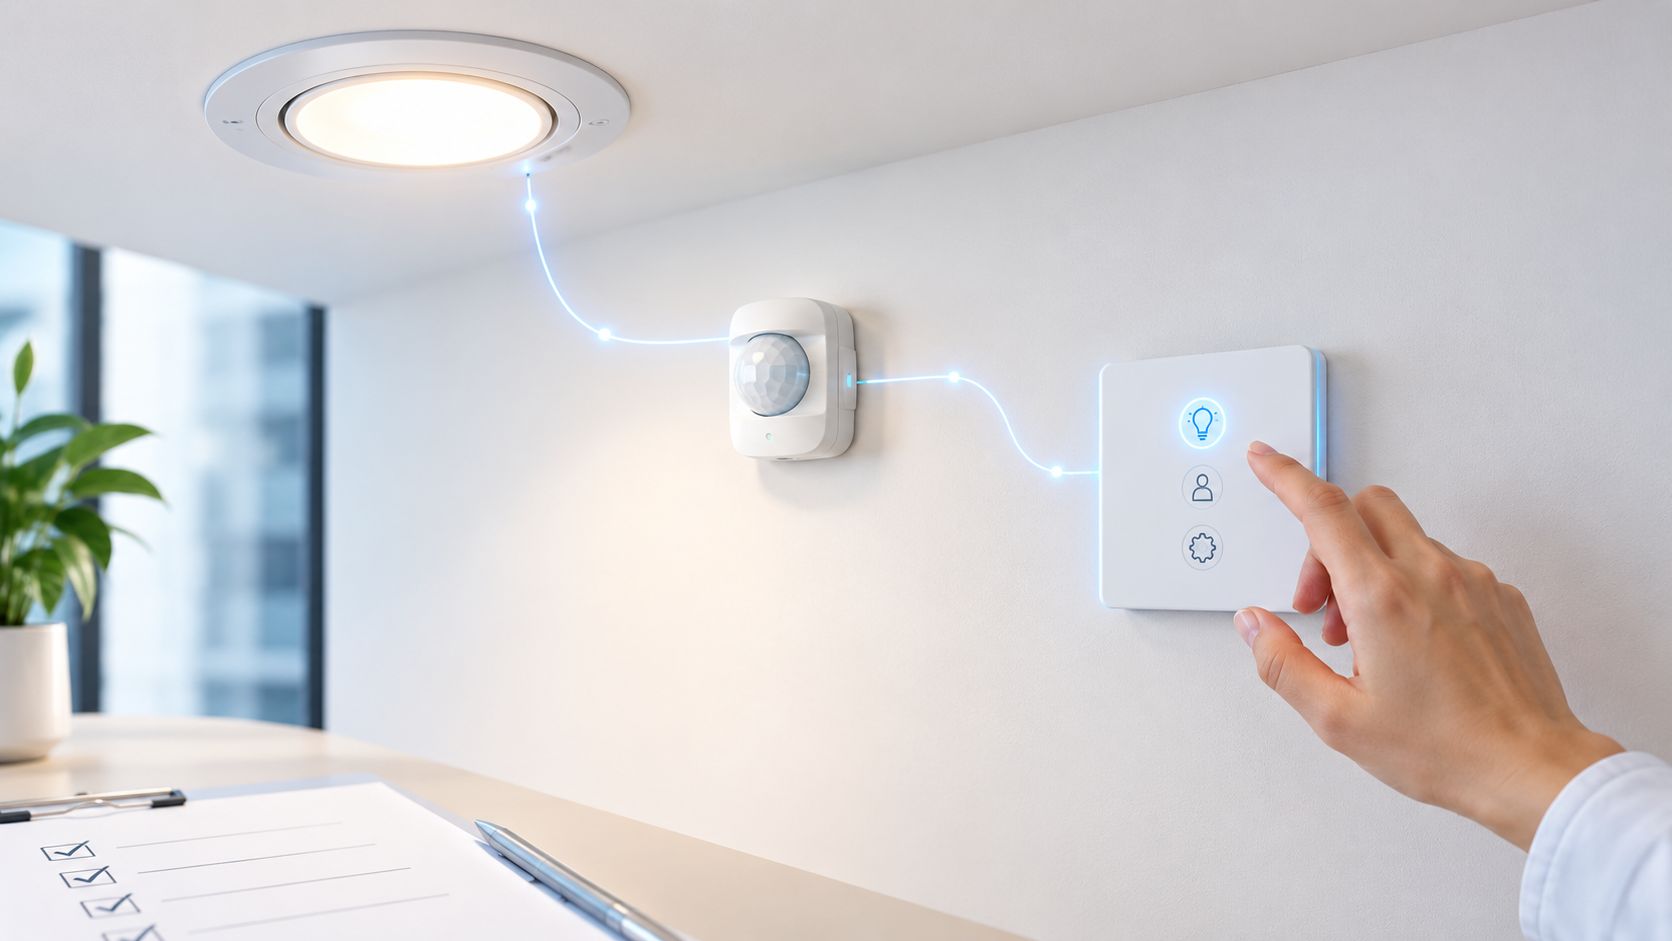
Assign a control strategy to each fixture group. On and off switching requires a review of circuit grouping and any planned switching changes. For dimming, confirm the dimmer technology, driver rating, and listed compatibility. Occupancy response depends on sensor location, coverage, time-out behavior, and any manual control requirement. Daylight response requires perimeter zones and controls that reduce output smoothly. Emergency operation must remain distinct from normal dimming logic, with transfer behavior tested under the intended conditions.
Keep product data, control diagrams, test results, and certification records together. The California Title 24 lighting requirements guide provides a useful starting point, but the design professional, authority having jurisdiction, and utility program should confirm the current requirements. Applicability depends on the building type, project scope, and permit conditions.
The product also needs a defensible performance record. Energy Star's downlight specification states that retrofit kits below 150 W input must achieve at least 150 lm/W initial efficacy, undergo testing in the worst-case thermal environment for which they are rated, and deliver at least 75% of total lumens within the 0 to 60 degree zone from nadir. The Energy Star downlight specification ties those requirements to beam delivery and thermal reliability.
Commission the controls with the fixtures, not as a later add-on. Confirm dimming, sensor response, daylight reduction, control-platform communication, and emergency behavior, then retain the results with the fixture schedule. A driver that performs well alone is still a poor retrofit choice if it operates unpredictably within the installed control system.
The Installation and Maintenance Process
A retrofit can fail before the first fixture is energized if the ceiling conditions, wiring, or control system do not match the design. Start with a safe shutdown and verify the correct circuit. Lock out power where required, inspect the existing wiring, and compare the proposed kit or luminaire with the approved fixture schedule. Confirm its housing compatibility, thermal rating, driver, and control requirements before opening cartons.
The removal work is an inspection opportunity. Heat-damaged sockets, brittle conductors, loose junction boxes, abandoned controls, and unsupported housings may be concealed above the trim. Document and correct those conditions instead of covering them with a new fixture. If the field installation differs from the design assumption, pause the retrofit and resolve the discrepancy before repeating the same work across the property.
Use the approved submittal as the installation reference. Verify the product by matching the model, trim, color, driver, gasket, and control accessory. Prepare the housing by removing incompatible lamps, ballasts, reflectors, or other components specified by the kit instructions. Make the connections using the listed wiring method, securing the driver and protecting conductors from sharp edges and heat. These details affect both service life and future troubleshooting.
Then Seat the trim so it sits flush, its springs or clips are engaged, and the ceiling finish carries no fixture weight. Energize safely and test startup, switching, dimming, and circuit behavior at the fixture group before the area is released. Record the result with photographs of unusual conditions and the installed model and control information in the fixture schedule.
Emergency and exit-lighting units need their own functional test. A normal lighting test does not show whether a battery backup, emergency driver, or central inverter will operate correctly with the new LED load. Identify these circuits during planning, test them after installation, and retain the results in the property record.
Maintenance requirements change rather than disappear. LEDs reduce lamp-changing work, but drivers, sensors, connectors, emergency batteries, and control devices still need inspection. Schedule cleaning and functional checks around occupancy patterns. Investigate flicker, delayed startup, color change, or partial outages before a problem affects an entire fixture group.
Closeout documentation should include the final fixture schedule, driver and dimmer information, control diagrams, emergency test records, warranty documents, and any Title 24 certification or inspection paperwork. A complete file gives the next technician the information needed to service the installation without reopening the original investigation.
Looking Ahead to Long-Term Value
A successful downlight upgrade should leave the property easier to operate, not merely brighter on the day of installation. Tenants notice consistent color, controlled glare, clean trims, and lighting that responds predictably to occupancy and daylight. Facility teams notice when access calls, lamp storage, and recurring lighting complaints become less disruptive.
The long-term decision is therefore broader than retrofit kit versus integrated fixture. It includes whether the installed driver can be serviced, whether controls can be expanded, whether replacement products will match the original optical appearance, and whether the property team can retrieve the compliance record without searching through old invoices.
Design for the next service call
A practical closeout review asks:
- Can a technician identify the replacement: Record the exact model and driver rather than only the product family.
- Can the controls be diagnosed: Label control zones and preserve configuration information.
- Can emergency systems be tested: Keep battery, inverter, and functional-test records with the lighting documents.
- Can future work stay consistent: Document color, trim, beam distribution, and installation conditions.
- Can the building adapt: Favor products and controls with a clear path for future integration when the property is moving toward intelligent-building operation.
LED adoption has become dominant in downlight applications, yet retrofit demand remains strong, as the distributor data cited earlier demonstrates. That combination tells facility managers something important: modernization doesn't follow one hardware path. Existing ceilings, tenant schedules, thermal conditions, and control requirements continue to shape the right answer.
The market is also expanding beyond a simple source replacement. One independent LED downlight market forecast projects global market value of USD 29.3 billion in 2025 and USD 54.9 billion by 2034. Treat those figures as a forecast, not a guarantee, but the direction reinforces the need to choose equipment with serviceability and controls in mind.
For a property owner, the best time to act is usually before widespread failures force rushed purchasing. Survey the ceilings, test a representative installation, verify the controls and compliance path, then compare the lifecycle cost of a suitable retrofit against a complete luminaire replacement. That process protects the energy budget and reduces the chance that today's upgrade becomes tomorrow's rework.
Access Electrical and Lighting provides commercial LED retrofit installation, lighting controls, emergency-lighting testing, and Title 24 certification support for Southern California commercial, retail, office, and multifamily properties. To review your recessed lighting conditions and plan a compliant upgrade around thermal limits, controls, and maintenance needs, visit Access Electrical and Lighting.