You're usually looking for a recessed lighting calculator at the same point every property manager does. Plans are moving, a tenant improvement is on a deadline, and someone needs a fixture count that's defensible. Not just “looks about right,” but close enough to budget, permit, and layout decisions that you don't create problems downstream.
That's where most generic calculators fall short. They can give you a rough count for a flat, rectangular room, but commercial work in Southern California rarely stays that simple. You're dealing with offices, retail floors, corridors, amenity spaces, controls, emergency lighting, and California code requirements that don't show up in a basic DIY tool.
Used the right way, a recessed lighting calculator is still valuable. It helps you set a baseline, compare fixture packages, and catch bad assumptions early. Used the wrong way, it gives false confidence. The math may be clean, but the jobsite result ends up uneven, overlit, underlit, or noncompliant.
The Foundation of Commercial Lighting Plans
A property manager usually feels the problem before anyone opens a calculator. One suite looks dim at the workstations, the corridor has bright spots and dark gaps, and the permit set still needs a fixture schedule that can hold up in plan review.
That starts with getting the lighting target right.
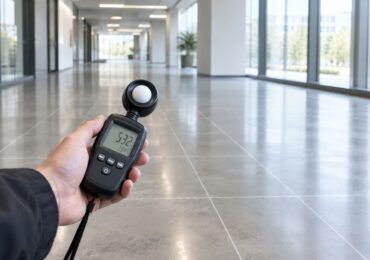
Commercial recessed lighting plans are built on two different measurements. Lumens describe how much light a fixture emits. Foot-candles describe how much usable light reaches the working plane, floor, counter, or desk surface. For layout decisions, foot-candles carry more weight because tenants experience the light at the surface level, not inside the fixture housing.
A recessed lighting calculator only helps if the target matches the room's use. Set the wrong foot-candle level and the rest of the layout drifts off course. Fixture count, spacing, circuiting, and energy compliance all start from that first number.
Why the target light level matters
In commercial work, the question is not “How many cans fit in this ceiling?” The question is “What light level does this room need to perform well, pass review, and stay comfortable in daily use?”
An office open area needs a different result than a reception counter. A break room has a different task profile than a leasing desk. Corridors, restrooms, model units, and back-of-house rooms all have different expectations for visibility, comfort, and coverage. A generic online calculator rarely accounts for that distinction, and it definitely does not account for California code layers that affect fixture selection later.
Property managers also run into a unit issue here. Plans, spec sheets, and imported products may list illuminance in lux instead of foot-candles. Use this foot-candles to lux conversion reference before setting your target so the schedule and fixture package are speaking the same language.
A practical planning range
Early planning usually works best with a simple performance table. These are starting points, not final design values.
| Space Type | Typical Planning Range |
|---|---|
| General office areas | 30 to 40 FC |
| Task-heavy counters and service points | 50 to 70 FC |
| Kitchens and bathrooms | 70 to 80 FC |
| Lounge-style common areas | 10 to 20 FC |
| Bedrooms or low-ambient residential zones | 10 to 20 FC |
Those ranges are useful for budgeting and layout studies, especially in mixed-use and multifamily properties. The trade-off is straightforward. Push the level too low and the space feels underlit or patchy. Push it too high and you create glare, waste wattage, and make Title 24 compliance harder than it needs to be.
What experienced layout planning looks at first
Before fixture count gets calculated, review these conditions:
- Room function. A conference room, leasing office, and retail fitting area should not start with the same target.
- Ceiling height. Higher ceilings change beam spread, spacing, and delivered light at the surface.
- Surface reflectance. Dark flooring, wood slat ceilings, and exposed finishes absorb light and change the result.
- Uniformity. Commercial spaces need consistent coverage, especially in corridors, open offices, and tenant-facing areas.
- Code layers. Title 24 controls, dimming requirements, and emergency egress lighting can change the fixture package even if the room geometry stays the same.
That last point gets missed all the time. A calculator can suggest a quantity. It cannot tell you whether the layout will coordinate cleanly with occupancy controls, daylight zones, battery backup units, or emergency path-of-egress requirements.
For commercial properties, the calculator is a planning tool. The primary task involves setting a target that fits the room, the ceiling, the code path, and the way the building will be used.
Calculating Your Required Fixture Count
A property manager approves a clean-looking downlight count on a floor plan, then the first night walk shows dark aisles, bright hotspots at the reception desk, and an egress path that still needs emergency heads. That usually starts with a fixture count that treated the room like a simple box and ignored how commercial spaces get lit.
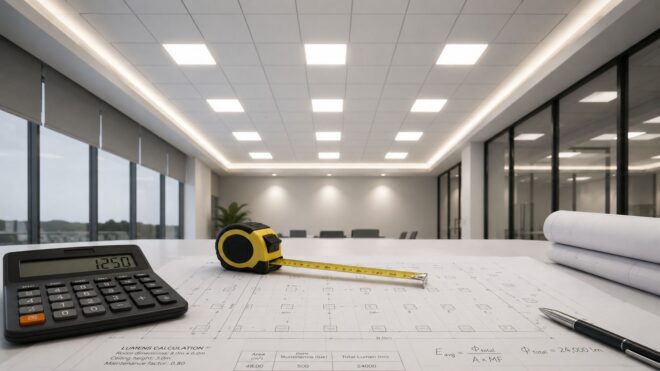
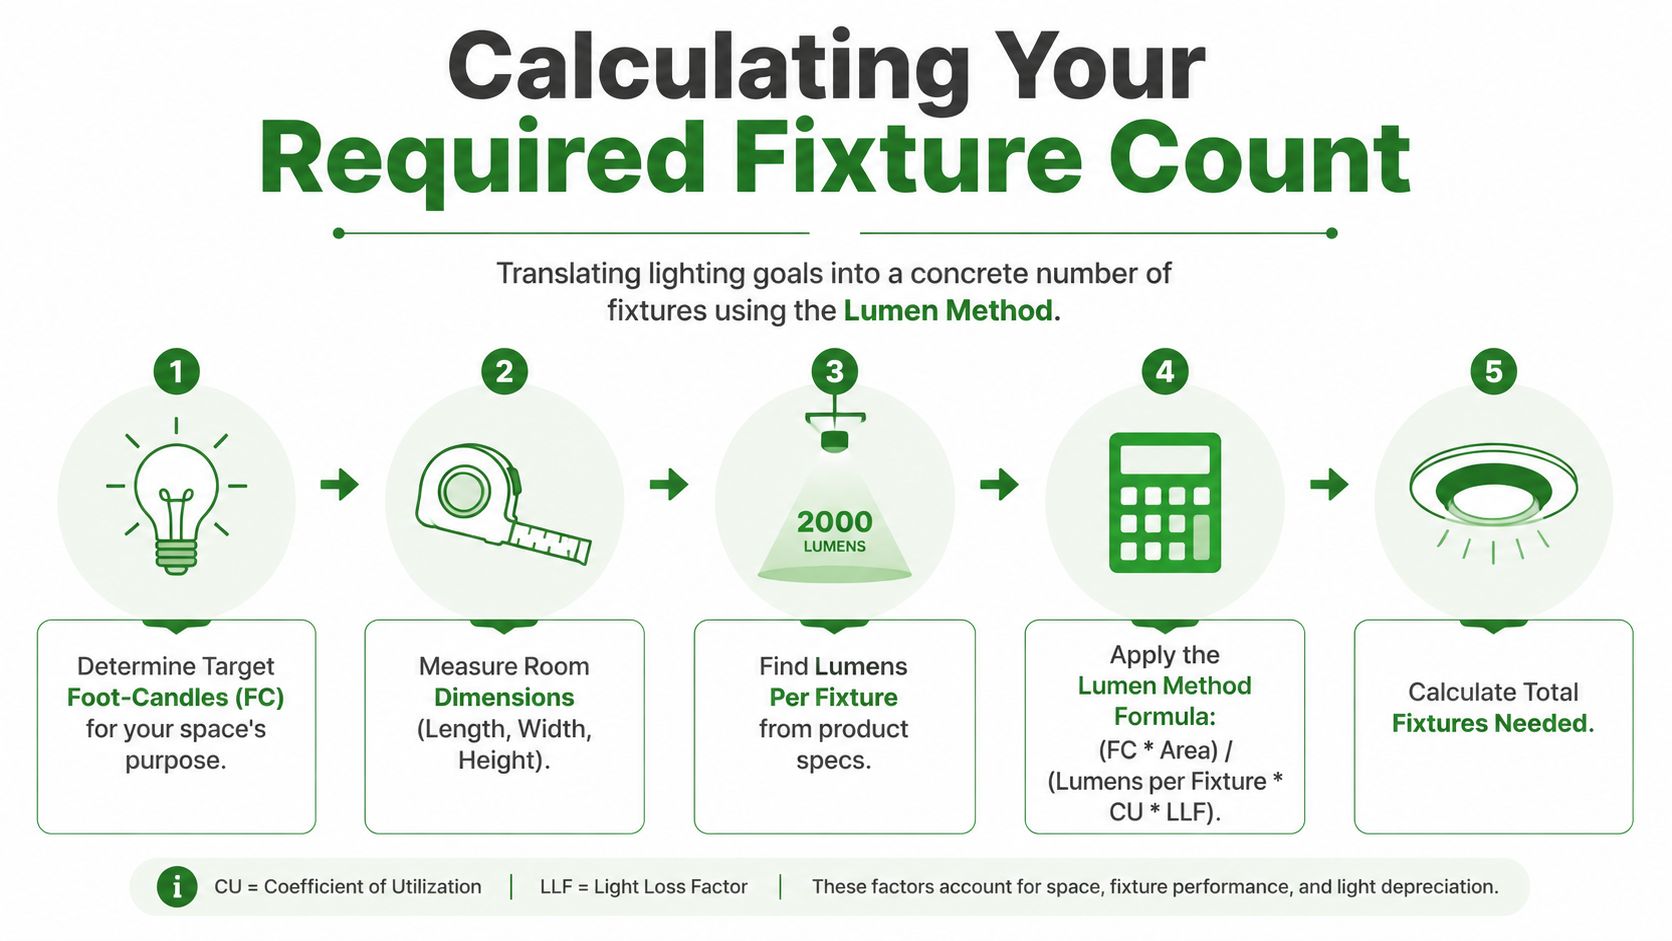
The count starts with the lumen method. In plain terms, calculate the room area, multiply by the target light level, then divide by the delivered lumens of the fixture you plan to install. For commercial work, use the actual cut sheet, not the nominal lamp replacement language on a sales page. A 4-inch, 6-inch, and architectural downlight can all be sold as "bright," but their delivered output, beam shape, trim losses, and control compatibility are not interchangeable.
Maintenance matters too. LED fixtures lose output over time, and dirt, lens condition, and operating environment reduce what reaches the work surface. If the fixture count only works on day one, it is undersized.
A field-ready calculation sequence
Use this process when reviewing offices, corridors, tenant improvements, and amenity areas:
Measure the actual lit area
Start with length times width, then subtract areas that do not need the same light level, such as millwork zones, soffits, or storage alcoves.Set the target foot-candles for the task
Pick a level that fits how the space is used. Open office, back-of-house, lobby, and circulation areas should not all be calculated to the same target.Use delivered lumens from the selected fixture
Pull the value from the manufacturer cut sheet for the exact trim, wattage, and color temperature package being specified.Apply a light loss factor
This keeps the count tied to maintained light levels instead of day-one output.Round to a layout that can be built
Fixture count still has to fit ceiling conditions, switching, daylight zones, and code-required equipment locations.
Here is a practical example. A small leasing office that needs a moderate, even light level may calculate to a quantity between two clean layout options. On paper, five fixtures might satisfy the math. In the field, six may be the better decision because they fit the ceiling grid, improve coverage at the desk and file wall, and coordinate better with dimming zones.
That is the trade-off. The formula gives the starting count. The job is choosing the count that still works after you account for reflectances, furniture placement, and the control sequence.
If plans or fixture schedules switch between metric and imperial units, use this foot-candle to lux conversion reference to keep the lighting schedule and photometric targets aligned.
What holds up on a commercial project
What works:
- Using the exact fixture submittal instead of a generic lumen assumption
- Calculating for maintained output so the space stays serviceable after occupancy
- Checking the count against controls and code layers including Title 24-required shutoff and dimming strategies
- Leaving room for emergency equipment coordination where path-of-egress lighting or battery backup units affect the final ceiling plan
What causes rework:
- Counting fixtures by square footage alone
- Using one target level across every room on the floor
- Ignoring tall shelving, partitions, or dark finishes
- Treating the calculator result as the final layout
On California projects, this matters more than it does in a simple residential remodel. The fixture count has to support the intended light level and still fit Title 24 controls, emergency lighting coverage, and the actual ceiling plan the contractor can install. That is why a recessed lighting calculator is useful for planning, but only if the numbers are tied to real fixtures and a code-compliant commercial layout.
Mastering Recessed Lighting Spacing and Layout
Getting the fixture count right won't save a bad layout. I've seen rooms with the correct quantity of downlights still feel patchy because the spacing was wrong, the wall offsets were ignored, or the grid was centered on the ceiling instead of the usable space.
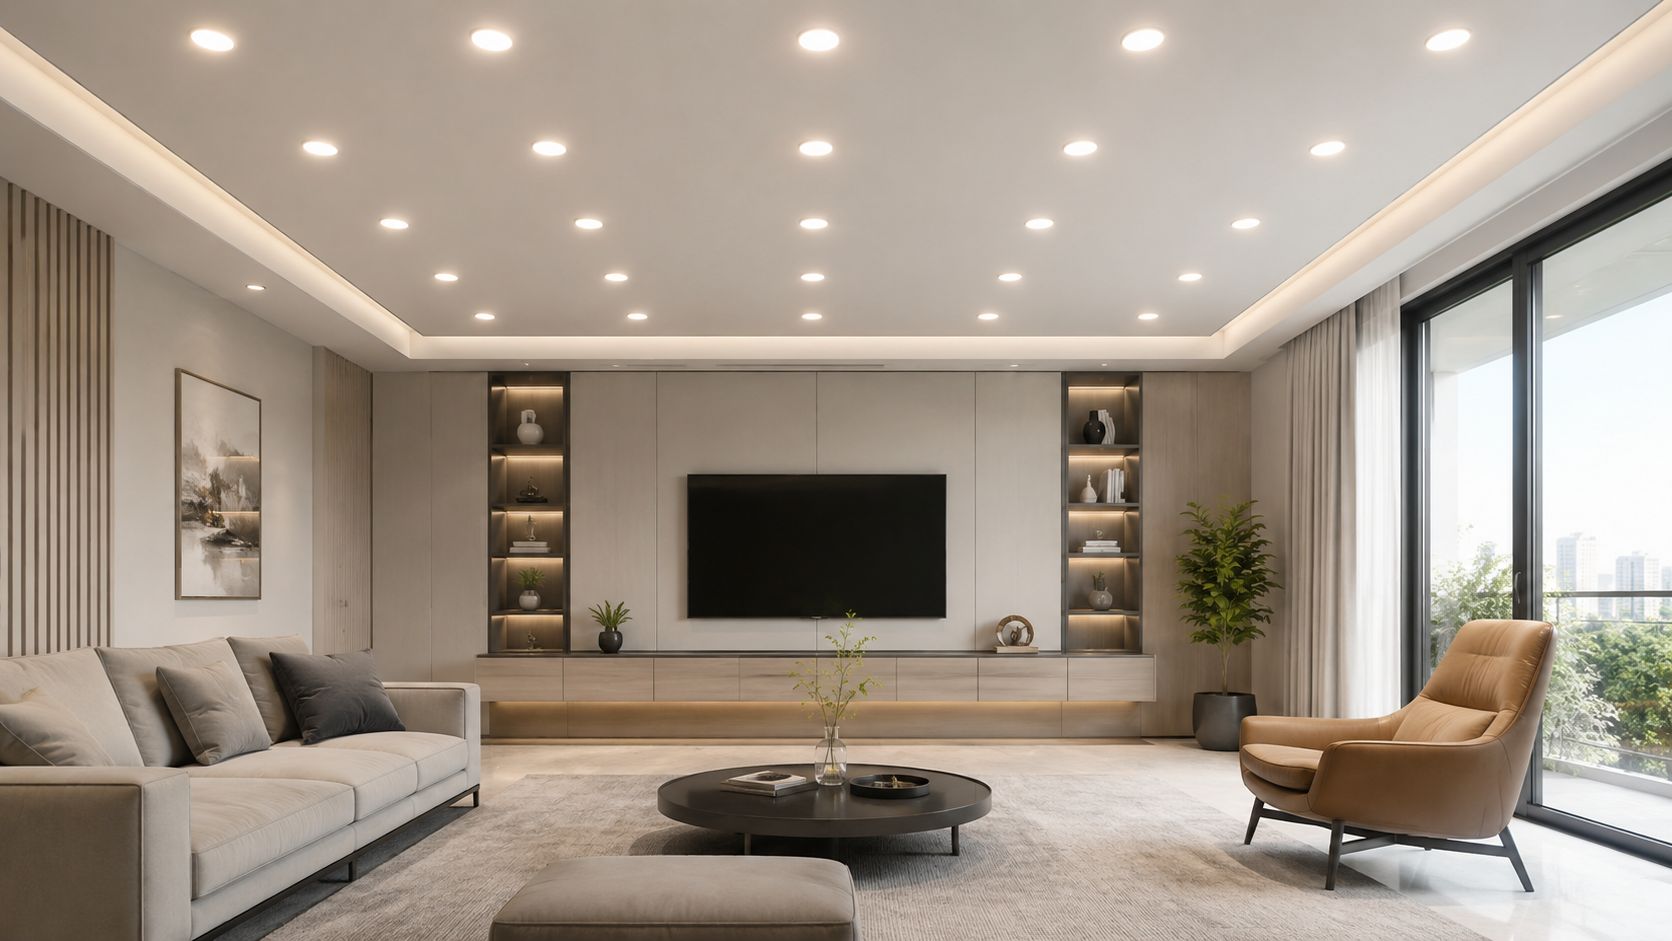
The core spacing rule is simple and still reliable: spacing should be about half the ceiling height. According to Angi's recessed light calculator guidance, that means about 4 to 5 feet between lights for commercial ceilings from 8 to 10 feet, with a wall offset of at least 2 feet.
Use the spacing rule as a starting line
That half-the-ceiling-height rule gives you a workable first layout fast. It's good for checking whether a proposed grid is even remotely reasonable. It also keeps people from making two common mistakes: packing fixtures too tightly in the center, or stretching them too far apart to save on fixture count.
The wall offset matters just as much. If fixtures are too close to perimeter walls, you get glare and harsh scalloping. If they're too far away, the room edges look dim and unfinished.
Layout changes with the task
A warehouse aisle and a conference room don't ask the fixtures to do the same job.
In a conference room, you usually want broad, even ambient coverage across the table and circulation space. In a retail aisle or display-focused setting, beam angle and aiming strategy start to matter more because the lighting has to support vertical surfaces, products, or focal zones.
That's where people misuse a recessed lighting calculator. The calculator can suggest a grid, but it can't see shelving, partitions, soffits, or display orientation. It doesn't know whether you need soft ambient light or stronger visual punch on merchandise and walls.
For broader guidance on matching layout to business use, this commercial lighting design overview is a useful reference.
A symmetrical ceiling layout isn't always a good lighting layout. The usable room should control the grid, not the other way around.
A practical layout check
Before signing off on a recessed layout, verify these points:
Center the plan on the active area
In offices, that may be desks or meeting zones. In retail, it may be aisles and point-of-sale areas.Hold the wall offset consistently
A clean perimeter line usually improves both uniformity and appearance.Check obstructions early
HVAC diffusers, fire sprinklers, access panels, and soffits can ruin a nice paper layout.Review glare risk
Seating areas, conference tables, and screen-facing workstations need more care than open circulation zones.
The spacing formula gives you structure. Professional layout judgment is what turns that structure into useful light.
Adjusting for Complex Rooms and Sloped Ceilings
Most online tools assume the room is a flat rectangle. Commercial spaces almost never stay that cooperative. You get L-shaped tenant suites, alcoves, offset corridors, reception areas that open into lounges, and vaulted or sloped ceilings that change the throw distance across the room.
That's where the standard recessed lighting calculator starts giving answers that look neat on a screen and fail on site.
The problem is documented clearly in FSG's recessed lighting calculator resource. Existing calculators largely miss sloped or vaulted ceilings and non-rectangular room geometries, and treating irregular spaces as a single rectangle forces manual drafting for the 30% of commercial spaces with non-standard layouts.

Why the average-height shortcut fails
On a sloped ceiling, fixture-to-surface distance changes across the room. That changes beam footprint and intensity. If you plug in one average ceiling height and lay out a uniform grid, the lower side and higher side won't perform the same way.
The lower zone can feel crowded and bright. The higher zone can look weak and thin. In lobbies, clubhouses, and retail entries, that unevenness is easy to spot.
A proper layout treats the room as separate lighting zones that happen to share a ceiling, not as one averaged box.
How to handle an L-shaped space
For an L-shaped retail floor or office suite, break the plan into rectangles that reflect actual use. Don't force one global rows-by-columns pattern.
A practical workflow looks like this:
Start with the primary rectangle
Lay out the main open area first.Treat each projection or alcove as its own zone
Small add-on spaces rarely want the same spacing rhythm as the main field.Align transitions intentionally
Where two zones meet, adjust rows so the room feels continuous instead of patched together.Check furniture and circulation
A mathematically perfect fixture over a storage nook or millwork bulkhead isn't helping anyone.
What a professional adjustment looks like
Take a vaulted-ceiling lobby. The instinct is to keep all cans in a uniform visual grid. That often looks disciplined on paper, but the lighting pattern can drift badly because the ceiling plane isn't constant. A better approach is to keep spacing responsive to the changing height and use the lower and higher ceiling areas as separate layout conditions.
For an L-shaped tenant space, the instinct is usually to draw the bounding rectangle and let the calculator populate it. That's how you end up with fixtures in dead corners, behind built-ins, or in zones that don't need the same illumination.
Online calculators are strongest when the room is simple. The moment the geometry gets architectural, the output becomes a rough draft.
What to check before finalizing a complex layout
Use these review questions on remodels and tenant improvements:
| Question | Why it matters |
|---|---|
| Is the room truly one zone? | Different functions often need different layouts. |
| Does ceiling height stay constant? | If not, spacing may need to change across the room. |
| Are there alcoves or angled walls? | A single grid may place fixtures in unusable locations. |
| Will millwork, shelving, or partitions alter the light pattern? | Fixtures should support actual room use, not empty floor area. |
The calculator still has value here. It helps size each zone. But once the room stops being a plain rectangle, you need drafting judgment, fixture knowledge, and field awareness.
Integrating Title 24 and Emergency Lighting
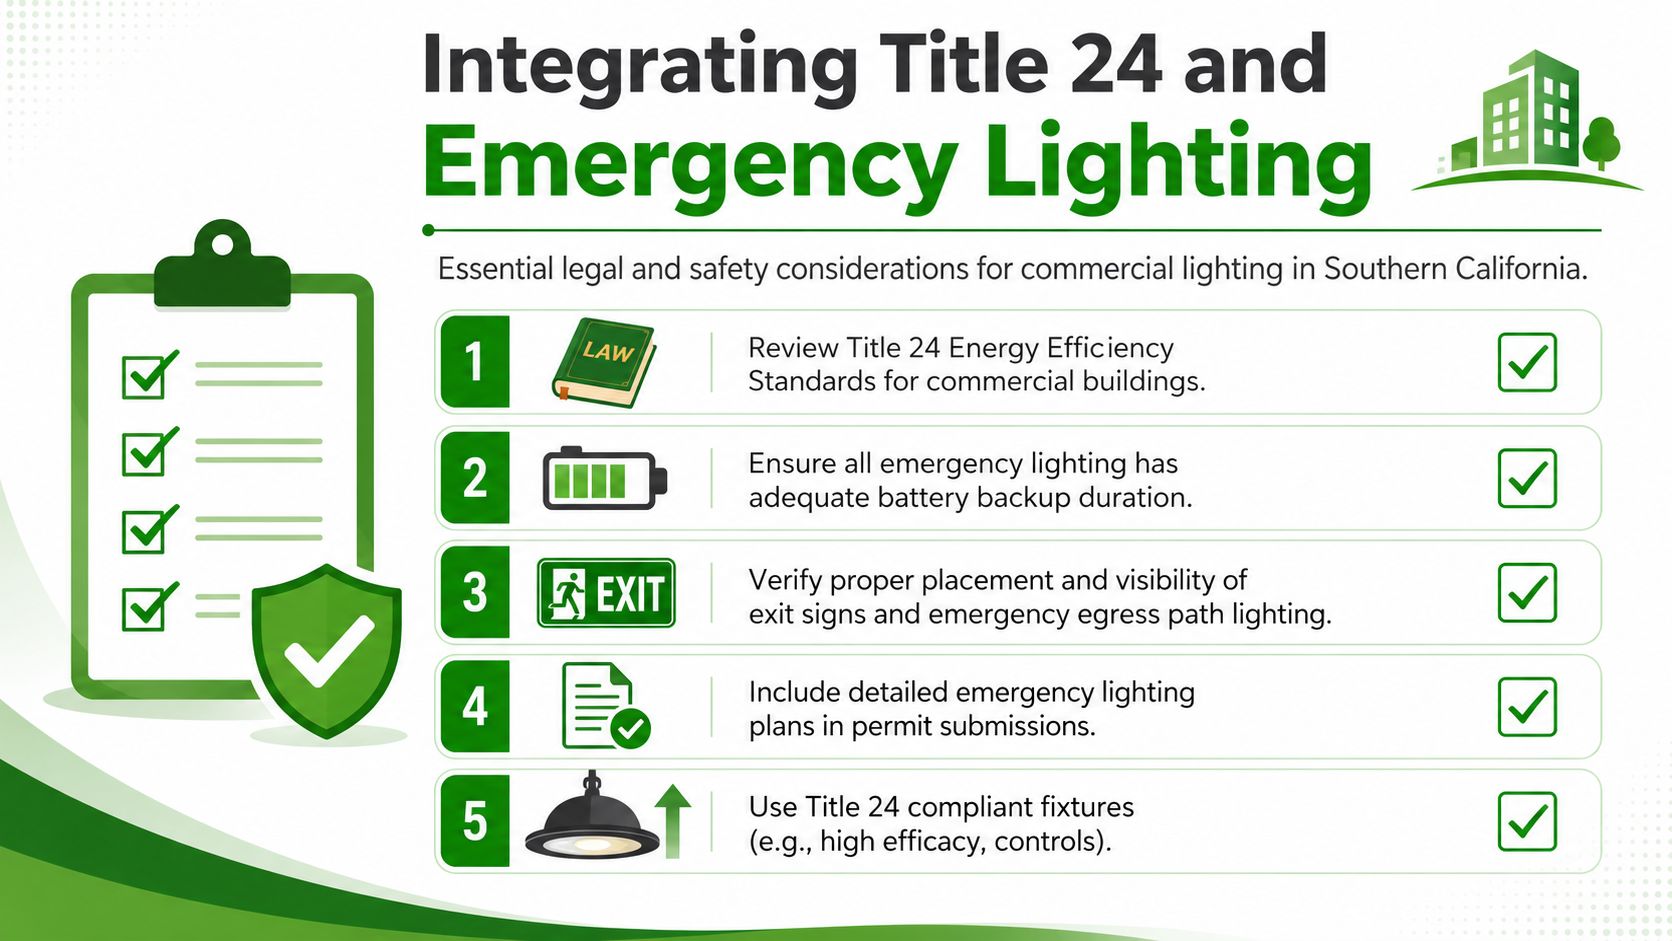
In Southern California, a recessed lighting plan for commercial property isn't complete when the downlights are counted and spaced. It's complete when the lighting, controls, and life-safety components can pass review, function properly, and support the building during normal operation and an outage.
That's why generic calculator output should never be treated as a permit-ready lighting plan.
The code side matters because California projects are tied to control requirements, acceptance, and documentation. The life-safety side matters because emergency lighting and egress visibility don't become optional when the main lighting looks good.
Why code integration belongs in the first draft
If you wait until late in the project to think about controls and emergency lighting, you usually pay for it in rework. That can mean fixture substitutions, wiring changes, revised control zones, or permit comments that push the schedule.
A better process builds those requirements into the lighting plan from the start. For California projects, that includes the Title 24 side of the conversation. This Title 24 compliance guide is a good reference point for understanding why fixtures, controls, and documentation need to be aligned early.
A practical checklist for property managers
Before approving a recessed lighting layout, confirm these issues with your contractor and design team:
Control strategy
Verify the switching, dimming, and sensor approach matches how the space will operate.Emergency coverage
Make sure battery-backed fixtures and egress lighting are part of the plan, not an afterthought.Permit documentation
Lighting layouts, fixture schedules, and control notes should agree with each other.Fixture compatibility
Not every decorative or budget fixture package plays nicely with required controls.Inspection readiness
A layout that looks clean but lacks code support can still fail at the worst time, right before occupancy.
Compliance work protects more than inspections. It protects safety, tenant operations, and the owner from avoidable liability.
For property managers, that's the primary trade-off. The cheapest path on paper often becomes the expensive path in field corrections. A recessed lighting calculator helps estimate scope. It doesn't address California compliance by itself.
When a Calculator Is Not Enough
A recessed lighting calculator is good at one thing. It gives you a structured starting point.
It's useful for early budgeting, fixture-count comparisons, and sanity-checking whether a concept is underbuilt or overloaded. For a straightforward room with a flat ceiling and standard use, that may be enough to move the discussion forward.
But there are clear signs that the project has outgrown calculator-only planning.
The red flags
Bring in a commercial electrical professional when any of these show up:
The room geometry is irregular
L-shapes, alcoves, angled walls, and split-use spaces need zone-based layout decisions.The ceiling isn't flat
Vaulted and sloped conditions change spacing behavior and visual balance.The project affects controls or compliance
California commercial work often needs more than a fixture count.The electrical infrastructure may need changes
Panel capacity, circuiting, and existing control systems can limit what's feasible.The property includes life-safety components
Emergency lighting, exit paths, and backup requirements have to be integrated, not patched in later.
What the calculator can't see
It can't see sprinkler conflicts, access-panel locations, tenant millwork, beam spreads, reflector choices, glare at seated eye level, or how the room is occupied. It also can't tell you whether the cleanest ceiling pattern is the wrong solution for task visibility or code compliance.
That's the ultimate limit. The tool solves a math problem. Commercial lighting projects are field conditions, code conditions, and operating conditions layered on top of that math.
The better way to use it
Use the recessed lighting calculator early. Use it to ask better questions. Use it to compare options before you spend money on a bad direction.
Then hand the layout off for review when the job includes commercial controls, Title 24 issues, emergency lighting, unusual geometry, or electrical upgrades. That's how you avoid change orders driven by avoidable assumptions.
A calculator should support professional planning, not pretend to replace it.
If you're planning lighting for an office, retail center, multifamily property, or tenant improvement in Southern California, Access Electrical and Lighting can help you turn a rough fixture count into a code-compliant, field-ready plan. Their team handles commercial lighting, Title 24 support, emergency lighting, controls, retrofits, and electrical upgrades across Orange County and surrounding markets.