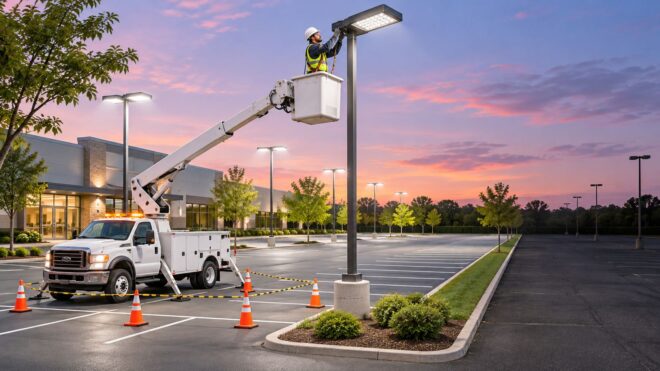
A parking lot pole light LED retrofit is a coordinated project, not a simple fixture swap. It touches light levels, fixtures, controls, pole condition, and safe access at height. Picture this: half the lot is dark on a Monday morning, tenants are calling, and the utility bill keeps climbing. Replacing the heads on the poles won't fix that on its own.
What a Parking Lot Pole Light LED Retrofit Really Involves
Many owners assume the job is a bulb swap with a new price tag attached. In reality, every pole becomes its own small engineering problem. Each one has its own light levels, wiring, and structural history.
The graphic below lays out the four stages every project should move through, from measurement to final verification.
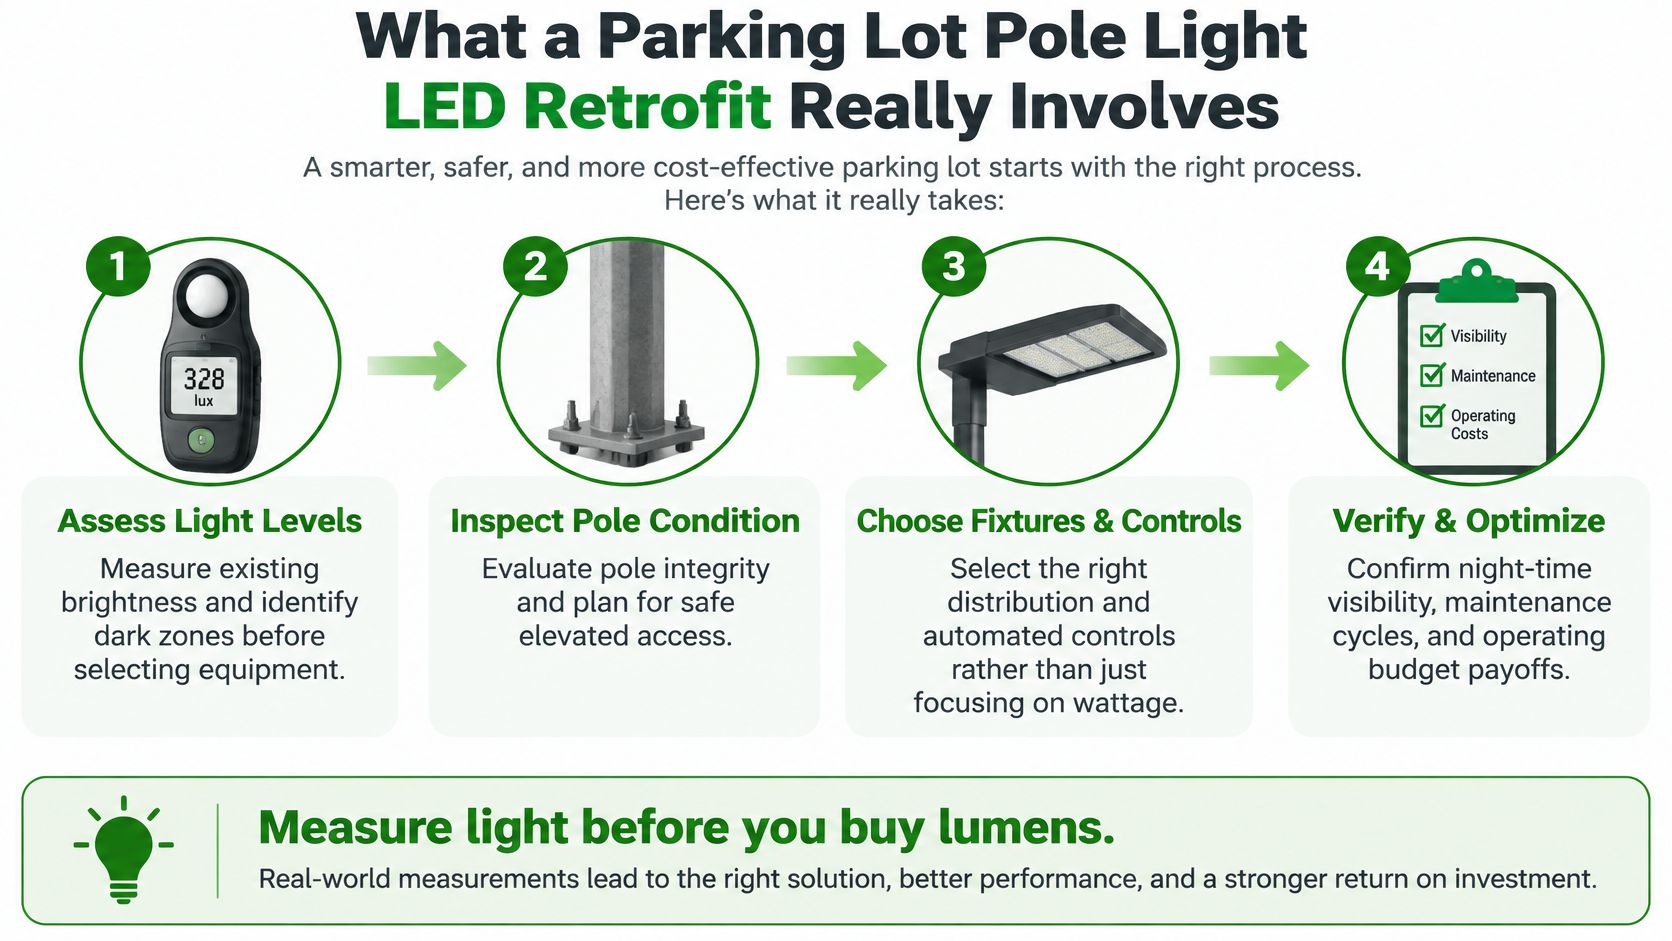
The visual makes one thing obvious: measurement comes first. You only choose fixtures once you know where the dark zones are.
The U.S. Department of Energy has tracked steady growth in LED adoption for commercial outdoor lighting. Retrofits are now a mainstream path, not an experiment on the fringe.
Why Wattage Misleads Buyers
A lower-wattage LED with the right optics can light a drive aisle better than an older, higher-wattage head. Wattage tells you how much power a fixture draws, not how much light actually reaches the pavement.
Here's how the work divides across the project:
| Stage | Key Decision | Owner |
|---|---|---|
| Assess light levels | Locate dark zones | Property manager, contractor |
| Inspect poles | Repair, reuse, or replace | Structural contractor |
| Choose fixtures and controls | Distribution, lumens, controls | Owner with lighting designer |
| Verify and optimize | Night readings and handover | Owner and contractor |
Each stage pays off in terms owners already track: operating budget, maintenance cycles, night-time visibility, and inspection readiness. The rest of this guide walks through each stage in order, with the details that tend to matter on real jobs.
Measure light before you buy lumens.
A solid parking lot pole light LED retrofit starts with a survey. It gives the property manager fielding complaints and the electrician writing the quote the same facts to work from.
Surveying Existing Poles and Light Levels First
Head out after dark with a light meter. Take readings directly beneath each pole, then again halfway between poles. Mark each spot on a site sketch so you can repeat the same readings later.
Don't stop at the drive aisles, though. Check stairs, dumpsters, mail kiosks, and pedestrian paths too. A bright lane can pull your attention away from a dim walkway linking apartment entrances to resident parking, and that walkway is often where the complaints come from.

- Measure consistently. Log the units, meter height, which fixtures were running, and the time of each reading.
- Number every pole. Tie each inventory number to a photo and a spot on the sketch.
- Write complaints down precisely. "Back lot dark" doesn't help anyone. Mark the actual spot instead.
Daylight is the time to check the hardware. Note pole heights, mounting types, fixture counts, the lamp technology in use, and where the circuits and photocells sit. Photograph base covers, anchor bolts, and hand holes, but leave energized equipment alone. Opening it up is the electrician's job.
Build a Survey Package Contractors Can Price
Don't judge a pole by its fixture head alone. Overgrown landscaping can hide base corrosion, a leaning pole may mean a vehicle has hit it, and extension cords running to fixtures signal a wiring problem, not a quick fix to live with.
Flag questionable poles for professional evaluation before assuming they can be reused.
Keep what you observed separate from what you think it means. A photo of rust or a lean helps the contractor plan an inspection, but it can't tell anyone whether the pole can carry a new fixture.
Before requesting quotes, gather:
- A numbered pole inventory and location map.
- Night readings and marked dark zones.
- Daylight photographs and condition concerns.
- Known circuit, control, and equipment details.
Once the package is ready, request a complimentary lighting survey from Access Electrical and Lighting to review brightness, fixture placement, and energy use together. You'll price the retrofit once, against real numbers.
The lowest wattage on a quote isn't always the smartest pick for a parking lot pole light LED retrofit. Before you approve anything, weigh the energy savings against how much light actually reaches the pavement.
Choosing LED Fixtures That Save Energy Without Dark Zones
The Leavenworth demonstration makes that comparison hard to ignore. Swapping a 1,000-watt pulse-start metal-halide system for LEDs cut energy use by 63%, but illuminance dropped by 68%. That's a trade-off worth studying closely before you sign a purchase order.
Against a 400-watt pulse-start system, the LED installation saved 44% and kept minimum illuminance roughly similar at relamping. That's an easier result to live with, but it still depends on the site.
| Existing Baseline | Energy Savings | Measured Light Result |
|---|---|---|
| 1,000-watt pulse-start metal halide | 63% | 68% less illuminance |
| 400-watt pulse-start metal halide | 44% | Similar minimum illuminance at relamping |
These numbers aren't universal replacement ratios. What they really tell you is that your specs need minimum illuminance and uniformity, not just a wattage equivalence printed on the box.
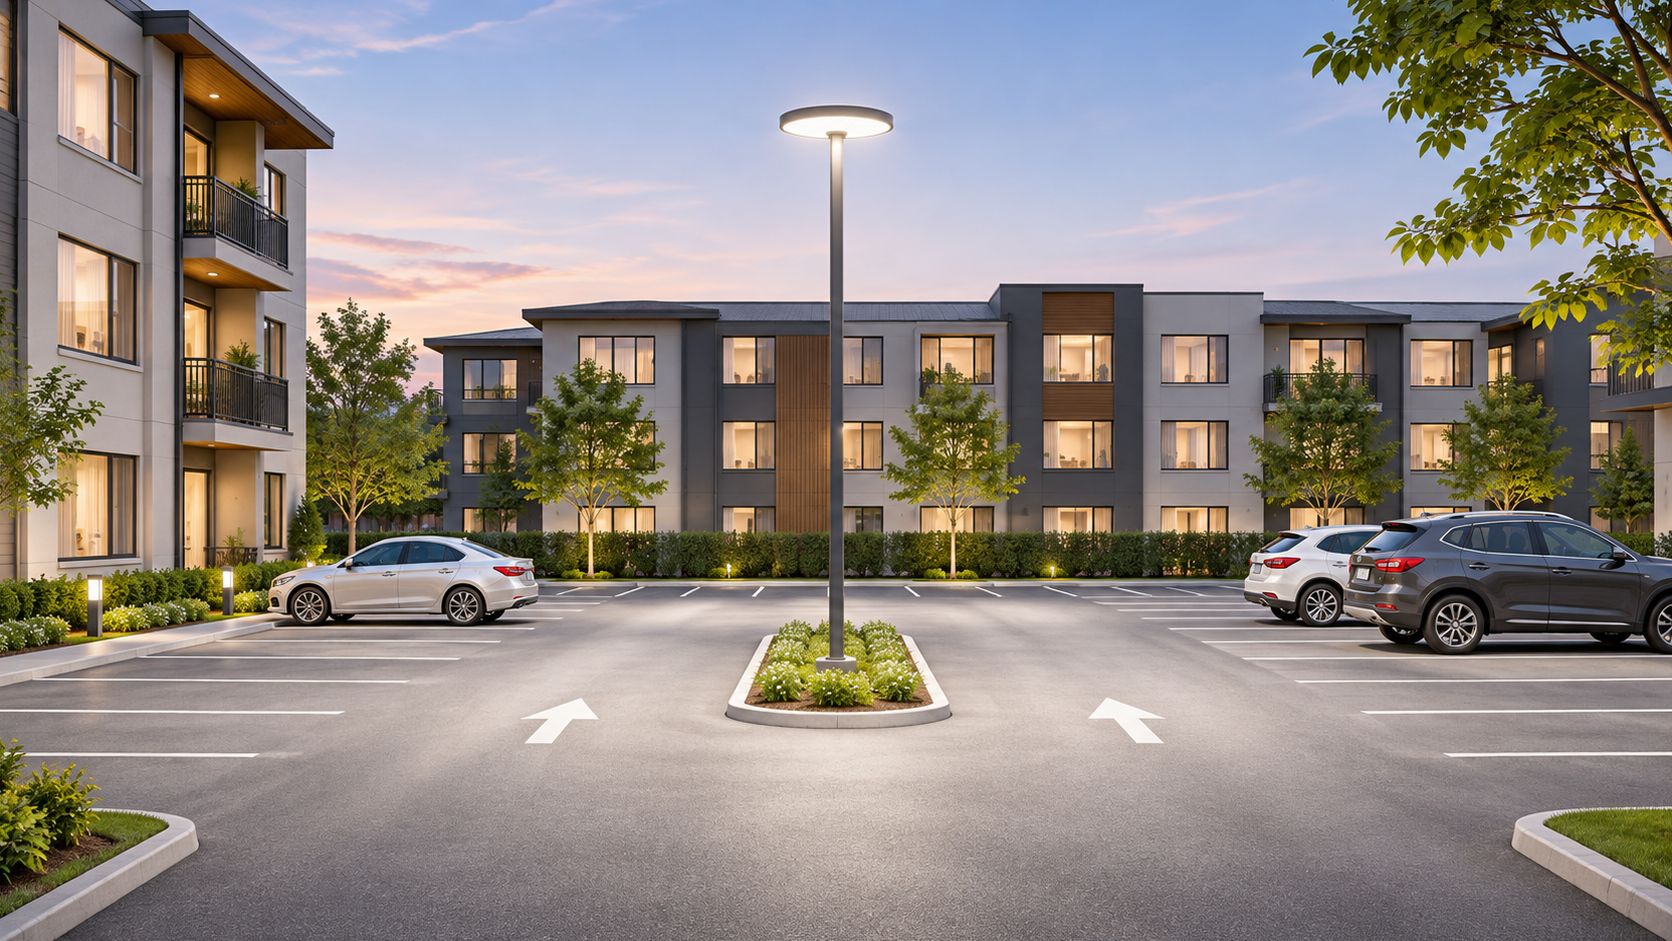
Picture an apartment aisle that looks bright right under each head, while the walkways between poles fade into shadow. A simple fixture-to-fixture comparison can miss that gap entirely. Ask for a photometric layout that shows those dim spots before you accept the proposed fixtures.
Match Optics and Hardware to the Site
Use your survey dimensions to judge lumen output, distribution, and mounting compatibility together, since each one affects the others. For a closer look at how pole height, spacing, and coverage work together, see this parking lot lighting resource.
A few checks I'd run on every bid:
- Match the beam. Wide parking aisles and narrow drive lanes need different distributions, so ask for each one specifically.
- Check nearby windows. Shielding and glare control matter a lot when apartments sit close to the poles.
- Compare color temperatures. Put samples beside the residential building or any existing retail lighting, and look at them after dark.
- Review the electrical parts. Get driver specs, surge protection details, and warranty terms in writing.
Buy the light pattern your property needs, not the smallest wattage on the quote.
Full fixture replacement usually makes more sense than a lamp-only conversion when housings are worn out, when the existing optics can't deliver the required coverage, or when the conversion kit has no documented compatibility.
Finally, have the contractor check fixture weight, mounting hardware, and wind loading against the pole survey. An existing pole doesn't automatically suit a new head, and it's far cheaper to find that out before the crew is up on the lift.
Bring your survey to Access Electrical and Lighting and ask for commercial parking lot fixture recommendations backed by a site-specific layout before you place an order.
Many owners get caught off guard here. A Parking Lot Pole Light LED Retrofit that only swaps fixtures will often leave a California job half-finished.
What the Controls Must Do
Outdoor controls really have three jobs to cover. When set up right, automatic scheduling can cut lighting power by 50% to 90%, with lights going fully off when the site is scheduled to be empty.
- Automatic scheduling linked to actual occupied hours
- Daylight shutoff via photocontrols or astronomical time switches
- Motion sensing plus a photocontrol or astronomical time switch on any altered luminaires mounted 24 feet or less above grade
Put that into plain design terms. Pick which zones actually need motion sensing, then build your dimming around how the property is used.
Matching Schedules to Real Site Hours
A retail center that clears out at midnight is a different animal than a multifamily lot with cars coming in at 2 a.m. The retail lot can drop down low after close, while residents still need a bright, clear path to their doors late at night.
Then there's the old manual timer issue. One wrong setting or override, and you've got fixtures burning for hours in full daylight.
Commissioning and Paperwork From Day One
Bring commissioning and documentation into the scope from the first meeting. Don't save it for the end. Those test records and certification forms are exactly what inspectors and owners will ask for.
Access Electrical and Lighting handles controls, retrofit work, and Title 24 testing and certification under one roof, which keeps scheduling and accountability much simpler.
Read also: how automated lighting controls fit into a retrofit before you lock in the design.
Get a written control sequence from your contractor, because the inspector will review it closely.
Confirm control requirements before you order fixtures.
Once the design is set, the hard part is keeping a live lot usable while crews work. Residents still need their cars, and emergency vehicles still need clear routes.
Start by phasing the job by circuit or zone. Each phase should leave accessible stalls and fire lanes open, even if that means working in smaller chunks than you'd like.
Coordinating Vendors and Residents
Get towing and striping vendors on the calendar early. Their availability often sets the pace for everything else.
Send dated notices to residents and tenants well ahead of time. A week's notice with a simple map does far more good than a sign taped to a pole the morning of.
Setting Up Boom Trucks and Spotters
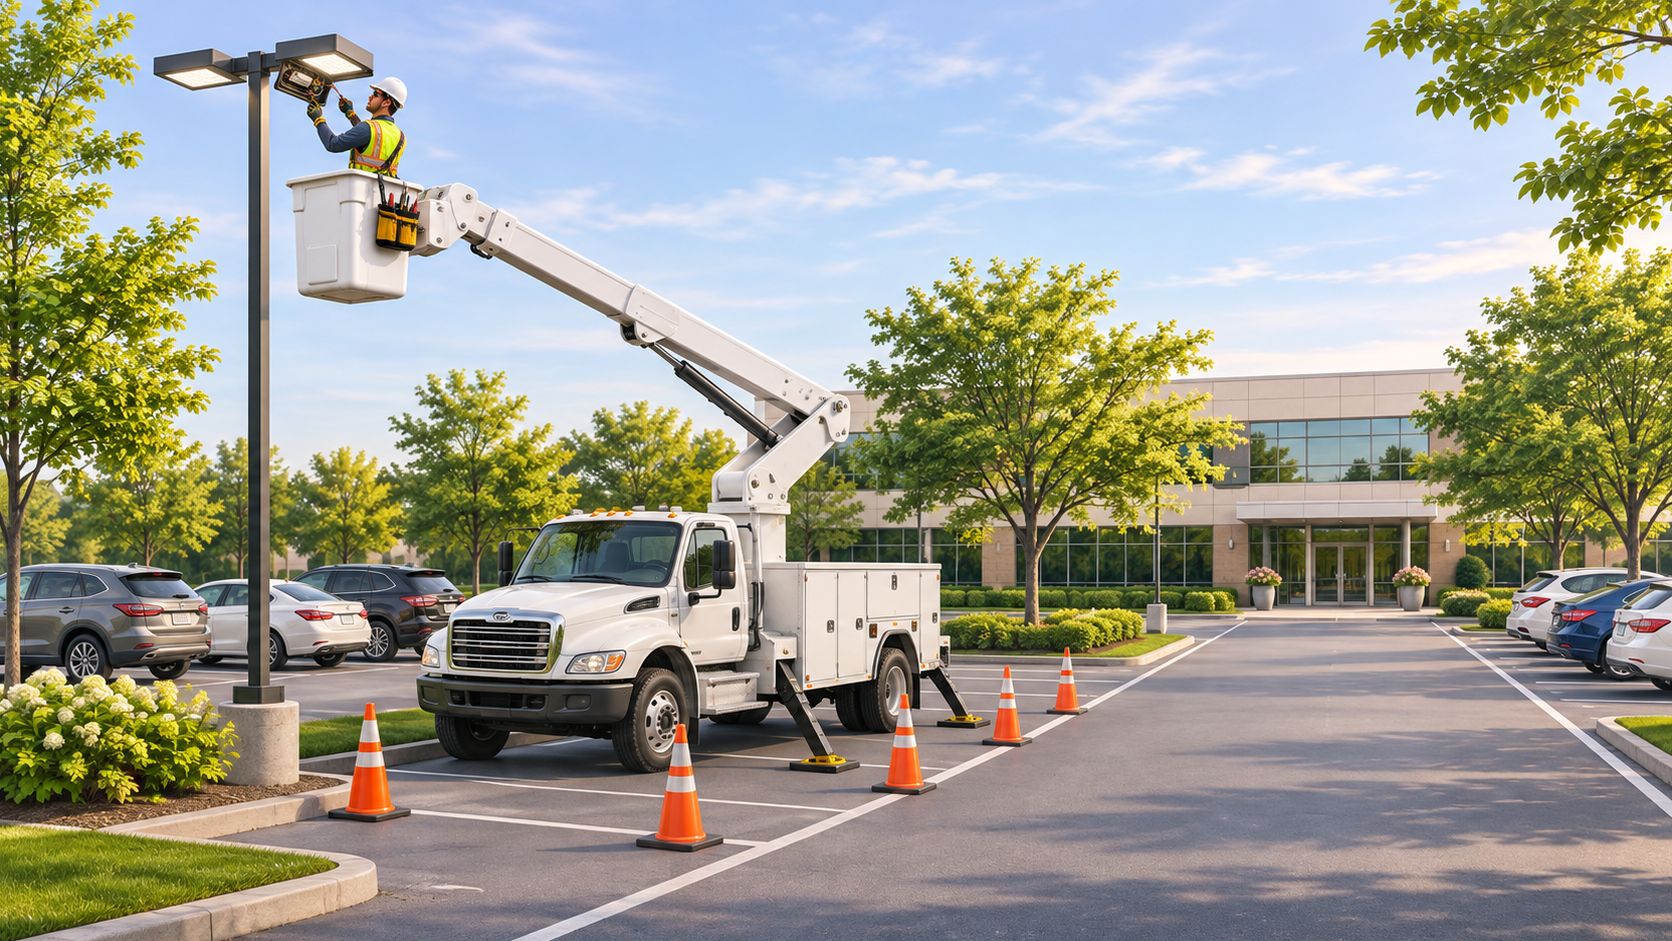
On tall poles, a high-reach boom truck is usually the right tool. Set up cones and barricades around it, and assign spotters whose only job is watching the truck and the people nearby.
Overhead service drops and tree canopy cause more trouble than most crews expect. Survey them before the truck arrives, not after it's parked in the wrong spot.
Preparing Electrical Work Safely
Verify the circuits first, then de-energize and lock out before you touch anything. Check the wiring and connections inside the pole base before reconnecting power.
Most surprises don't show up until the fixture head is off the pole.
If conditions call for it, bundle pole repair, integrity testing, and replacement into one mobilization. A second truck roll costs far more than dealing with the problem now.
Keeping people and vehicles safe on an occupied property takes a documented site plan. Use what a project safety plan needs as a checklist for sections, hazard controls, and review steps.
Night Work and Morning Checks
Schedule night work for when the lot is quietest, but make sure the crew's path and the walkways are well lit. The next morning, walk the lot with the crew lead and check every pole and stall.
Keep a simple log of what you find. Dated notes make it much easier to confirm fixes before the lot goes back to normal.
Once the last fixture is energized, head back out and repeat the night readings on the same grid you used for the original survey. Matching points are the only way the before-and-after numbers mean anything.
Check Uniformity and Glare
Walk the lot after dark and look at uniformity, not just the brightest spot. A pole that throws a hot spot across the entrance while the corner beside it stays dim is still a problem, even if the average looks good on paper.
Then talk to the people who live above the lot. Upper-floor residents often notice glare long before a light meter does.
Photocells and motion sensors need checking at both dusk and dawn. Don't rely on the programming screen alone. Watch what the fixtures actually do.
Prove the Schedules Actually Run
Watch the fixtures switch on and off yourself, ideally over several nights. A schedule that looks perfect on screen can still misbehave in the field.
Record the connected load and operating hours while you're at it. Those figures turn a rough guess into a realistic savings estimate.
Savings on paper mean little until the controls prove them out.
Build a Handover Package You Can Use
Don't accept a vague "all done" at closeout. Insist on a package that includes:
- The fixture schedule
- Control settings
- Testing and certification records
- Warranty details
Keep a copy somewhere your maintenance team can reach quickly. You'll be glad you did the first time a pole goes dark on a Friday night.
Plan Maintenance Before Outages Pile Up
Keeping pole lights reliable is part of routine common area care, and Towne and Country Property Management advice covers the same ground. Schedule periodic cleaning, connection checks, and infrared scans of the panels feeding site lighting.
Read also: parking lot lights maintenance guide for detailed upkeep steps.
Your Action List This Week
- Pull your survey and mark the dark zones.
- Request quotes that include photometric layouts.
- Confirm control requirements with your contractor.
- Schedule a night walk with your maintenance team.
Most projects run into the same handful of questions once the big decisions are settled. Here are the short answers.
Is a Simple Fixture Swap Enough for Title 24
Usually not. Title 24 expects automatic scheduling, daylight shutoff, and motion sensing on altered fixtures, so controls belong in the project scope from the start. The controls section covers the specifics.
Do Poles Usually Need Replacing
Not always. Plenty of existing poles can stay in service after integrity testing. Corrosion, leaning, or hidden base damage can change that, though, so read the pole inspection notes in the survey section before you commit to a plan.
Replacement becomes more likely when the survey turns up corrosion or damage.
How Much Energy LED Pole Lights Save
The Leavenworth demonstration found 63% less energy use than a 1,000-watt pulse-start metal-halide system. Against a 400-watt system, the savings came to 44%, and minimum illuminance at relamping was similar.
The larger comparison also showed a 68% drop in illuminance, so measure the light you actually get, not just the wattage on the spec sheet.
Can the Lot Stay Open During Installation
Yes, in most cases. Phase the work by circuit or zone so accessible stalls and fire lanes stay usable. Send dated notices to residents early. The planning section walks through how to do that.
Ask your contractor for a written phasing plan before work starts.
Night work is another way to keep daytime traffic moving.
Ready to find your dark zones? Reach out to Access Electrical and Lighting for a complimentary lighting survey built around your site. Bring your survey and your dark zone map to the call so the conversation starts with real numbers.