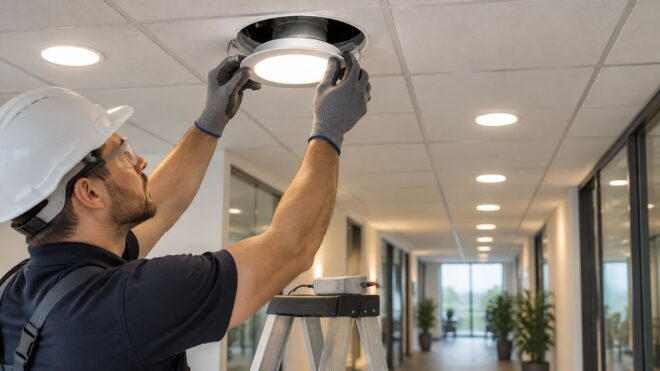
The usual advice for LED retrofit recessed lights is to match the opening, choose a compatible dimmer, and replace the old lamp. That's not enough for a commercial property. A kit can fit neatly and still leave you with unstable controls, an unsuitable housing, or a driver that can't be replaced without opening the ceiling.
Treat the project as a lighting-system upgrade, not a bulk bulb purchase. The right scope accounts for the fixture, control circuit, ceiling assembly, inspection paperwork, and eventual repair. That's how a property manager gets a useful price instead of a low installation quote followed by change orders.
Choose the Right Retrofit Kit for Each Fixture
Commercial buyers generally choose between lamp-and-trim modules, integrated retrofit kits with drivers, full new LED housings, and remodel conversions. The names aren't interchangeable, and supplier descriptions don't always draw clear boundaries. Specify what stays, what gets removed, and how the replacement connects.
A lamp-and-trim approach retains the sound housing and can retain an existing compatible trim when the product allows it. An integrated retrofit kit typically replaces the old lamp and trim with a matched LED assembly inside the existing can. A full housing replacement removes the old enclosure, while a remodel conversion adapts the installation to the access and construction conditions of a renovation.
Retrofit kit types by fixture condition
| Kit type | Reuses existing housing | Ceiling access needed | Best for |
|---|---|---|---|
| Lamp-and-trim module | Yes | Minimal | Intact housings with working, compatible trims |
| Integrated retrofit kit with driver | Yes | Low to moderate | Most commercial downlights with sound housings |
| Full new LED housing | No | Moderate to high | Damaged housings or non-IC-rated housings where insulation-contact suitability is needed |
| Remodel conversion | Partly, retaining only approved components | High while ceiling is open for the planned renovation | Tenant improvements and open-ceiling remodels |
The remodel row describes a renovation scope, not a rule that every remodel-rated housing needs an open ceiling. Some replacement products install from below. Have the electrician identify the actual access method before estimating ceiling repairs.
Specify the assembly, not just the wattage
Representative certified retrofit downlights in ENERGY STAR's product records produce 925 to 1,100 lumens at about 10.2 to 11 watts, and the records list a 50,000-hour rated light-source life. Treat that life rating as a light-output rating, not a promise that every driver and connection will remain failure-free for the same period.
Socket adapters such as E26 and GU24 can simplify the electrical connection, but socket fit doesn't prove the complete assembly is suitable. Check housing depth, spring or clip attachment, supply characteristics, trim coverage, and the kit's approved application.
Also compare light distribution, not just lumens. A broad corridor downlight and a focused retail accent can produce similar total output while lighting very different surfaces. Approve a sample with the actual ceiling finish, furniture, and viewing angles rather than judging it on a supplier's counter.
Establish the repair path before selection
For a replaceable lamp, maintenance generally starts at the socket. For an integrated module, a failed driver may mean replacing a separate component or exchanging the entire assembly. Full housings and remodel conversions need an explicit access plan for both the driver and electrical connections.
Have an electrician verify these paths during selection, particularly where fixed wiring, damaged sockets, or concealed components are involved.
Practical rule: If the retained components are intact and the housing is approved for the proposed kit, reuse can save labor. If the housing is damaged or its suitability can't be verified, price a complete replacement.
Count fixtures by housing and application type before requesting quotes. Each group should receive the appropriate kit category, not the same allowance because the trims look alike.
Check Controls and Dimming Before Ordering
A retrofit can look perfect when the installer switches it on and still flicker, buzz, drop out, or behave unpredictably after a sensor timeout. Compatibility is a system question, involving the control, driver, connected load, wiring, and programmed behavior.
The ENERGY STAR recessed-downlight draft specification calls for manufacturers to publish compatible controls and known incompatibilities. That's a useful purchasing requirement, but a published match should still be tested under the property's actual operating conditions.
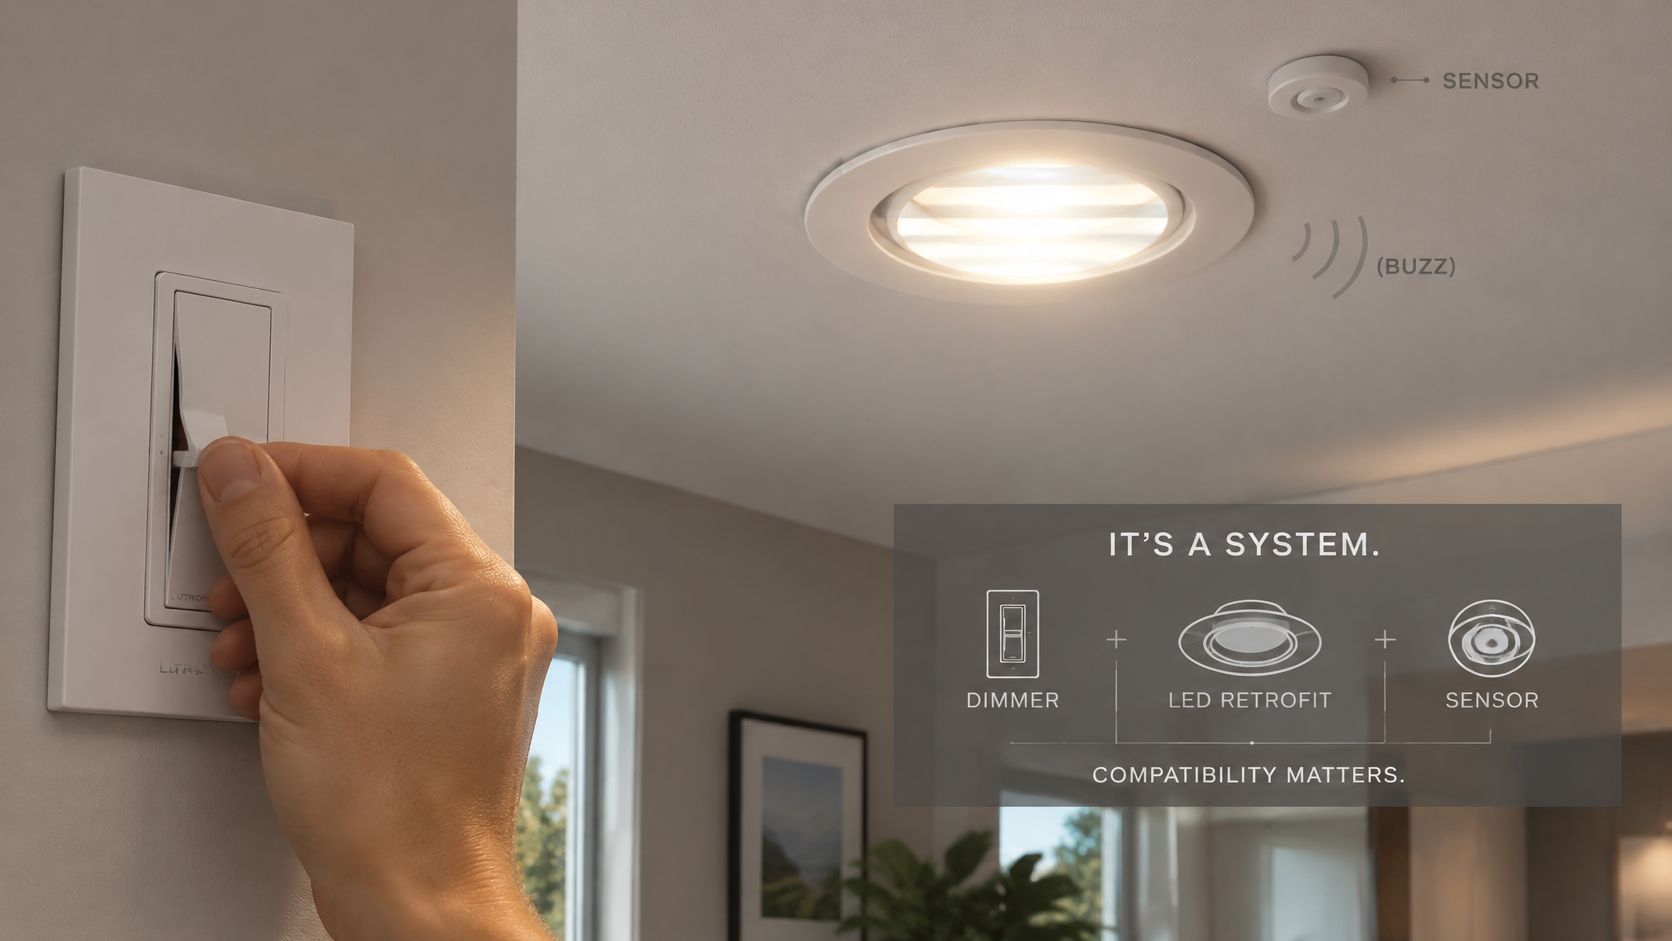
Identify the control and connected load
Record the model from the control itself, not just its faceplate or appearance. Include standard dimmers, occupancy sensors, vacancy sensors, timers, photocells, and building-automation interfaces. Note whether a sensor switches the lighting load directly or sends a command to another device.
Then identify the exact retrofit kit and driver combination. A compatibility statement for a product family isn't enough if the ordered version uses a different driver. Check permitted fixture quantities, load limitations, wiring requirements, and the intended dimming method.
Lower wattage doesn't automatically make a circuit easier to control. An older dimmer may operate the original lamps acceptably but struggle with the replacement drivers, especially near the bottom of its dimming range.
Control types, symptoms and checks before ordering
| Control type | Common symptom | Likely cause | Check before ordering |
|---|---|---|---|
| Standard dimmer | Flicker or dropout at low levels | Dimmer not matched to the LED driver | Confirm a manufacturer-listed dimmer and test the lowest level |
| Occupancy sensor | Lights cycle on and off | Timeout or minimum-load mismatch | Confirm sensor compatibility and minimum load |
| Vacancy sensor | Lights fail to turn on | Wiring-mode mismatch | Check manual-on mode and wiring |
| Timer or photocell | Lights restart slowly or drop out | Driver reset after power loss | Test restart after a simulated outage |
| Building automation | Inconsistent light levels | Protocol or signal mismatch | Confirm protocol and zone load |
These are troubleshooting starting points, not diagnoses. For example, cycling can also require investigation of detection coverage or wiring rather than an immediate sensor replacement.
Commission normal use and failure recovery
Test a representative circuit at full output, through the dimming range, and at its lowest intended setting. Listen for audible noise and watch adjacent fixtures for uneven behavior. A smooth adjustment on the way down doesn't prove the lights will start reliably at that same low setting.
Next, test restoration after a controlled power interruption and operation after sensor timeouts. Confirm manual overrides, scheduled scenes, and consistent light levels throughout each zone. Coordinate interruptions with building operations rather than casually cycling an occupied circuit.
For connected systems, include automated lighting controls in the retrofit scope instead of treating them as a separate purchasing decision.
Place the bulk order after the control test, not after the first occupant complaint.
Map every surveyed circuit to its control type and record the approved combination on the survey sheet. That gives purchasing, installation, and maintenance staff the same specification.
Verify Housing, Listing and Title 24 Requirements
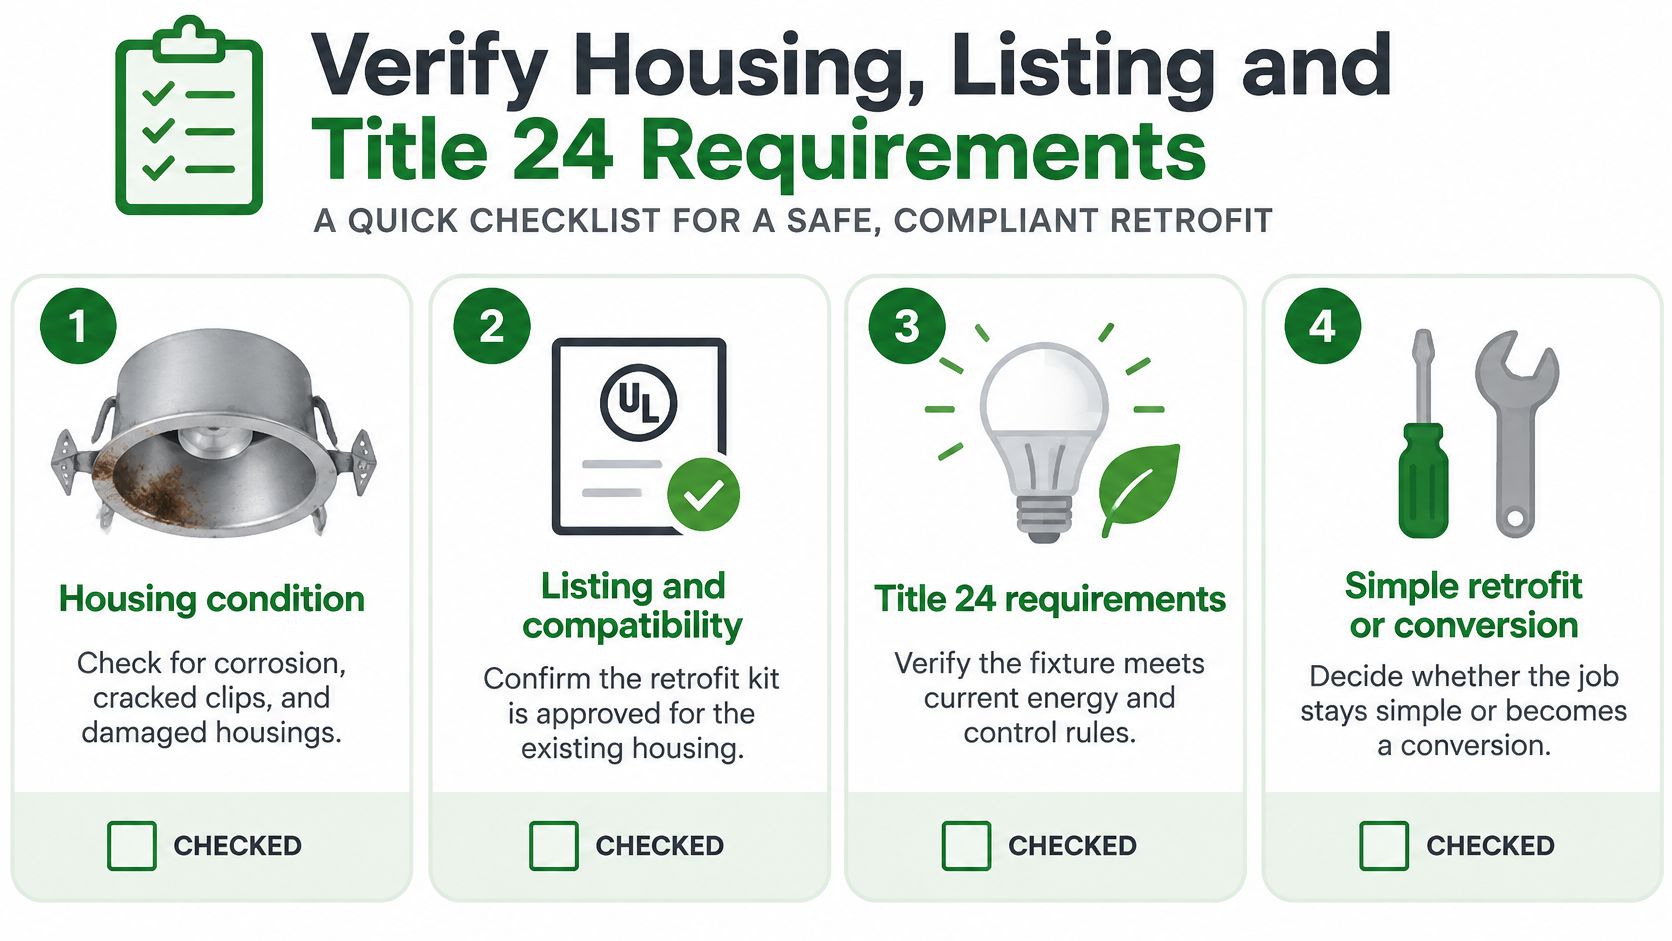
A retrofit kit isn't just a bulb swap when it changes the fixture assembly or its electrical configuration. The cheapest kit can become the more expensive job if the contractor must repair its mounting, resolve a listing issue, or cut the ceiling to service it later.
The ENERGY STAR light-fixture criteria address retrofit-conversion testing and listing by an OSHA-recognized laboratory for NEC compliance, with evidence tied to UL 1598 and UL 1598B. The criteria also encourage accessible, replaceable drivers and call for qualified-electrician replacement instructions. Product certification is part of the assessment, not a substitute for checking the installed assembly.
Check the physical assembly
Start with housing condition. Have the electrician inspect corrosion, cracked attachment points, loose sockets, damaged conductors, and evidence of overheating. A trim that conceals deterioration doesn't make the housing reusable.
Verify insulation-contact suitability and any airtightness needs against the proposed assembly and ceiling conditions. Installing a lower-wattage source doesn't, by itself, change the housing's rating. Where labels are missing or unreadable, document that uncertainty rather than assuming the can matches its neighbors.
Next, verify the listing and approved installation configuration. Keep the kit instructions and certification information with the fixture group. A product that fits mechanically may still be unsuitable for that housing, mounting arrangement, or location.
Plan access and preserve special functions
Ask the electrician to demonstrate the intended driver-replacement path before the sample installation is accepted. Can the component pass through the opening? Can its connectors be reached? Does replacement require disturbing decorative finishes or removing surrounding construction?
Distinguish a replaceable driver from a sealed module that must be exchanged as a unit. Either can be workable, but the replacement plan and spare-parts strategy should reflect the actual design.
Also identify fixtures associated with emergency lighting or fire-rated assemblies. Keep those functions within an engineered and approved scope where applicable. Don't assume a standard downlight kit preserves the original emergency operation or ceiling protection.
Confirm the documentation scope
For Southern California projects, determine whether the alteration scope and applicable permit date bring lighting-control, testing, or documentation obligations into the job. Review Title 24 lighting requirements during planning, then confirm the project-specific obligations with the responsible design and permitting team.
Request a closeout package that includes:
- Fixture inventory: Locations, housing identification, and installed kit models.
- Certifications: Product listings and approved installation instructions.
- Control compatibility: Exact control and driver combinations.
- Photographs: Existing conditions and completed installations.
- Test results: Functional checks and applicable acceptance records.
- Replacement plan: Driver access, replacement components, and maintenance instructions.
Flag any proposed fixture whose driver would require opening the finished ceiling. That's a scope and lifecycle-cost decision to resolve before approval, not a maintenance surprise to leave behind.
Savings, Payback and Maintenance Over Time
ENERGY STAR estimates that if every downlight and downlight retrofit kit sold in the United States were certified, the nation would save more than 12 billion kilowatt-hours annually and more than $1 billion in annual energy costs. That national benchmark establishes the opportunity, but it isn't a property-level savings guarantee.
For your building, use the actual existing input wattage, proposed input wattage, operating schedule, and applicable electricity rate. Where a fixture contains a ballast or other power equipment, don't substitute lamp wattage for total fixture consumption.
Build a transparent energy calculation
Annual kWh saved per fixture = (existing watts − retrofit watts) × annual operating hours ÷ 1,000.
The following is a hypothetical worked example, not a quoted utility rate or promised result. It assumes an 11-watt retrofit, operation for 12 hours daily across 365 days, totaling 4,380 hours annually, and electricity at $0.30/kWh. Replace those assumptions with the property's verified values.
Annual savings per fixture at 12 hours a day
| Existing lamp | Retrofit watts | Cost saved at $0.30/kWh |
|---|---|---|
| 50 W halogen | 11 W | About $51, from 170.82 kWh saved annually |
| 65 W halogen | 11 W | About $71, from 236.52 kWh saved annually |
| 26 W CFL | 11 W | About $20, from 65.70 kWh saved annually |
Using the same hypothetical assumptions, 100 fixtures changing from 65 watts to 11 watts would save 23,652 kWh annually, worth $7,095.60 at the assumed rate. These are calculated examples, not measured building results.
Avoid applying that result to every downlight in a portfolio. A continuously occupied area and a rarely used storage room have different operating schedules. Controls can further reduce operating hours, but don't count the same avoided hours twice when combining equipment and control savings.
Include access and repair costs in payback
Simple energy payback = installed project cost ÷ annual energy-cost savings.
Keep the numerator honest. Include installation labor, control replacements, ceiling repair, access equipment, testing, and documentation where those costs belong to the project. Separate optional improvements so the manager can see what drives the total.
Then assess maintenance alongside energy payback:
- Access costs: Identify where repairs require a lift or coordinated tenant access.
- Replacement work: Compare lamp changes, module exchanges, and separate driver replacement.
- Parts continuity: Record compatible replacements rather than relying on appearance.
- Finish protection: Price any ceiling disturbance associated with future service.
A longer-rated light source doesn't make an inaccessible driver inexpensive to replace.
Evaluate recessed fixtures within the broader commercial-building LED lighting plan so purchasing priorities reflect both operating hours and maintenance burden. Run the final calculation with your fixture count, verified schedule, and utility bill, not a supplier's default assumptions.
Work Through the Project Step by Step
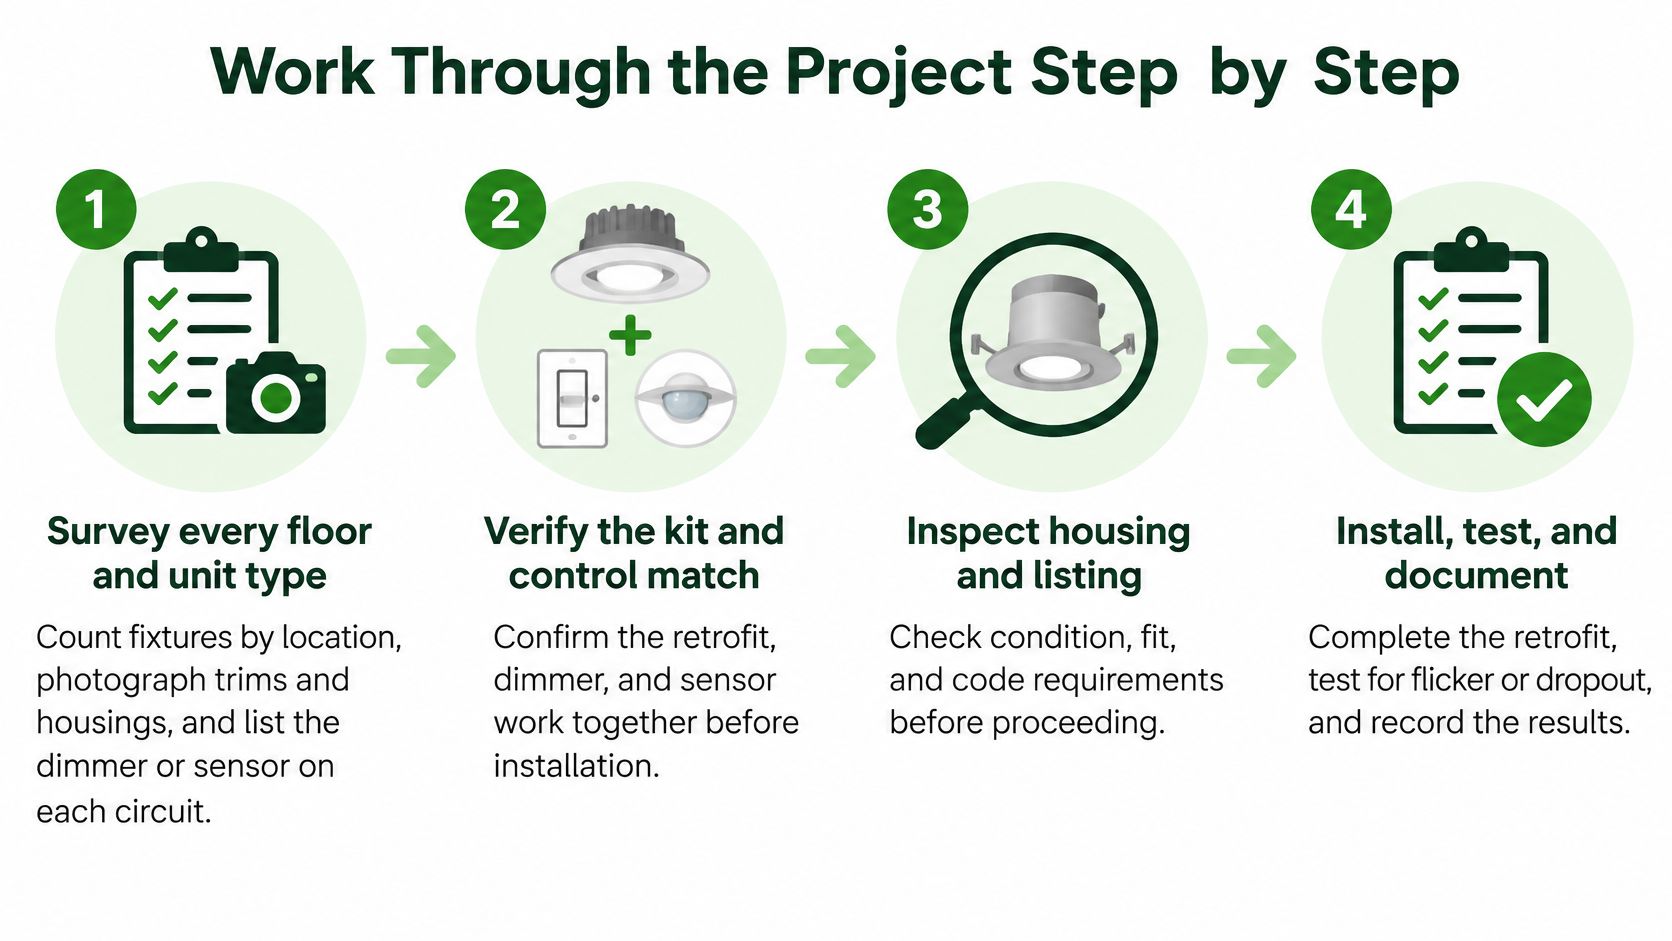
A disciplined installation sequence prevents procurement decisions from outrunning the survey. Give each fixture group a traceable identifier so the estimator, electrician, commissioning technician, and maintenance team can work from the same record.
Use the process below as a set of approval gates. Don't release the next stage while unresolved conditions could change the equipment or scope.
Establish the field record
Survey every floor and unit type. Count fixtures by location and attach photographs to the corresponding inventory entries. Include representative interior labels, not just attractive shots of the ceiling. Sampling a convenient corridor and assuming the rest match can conceal additions, earlier repairs, and different tenant-improvement work.
Record a defensible baseline. Use the equipment installed and the property's operating schedule. Reconcile mixed lamp types before calculating savings, and obtain the utility rate from the bill. A drawing showing the original installation isn't proof of the current load.
Assign a kit family to each fixture group. Separate straightforward reuse from housing replacement and renovation work. Mark unresolved conditions as survey actions rather than hiding them in a general contingency. Purchasing should be able to trace each proposed assembly back to a specific group.
Approve a representative pilot. Include each housing configuration and control arrangement that could change the outcome. Allow the pilot to pass through normal occupied, unoccupied, scheduled, and restart conditions before authorizing the bulk order. Record occupant-facing issues such as glare and appearance alongside electrical performance.
Execute and close out deliberately
Phase the work by operational zone. Coordinate access, resident notices, business hours, and temporary lighting with management. Identify emergency-lighting circuits separately and keep them outside the routine replacement sequence unless a dedicated, approved scope covers them. Don't leave required illumination dependent on an unfinished work area.
Install and label for service. Qualified electricians should isolate and verify circuits before work, follow the approved assembly instructions, and retain required labels. Circuit identification and component records must remain usable after the installer leaves. Don't improvise connectors or conceal a repair problem behind the trim.
Commission the completed zones. Use a test log tied to the inventory rather than a general statement that everything works. Record deviations, corrective work, final photographs, and the accepted driver-replacement method. Close unresolved items before treating the zone as complete.
Deliver a usable maintenance binder. Match the inventory to the drawings and include approved substitutions, instructions, certification records, and test documentation. Provide a searchable digital copy as well as the property's preferred handover format. Assign custody so the records don't disappear with a departing project manager.
A finished job includes an accurate maintenance record, not merely installed lights and a pallet of leftover materials. Make documentation acceptance part of closeout so future technicians can identify the equipment without repeating the original survey.
Confirm Your Fixture Inventory Before Requesting Quotes
Send a structured inventory with the quote request. Contractors can price a defined scope more clearly than a building-wide fixture count with no information about access or controls.
- Fixture count and location: Group downlights by type, floor, room, and application.
- Condition photographs: Include trims, housings, labels, and visible deterioration.
- Circuit control map: Identify the control serving each fixture group.
- Operating information: Provide typical hours and the applicable utility rate.
- Occupancy priorities: State whether vacant spaces or occupied areas should be scheduled first.
- Compliance scope: Identify the permit status and request confirmation of applicable lighting-control documentation.
Require a scope you can compare
Ask for a kit type, driver-access path, and documentation requirement against every fixture group. Have labor identified separately from equipment, with damaged-housing replacements shown explicitly. Otherwise, a per-fixture price can conceal different assumptions about what the contractor will replace.
Note wet-location applications, preferred color appearance, and spaces where visual consistency matters. Approve those selections against a sample rather than allowing purchasing staff to choose a substitute by wattage alone. Identify ceiling-work allowances separately from ordinary installation.
Our complimentary lighting surveys assess a property and recommend energy-efficient lighting solutions, while our custom assessments evaluate existing systems and recommend improvements. We serve commercial, multifamily, and HOA properties in Southern California.
Request a written decision record
The requested deliverable should match each fixture group to an assembly, installation scope, and test sequence. It should also identify exclusions, unresolved conditions, and who retains the certification records after installation.
Name the property's record custodian before closeout, whether that's the facility manager, management company, or designated owner representative. A clear handover protects the value of the planning work when staff or contractors change.
Choose the proposal that makes those obligations visible. The useful comparison isn't just price per downlight, but the cost of an approved, tested, maintainable installation.
Access Electrical and Lighting offers complimentary lighting surveys and custom assessments to help property managers evaluate recessed-light retrofit options. Visit Access Electrical and Lighting to request an assessment, and bring your fixture inventory, control map, and operating schedule so the discussion starts with your building's actual conditions.