A tenant reports that the rear corner of the parking lot is too dark. The property manager walks the site after sunset, sees a few weak fixtures, and assumes the solution is simple: replace the lamps and move on.
That approach misses the hardware carrying the fixture, the foundation holding the pole, the optics shaping light across the pavement, the electrical feed supplying the driver, and the controls deciding when the system operates. Pole mounted lights are a site system, not a collection of interchangeable heads. A bright new luminaire on a corroded pole can leave a property with the same structural risk, while a powerful fixture with poor shielding can create glare, spill light onto neighboring properties, and make the lot harder to read at night.
For commercial, retail, office, hospitality, and multifamily properties, the practical question isn't just which fixture to buy. It's whether the entire installation delivers useful illumination, withstands local exposure, remains serviceable, and has an inspection and documentation trail that protects the owner.
Why Pole Mounted Lights Are a System, Not Just a Fixture
A parking lot can look adequately lit from the building entrance while still failing where drivers turn, pedestrians cross, or security cameras monitor the property. The first useful survey follows the light onto the pavement, checks dark transitions between fixtures, looks at glare from approaching vehicle lanes, and examines the pole bases. A lamp replacement addresses only one part of that inspection.
The six connected parts are straightforward:
- The pole shaft establishes height, reach, stiffness, and resistance to wind and vibration.
- The foundation and anchor base transfer those forces into the soil and concrete.
- The luminaire and optic determine where light lands, how much escapes upward, and how much glare reaches drivers or residents.
- The driver and electrical feed deliver stable power and provide protection against faults, heat, and voltage problems.
- The photometric layout connects fixture spacing, mounting height, distribution, and ground coverage.
- The maintenance program preserves output, controls, connections, coatings, and structural integrity over time.
Field rule: If a bid specifies only fixture model and wattage, it hasn't described the lighting system.
How one weak link affects the lot
Consider a common retrofit. A contractor installs LED heads on existing poles without reviewing the original spacing or checking the pole bases. The new heads use less energy and appear brighter near each pole, but their distribution doesn't reach the drive aisle as intended. The owner gets bright pools of light, dark gaps, and no answer about whether the poles can support the revised wind area.
A different failure starts with a sound photometric plan but poor maintenance. Dirt on the lens reduces useful output, a loose connection causes intermittent outages, or corrosion develops at the base while the upper shaft still looks clean. The system's safety function depends on more than the initial installation.
Federal Highway Administration guidance treats roadway lighting as a documented traffic-safety measure. Its review reports that international lighting installations reduced crashes by 20% to 30% in many countries, while a review of 38 studies found reductions after previously unlit roads received lighting. Those study averages don't guarantee the same result at a private property, because geometry, pedestrian activity, design quality, maintenance, and other safety measures all matter. They do show why pole location, light distribution, glare control, and upkeep deserve more attention than a fixture swap. FHWA lighting guidance provides the underlying review and limitations.
Choosing the Right Pole Type for Each Site
Pole selection starts with the space being lit, not with a catalog photograph. A short parking-lot pole, a roadway pole with a mast arm, and a sports-field structure solve different problems. Their shaft dimensions, foundation details, mounting hardware, and access requirements shouldn't be treated as interchangeable.
Match the pole class to the use
Parking and site poles commonly fall in the roughly 15-to-30-foot range. Round tapered steel and aluminum shafts work well for parking fields, pedestrian routes, retail centers, and multifamily drive aisles. A compact area luminaire mounted at the top or on a short arm can distribute light across a defined zone without placing excessive height between the optic and the task surface.
Roadway and street-style poles are often roughly 25 to 40 feet high and may use mast arms to place the luminaire over a travel lane. The arm length, pole location, and optical distribution matter as much as the shaft. A pole placed too close to the curb can put the head over the sidewalk but leave the roadway poorly covered, while an arm that reaches too far can increase wind exposure.
Athletic and high-mast poles start around 40 feet and above, with multiple luminaires sometimes mounted together. These systems need deliberate aiming, access planning, and structural review. Lowering devices can reduce the need for repeated high-reach work, but they add equipment that must be maintained and protected from weather.
Pole material and wall thickness should follow height, wind exposure, attachment area, soil conditions, and local engineering requirements. Breakaway bases may suit certain roadway environments where impact behavior matters. Vibration control becomes more important on tall poles, poles with multiple heads, and sites exposed to vehicle movement or recurring wind.
Use the project scope to define the pole before choosing the fixture. Commercial light pole installation guidance can help property teams frame the installation around safety and visibility rather than the head alone.
| Pole Class | Typical Height | Common Site Use | Key Design Note |
|---|---|---|---|
| Parking or site pole | 15 to 30 feet | Parking fields, retail, multifamily | Choose optics and spacing for uniform pavement coverage |
| Roadway or street-style pole | 25 to 40 feet | Drive aisles, access roads, public-style routes | Coordinate mast-arm reach with lane position and glare control |
| Athletic or high-mast pole | 40 feet and above | Sports fields and large open areas | Review multi-fixture loading, aiming, access, and structural demands |
The table is a starting classification, not a construction specification. A qualified designer still needs to confirm wind loads, foundation requirements, soil conditions, utility conflicts, clearances, and applicable codes before installation.
What an LED Retrofit Changes
A pole-mounted LED project changes more than the lamp inside the head. It can lower connected wattage, redirect light, alter fixture weight and wind area, change maintenance access, and add documentation requirements. The result depends on whether the work is an optical redesign or a one-for-one replacement.
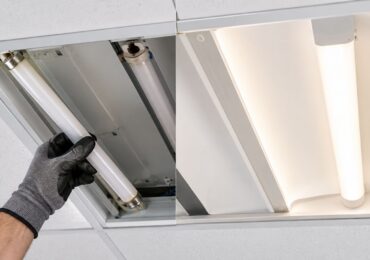
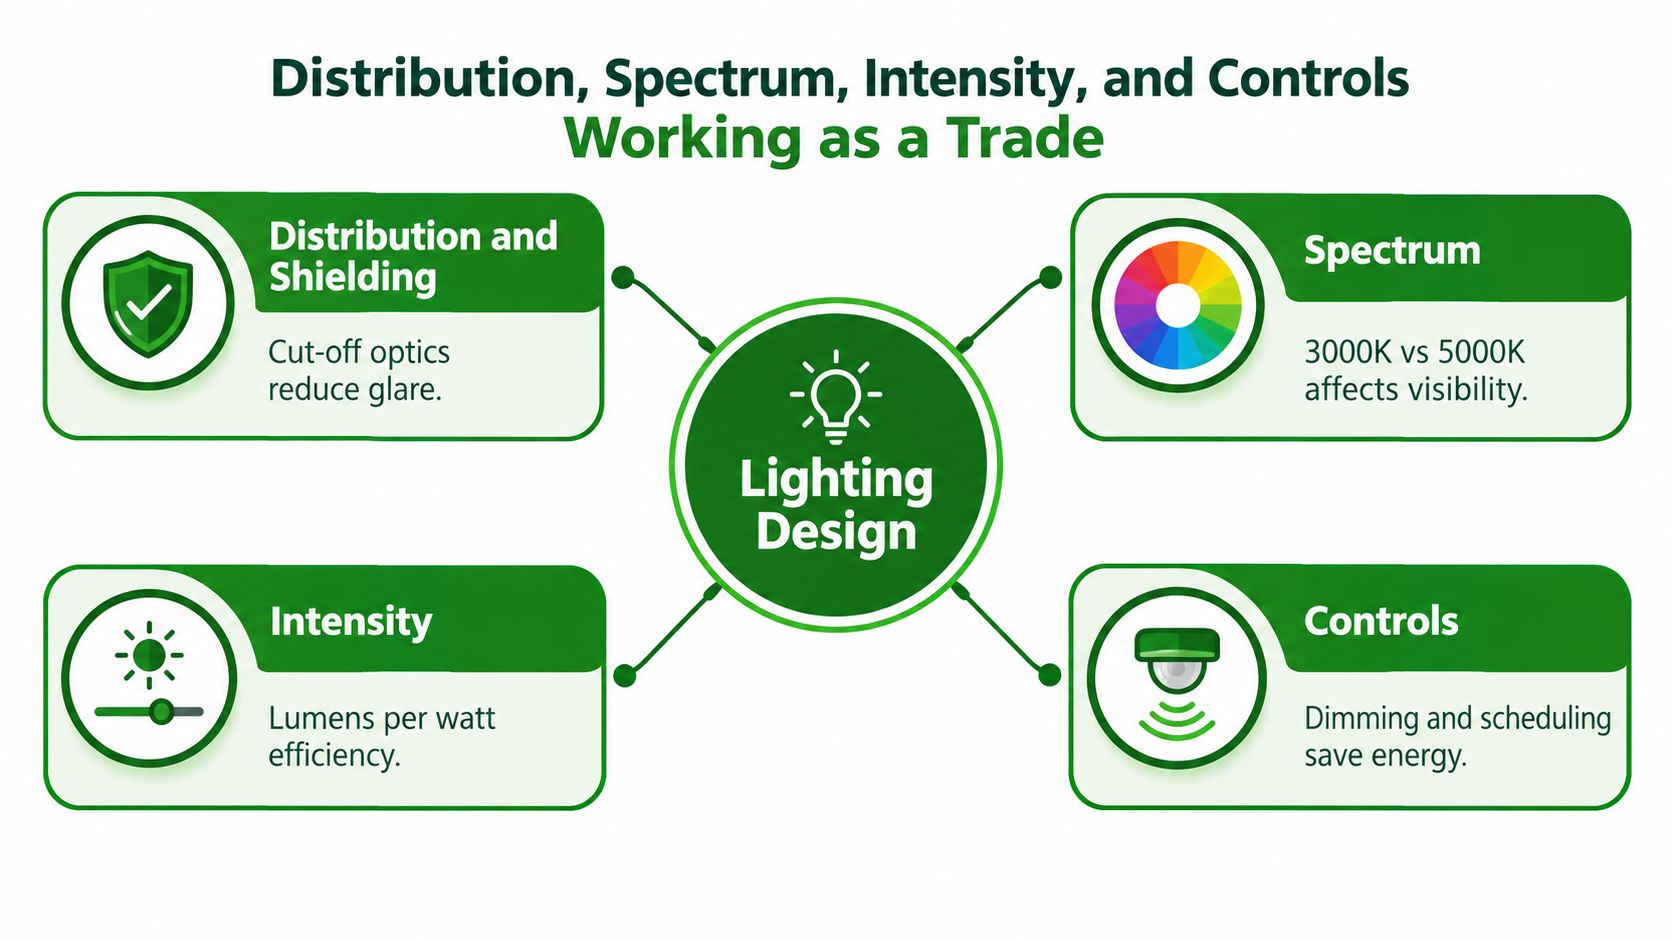
A lamp replacement keeps the existing housing and optical system largely intact. That approach can suit a sound housing with an acceptable pattern, but it will not correct poor spacing, glare, dirty lenses, aging sockets, deteriorated wiring, or the wrong distribution.
A retrofit kit or new LED luminaire uses modern optics to place more generated light where the site needs it. DOE roadway-lighting research explains that LED systems can achieve required roadway light levels with less than half the total generated light of earlier technologies because optical control is more precise. The same research concludes that properly designed optics and controls could feasibly reduce nighttime light output by 80% to 90% without impairing the intended lighting function. Those findings guide design decisions, not a blanket reduction for every parking lot.
What the owner sees
The American Council for an Energy-Efficient Economy reports that energy-efficient street lighting uses at least 50% less energy than traditional lighting. Its analysis estimates that replacing U.S. street and highway lights with LEDs could save approximately 20,200 gigawatt-hours annually, or about 0.5% of total U.S. electricity consumption, and references Department of Energy estimates of roughly $1 billion per year in community savings from broader high-efficiency adoption. These are system-level estimates, not a guaranteed utility reduction for one property. ACEEE outdoor-lighting analysis
New York City's replacement program shows how energy and maintenance savings can support the business case. The city estimated annual savings of $6 million in energy costs and $8 million in maintenance costs after replacing 250,000 streetlights with high-efficiency LEDs. A private property will not match that scale, so compare operating hours, connected load, failure history, lift access, and labor exposure before approving the work.
The scope should include a new photometric calculation, driver compatibility review, electrical inspection, controls plan, and Title 24 documentation where applicable. Commercial LED retrofit services are one route, but the contractor's proposal should state whether the work is a lamp swap, a retrofit kit, or a complete luminaire replacement.
Pole Height, Wind Load, and What a Heavier Head Does to Your Pole
A pole can carry a fixture electrically and still be unsuitable structurally. The shaft, base plate, anchor bolts, foundation, and luminaire work together against wind and vibration. Changing the fixture can change that calculation even when the new head uses less electricity.
Pole height increases the stress applied to the base. Shaft diameter and wall thickness affect stiffness. The anchor-bolt pattern transfers forces through the base plate, while the foundation spreads those forces into the surrounding soil. The luminaire adds projected wind area at the top, and an attached camera, wireless node, banner, or larger retrofit head adds more.
Review the complete loading picture
Before reusing an existing pole, collect:
- The pole height, material, shaft dimensions, and manufacturer information if available.
- The existing and proposed luminaire weights and projected wind areas.
- The mast-arm length, mounting orientation, and any added accessories.
- The anchor-bolt size, condition, exposed thread, and base-plate details.
- Foundation information, soil conditions, visible cracking, drainage, and nearby impact history.
- Local structural requirements and the engineer's required wind-load basis.
A heavier LED head isn't automatically a problem, and a lighter head isn't automatically safe. The decision depends on the complete pole and foundation assembly, including corrosion that may have reduced the original section thickness.
Practical rule: Never approve a fixture change from a catalog weight alone. Compare wind area, mounting geometry, pole condition, and foundation capacity.
A structural calculation is appropriate when the new head is materially larger, the pole carries multiple fixtures, accessories are being added, the site has significant exposure, or records are incomplete. Replacement is often more sensible when the pole has section loss, damaged anchors, a compromised base plate, repeated impact, or a foundation that no longer provides reliable support.
Property staff can identify warning signs without making a structural determination. Look for rust staining around the base, gaps beneath the base plate, cracked grout, concrete spalling, leaning, damaged handhole covers, exposed or severely corroded anchors, and water collecting where the shaft meets the foundation. These signs don't tell you the remaining capacity, but they do justify taking the pole out of routine maintenance and arranging a qualified review.
Distribution, Spectrum, Intensity, and Controls Working as a Trade
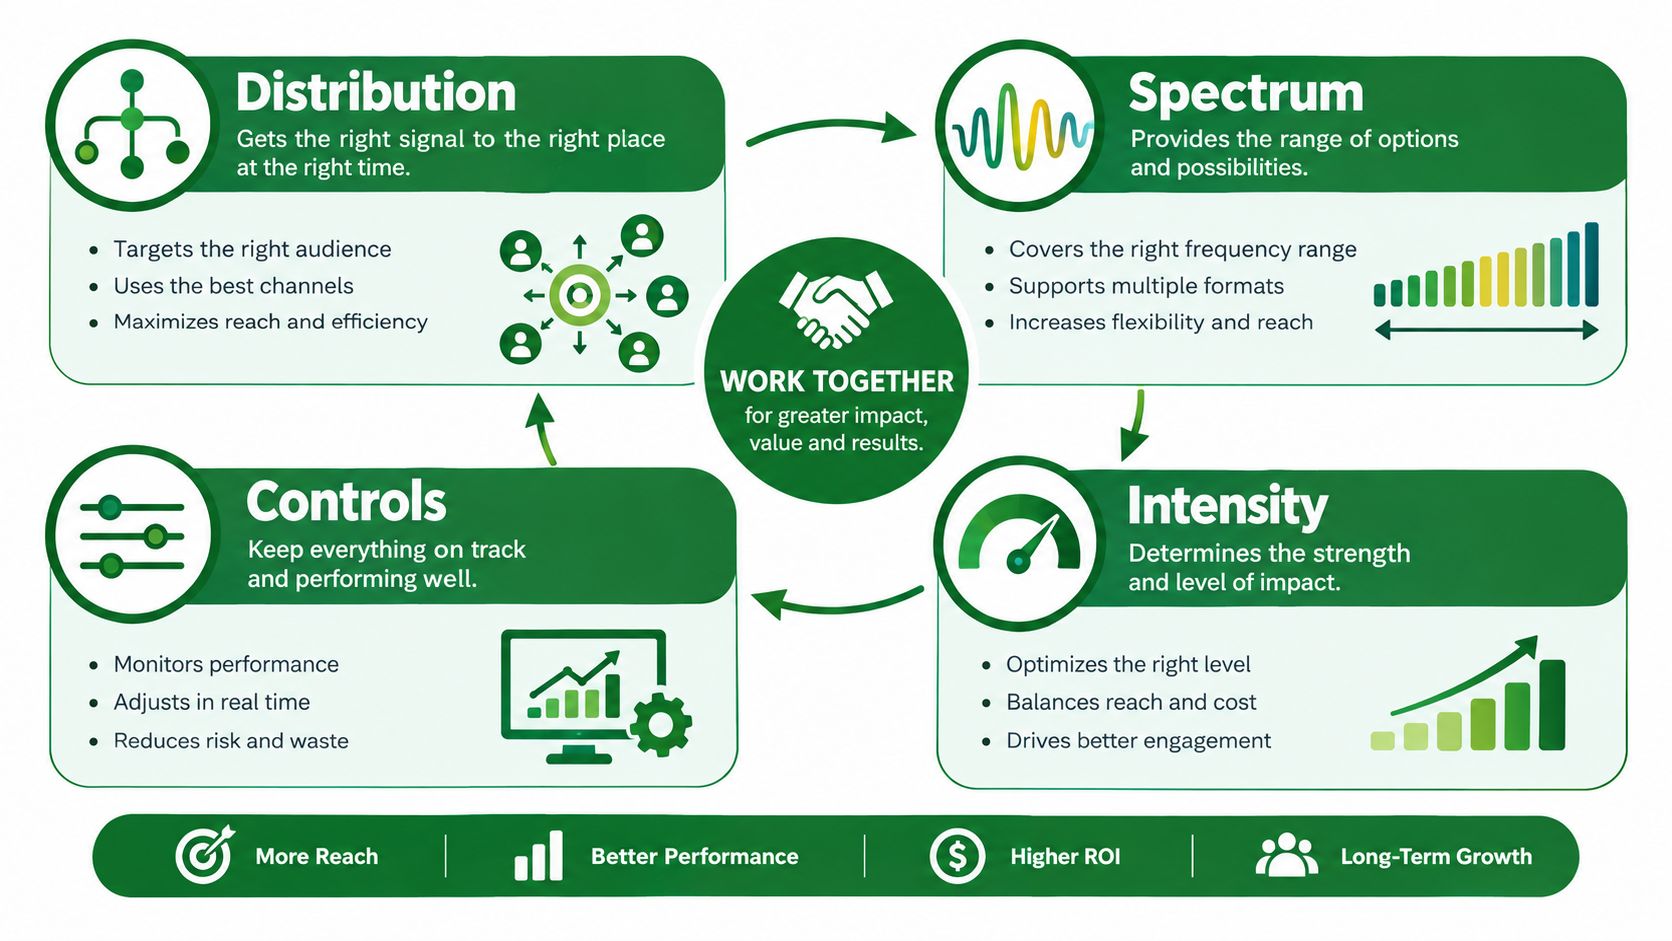
A parking lot can have plenty of light and still feel unsafe. The design has to place light where each task occurs, limit glare, suit the surrounding area, maintain useful uniformity, and operate on an appropriate schedule. Four variables must work together: distribution and shielding, spectrum, intensity and uniformity, and temporal controls.
Distribution and shielding
Optics determine whether light stays on the property or reaches drivers, residences, and neighboring parcels. A Type III distribution selected for an open parking field may perform poorly along a narrow drive aisle or at a property line. The layout should be evaluated by where light lands, not by fixture lumens alone. Shielding, mounting height, pole spacing, and surrounding obstructions can change the result.
Spectrum
Color temperature affects how a site looks and how much blue-rich light reaches nearby homes, habitat, or dark-sky-sensitive areas. Public-sector dark-sky guidance commonly favors warm-white light with a maximum 3000 K correlated color temperature in sensitive settings, along with very low or zero uplight. International Dark-Sky Association outdoor lighting guidance
A warmer source can reduce visual harshness, but spectrum is not a substitute for correct aiming or shielding. A poorly controlled fixture remains a glare problem at any color temperature.
Intensity and uniformity
Higher output can produce bright pavement directly below a pole while leaving darker gaps between poles. A well-shielded, warmer fixture with controlled output may serve a lot better than a cooler, brighter head that creates glare and strong contrast. Drivers and pedestrians need to read the route, curb lines, vehicles, and people across the full area, not only the surface beneath each pole.
Controls
Scheduling, dimming, and occupancy response can reduce output during low-activity periods. Set those changes gradually. Abrupt transitions can reduce camera detail and leave people moving between bright and dark zones. Commission the control curve at night, verify sensor coverage, and confirm that emergency, egress, tenant, and site-security requirements remain satisfied.
Use a practical sequence: define the visual task, select distribution and shielding, choose spectrum for the surroundings, model uniformity, then apply dimming or scheduling. This treats the pole, fixture, optics, and controls as one operating system rather than a fixture swap.
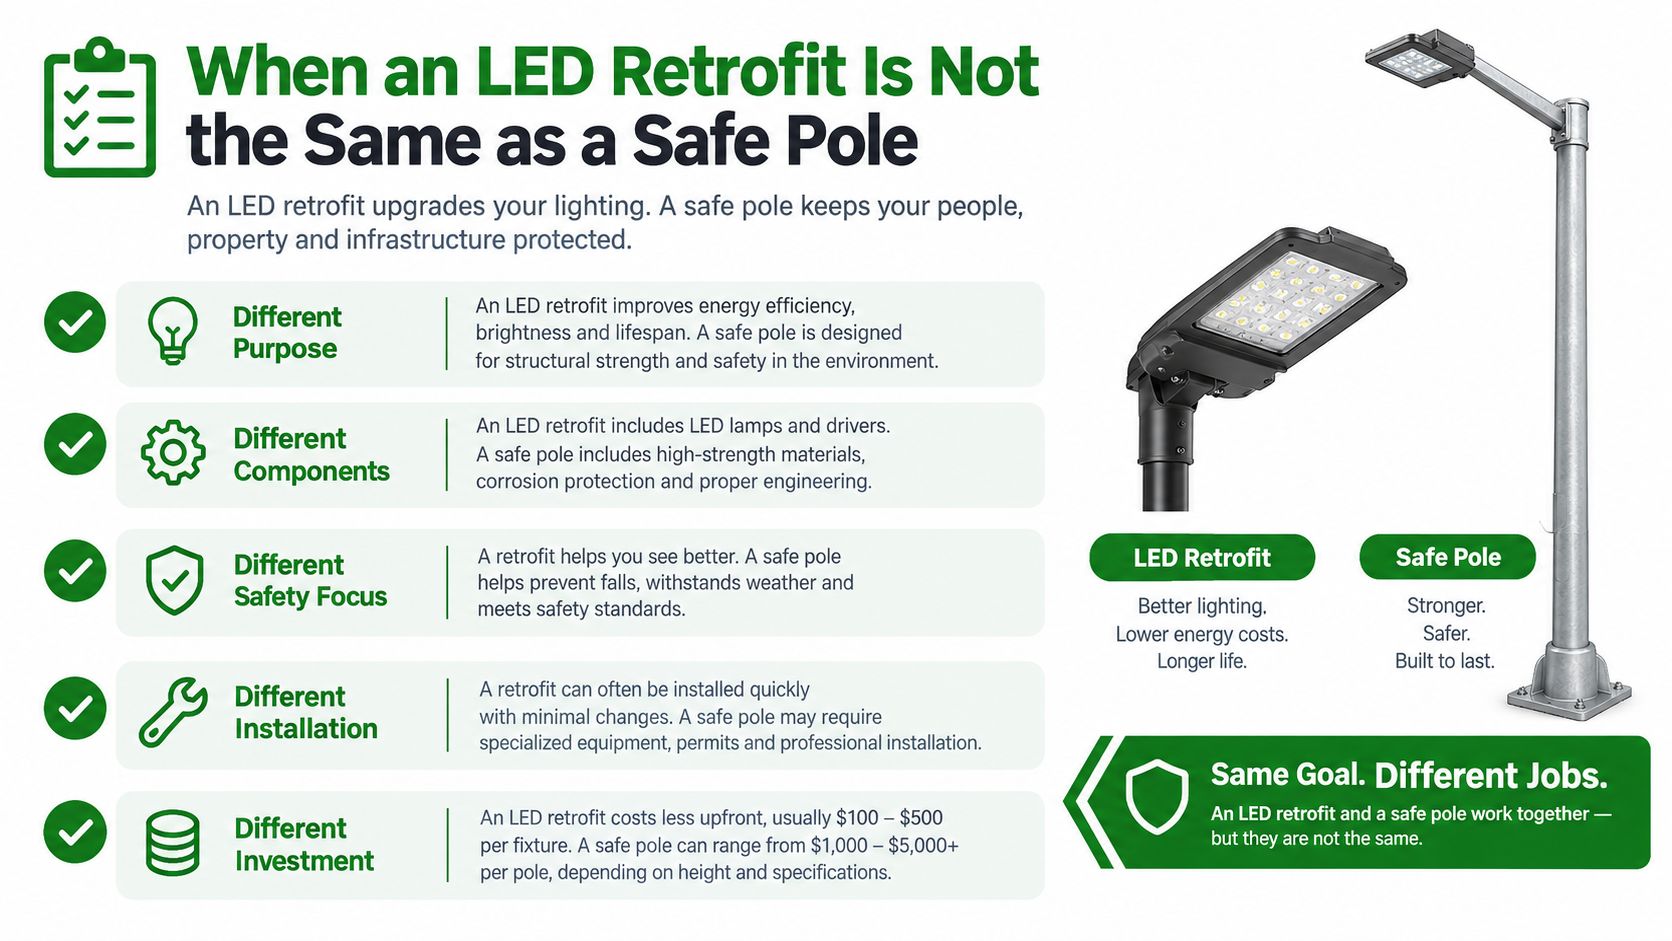
When an LED Retrofit Is Not the Same as a Safe Pole
A new LED head can improve illumination while leaving an unsafe pole untouched. Corrosion often concentrates where owners don't look closely, including beneath paint, around the base plate, inside the anchor area, and below grade. The upper shaft may appear sound while metal loss near the foundation reduces the pole's structural reserve.
A California public-works inspection guide warns that corrosion-related metal loss can lead to collapse, property damage, or injury, and notes that a basic visual inspection may not identify all corrosion. Its suggested interval is every five years for poles in paved areas exposed mainly to rain or dew, with annual inspections where significant rust or severe weather is present. Newer poles in those harsher conditions may require inspection every two years. Treat those intervals as a risk-based benchmark, not a substitute for engineering judgment. California light-pole inspection guidance
Build the schedule around exposure
A coastal Orange County property, an inland lot receiving constant irrigation overspray, and a protected office campus shouldn't share the same inspection assumptions. Add vehicle strikes, standing water, retrofit-added wind area, missing records, repeated outages, and visible foundation movement to the risk review.
A useful inspection record identifies each pole, photographs the base and handhole, notes coating condition, records visible corrosion, checks for leaning and impact, and documents the fixture and accessories attached above. The inspector should distinguish surface staining from section loss rather than labeling every rust mark as cosmetic.
Know when to escalate
A visual check can support routine monitoring when the base, shaft, anchors, and foundation show no concerning signs. Escalation is appropriate when the inspection finds:
- Section loss or deep pitting: Arrange thickness measurement rather than relying on paint condition.
- Loose or corroded anchors: Use appropriate torque checks and inspect the surrounding base and grout.
- Foundation cracking or spalling: Review concrete condition, drainage, and anchor confinement.
- New loading: Reassess the pole after adding a larger luminaire, camera, banner, or wireless equipment.
- Unknown structural history: Obtain records or an engineering evaluation before approving reuse.
A broader research summary cited in the California guide reports that a German nationwide study found 3.3% of lighting poles posed a hazard and described traditional inspection methods as ineffective at quantifying remaining service life. That finding reinforces the need to escalate beyond appearance when exposure or condition warrants it. An LED conversion improves the lighting equipment. It doesn't certify the pole.
Installation, Maintenance, Controls, and Title 24 Documentation
A well-run pole-mounted lighting project follows a sequence. Start with a night survey, site measurements, pole inventory, electrical review, and photometric plan. Then specify the pole, foundation, luminaire, optics, controls, access method, and testing scope together.
Put the installation in the right order
The contractor should confirm underground utilities, foundation details, anchor-bolt layout, pole alignment, feeder routing, and boom-truck access before equipment arrives. Installation then includes foundation or anchor work, pole setting, luminaire mounting, conductor termination, grounding, aiming, and weather sealing. The crew should document concealed work before it disappears below grade or behind covers.
Controls need commissioning, not just installation. Test schedules, dimming levels, occupancy response, sensor coverage, manual overrides, and transitions after dark. A system that saves energy but leaves a dark band between operating zones hasn't been commissioned properly.
Preserve performance after turnover
Maintenance priorities vary by property:
- Multifamily sites: Check glare, late-night dimming, irrigation overspray, resident complaints, and camera coverage.
- Retail centers: Review pole bases for vehicle impact, inspect high-use drive aisles, and schedule lift access before failures spread.
- Hospitality properties: Protect appearance, uniformity, grounds relationships, and quiet-hour controls.
- Office and industrial sites: Inspect feeders, controls, access areas, and long operating schedules.
Infrared electrical inspections can identify abnormal heat at feeders and connections before a visible failure. Periodic torque checks, luminaire cleaning, base inspections, control updates, and documented repairs keep the system accountable.
Title 24 work should include the applicable compliance method, fixture and control schedules, control settings, test results, commissioning records, and certification documents. Requirements vary by project scope and jurisdiction, so the contractor should identify the required package before installation rather than reconstructing it at inspection. Title 24 lighting requirements and certification support can help owners organize that process.
Access Electrical and Lighting provides commercial pole-light installation, LED parking-lot retrofits, controls, high-reach service, electrical troubleshooting, infrared inspections, and pole integrity testing across Southern California. If your property has dark areas, aging poles, or an upcoming retrofit, visit Access Electrical and Lighting to request a site review and define the lighting, structural, maintenance, and documentation scope before work begins.