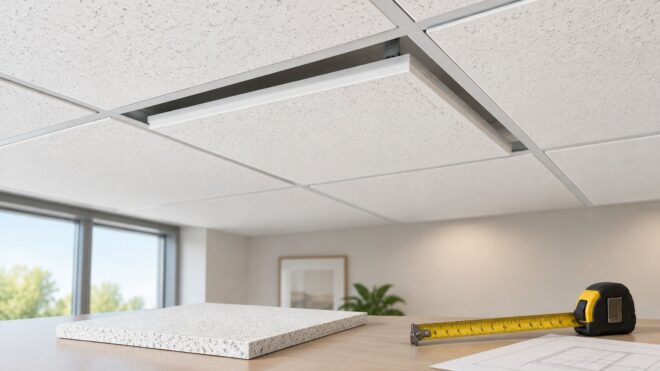
A carton covers 64 square feet, according to Armstrong's Dune item 1774 specifications, but that isn't the same as the area you can finish after cuts, damage and spare stock. For a commercial contractor, the important question isn't just whether the Armstrong 1774 ceiling tile looks right. It's whether the edge fits, the order covers the actual layout and the installation leaves the building serviceable.
Specifications at a Glance
Suppliers may use a suffixed item designation for Dune panels. Match the purchase order to the approved specification and carton label rather than treating a similar product name as proof of equivalence.
Armstrong 1774 key specifications
The manufacturer's published specifications establish the following ordering and fit information.
| Specification | Armstrong 1774 value | Why it matters |
|---|---|---|
| Nominal size | 24 x 24 in (2 x 2 ft) | Sets the grid module and tile count per area |
| Thickness | 5/8 in | Affects insertion clearance and handling |
| Coverage | 4 sq ft per tile | Converts ceiling area into tile count |
| Carton quantity | 16 tiles, 64 sq ft per carton | Sets the order and reorder unit |
| Weight | 0.75 lb per sq ft, about 3 lb per tile | Establishes handling and disposal weight; panel dimensions determine volume |
| Edge profile | Angled tegular, recessed below grid | Creates the dimensional appearance and affects grid compatibility |
| Surface | Fine, non-directional texture with factory latex-paint finish | Supports a consistent appearance without directional alignment |
| Light reflectance | 81% | Supports lighting calculations, not a guaranteed fixture reduction |
| Fire performance | Classified under ASTM E1264; listed as Class A | Must match the project's fire-performance requirements |
| Grid system | 15/16 in grid | Requires verification of the installed runner face |
| Acoustic rating, NRC and CAC | Verify on the current product data sheet | Don't substitute a rating from another Dune panel |
| Thermal value, R-value | Verify on the current product data sheet | Don't assume the tile provides assembly insulation |
What changes in the estimate
Carton coverage controls purchasing, but the reflected ceiling plan controls usable yield. A room with numerous columns, perimeter jogs and fixture openings needs a different cutting allowance from a clear rectangular room. Non-directional texture helps because suitable offcuts can be reused without maintaining a visual grain direction.
Weight matters when staging material, carrying cartons and planning removal. Disposal volume is a separate problem: mineral-fiber panels occupy space even when they aren't especially heavy, and broken pieces need contained handling.
Light reflectance belongs in the lighting designer's calculation. It describes reflected visible light under test conditions, not how much electrical energy the completed room will save. Dirt, wall finishes, fixture optics and room geometry still matter.
Class A is a product fire-performance classification, not proof that an entire ceiling assembly is fire-resistance rated. Where a rated assembly is required, verify the assembly listing, suspension system and permitted penetrations.
Copy the applicable values into the bid and submittal before comparing alternatives. A substitute that matches the face texture but changes the edge, acoustics or assembly requirements isn't an equivalent purchase.
Grid Systems and Plenum Fit
A tile can match the opening in plan and still fail at the edge. The angled-tegular profile needs the intended exposed-tee support, enough room to maneuver the panel and compatible perimeter detailing.
Measure before releasing material
- Check the module and runner face. Use a tape measure across representative openings and measure the exposed flange directly. Don't identify the suspension system from a photograph taken from the floor.
- Inspect an existing edge. Lift an intact panel and compare its shoulder, recess and thickness with the proposed replacement. Mixing lay-in and tegular profiles produces inconsistent sightlines even when both panels enter the opening.
- Test the insertion path. Look above the opening for ducts, cable trays, conduit and hangers. The finished panel position may be clear while the diagonal path needed to insert it is blocked.
- Identify restraints and bracing. Check hold-down clips, perimeter restraint and seismic details against the approved ceiling design. Don't remove an obstruction because it makes replacement inconvenient.
- Check service interfaces. Inspect lights, diffusers and sprinkler trim against the intended finished ceiling plane. Required clearances and support arrangements must remain intact.
A narrow-face grid is not a like-for-like replacement opportunity. If the panel isn't approved for that suspension system, the choices are a compatible panel or a designed grid change, with corresponding demolition, coordination and schedule consequences.
Practical rule: Never order tile for a grid you haven't measured.
A sample panel is useful where the existing ceiling has mixed components or undocumented repairs. Trial-fit it at a typical opening, a perimeter and a congested service location before committing to the full order.
Acoustic and Thermal Performance Explained
Sound absorption, sound isolation and thermal resistance answer different questions. A panel that performs acceptably in one category doesn't automatically solve the others.
Absorption versus isolation
Noise reduction coefficient, or NRC, summarizes sound absorption across standard test frequencies. It helps assess how much reflected sound a ceiling can absorb within a room.
Ceiling attenuation class, or CAC, describes resistance to airborne sound transmission through a shared ceiling plenum between spaces. It isn't a rating for the partition, door or complete room enclosure.
Use the exact current product data sheet for the proposed item when completing the acoustic schedule. Don't borrow values from a visually similar panel or assume that every product in a family performs alike.
| Space and problem | What to evaluate |
|---|---|
| Open-plan office with distracting conversation | Ceiling absorption together with screens, wall absorption and workstation layout |
| Classroom with poor speech clarity | Panel absorption, room finishes and mechanical background noise |
| Corridor adjoining occupied rooms | Ceiling-path attenuation, partition termination and penetrations |
Light and heat are separate decisions
A reflective white ceiling can help distribute light, but that property says nothing about sound absorption. The lighting designer should model the actual room finishes instead of removing fixtures based only on the ceiling's appearance.
Mineral-fiber tile also isn't a substitute for a designed insulation layer. Thermal performance usually depends much more on the roof, envelope and any properly detailed insulation above the ceiling.
Don't lay insulation, cables or equipment onto panels unless the ceiling design expressly permits that arrangement. Set the acoustic and thermal targets first, then check the proposed product and complete assembly against them.
Where the 1774 Tile Fits Commercial Spaces
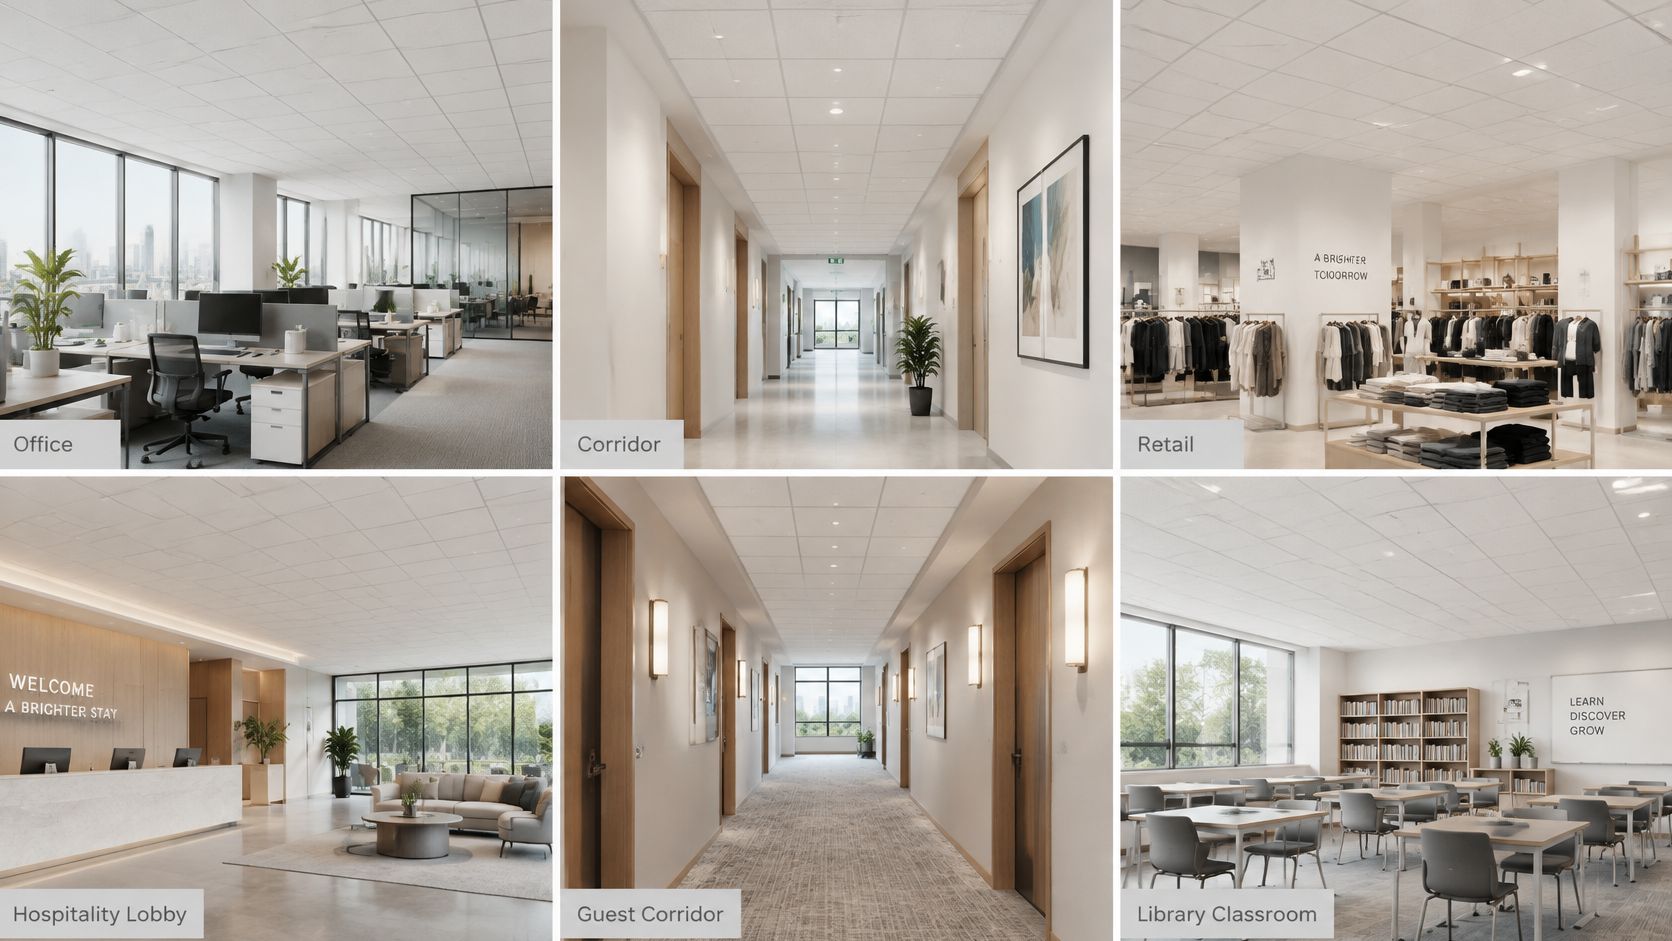
The strongest use case is a finished commercial interior where the ceiling remains visible and building services need routine access. Offices, corridors, retail sales floors, hospitality interiors, libraries and classrooms all present that combination.
Choose by operating conditions
In a tenant office, removable panels let electricians reach lighting circuits without opening a finished hard ceiling. The trade-off is that every service visit creates another opportunity to chip an edge or soil a face.
On a retail floor, the recessed appearance can give a uniform ceiling more definition. Coordinate the finish with the commercial lighting design so fixture distribution, ceiling brightness and merchandise illumination work together.
In a multifamily corridor, maintenance access and replacement availability may matter more than decorative distinction. A stocked, approved panel is easier to maintain than a patchwork of near-matching products.
Know when to change the specification
- Kitchens and washdown areas: Verify cleaning compatibility and exposure limitations. A painted mineral-fiber face shouldn't be assumed washable.
- Damp or unconditioned spaces: Check the manufacturer's environmental limits and warranty conditions before specifying.
- Loading docks and exterior soffits: Evaluate moisture, wind, impact and temperature exposure rather than treating them as ordinary interior ceilings.
The practical test is straightforward: an accessible interior ceiling with a compatible suspension system is a plausible application. An exposed, frequently washed or impact-prone location needs a closer product review, and often a different ceiling material.
Pricing and Order Quantities by Project Size
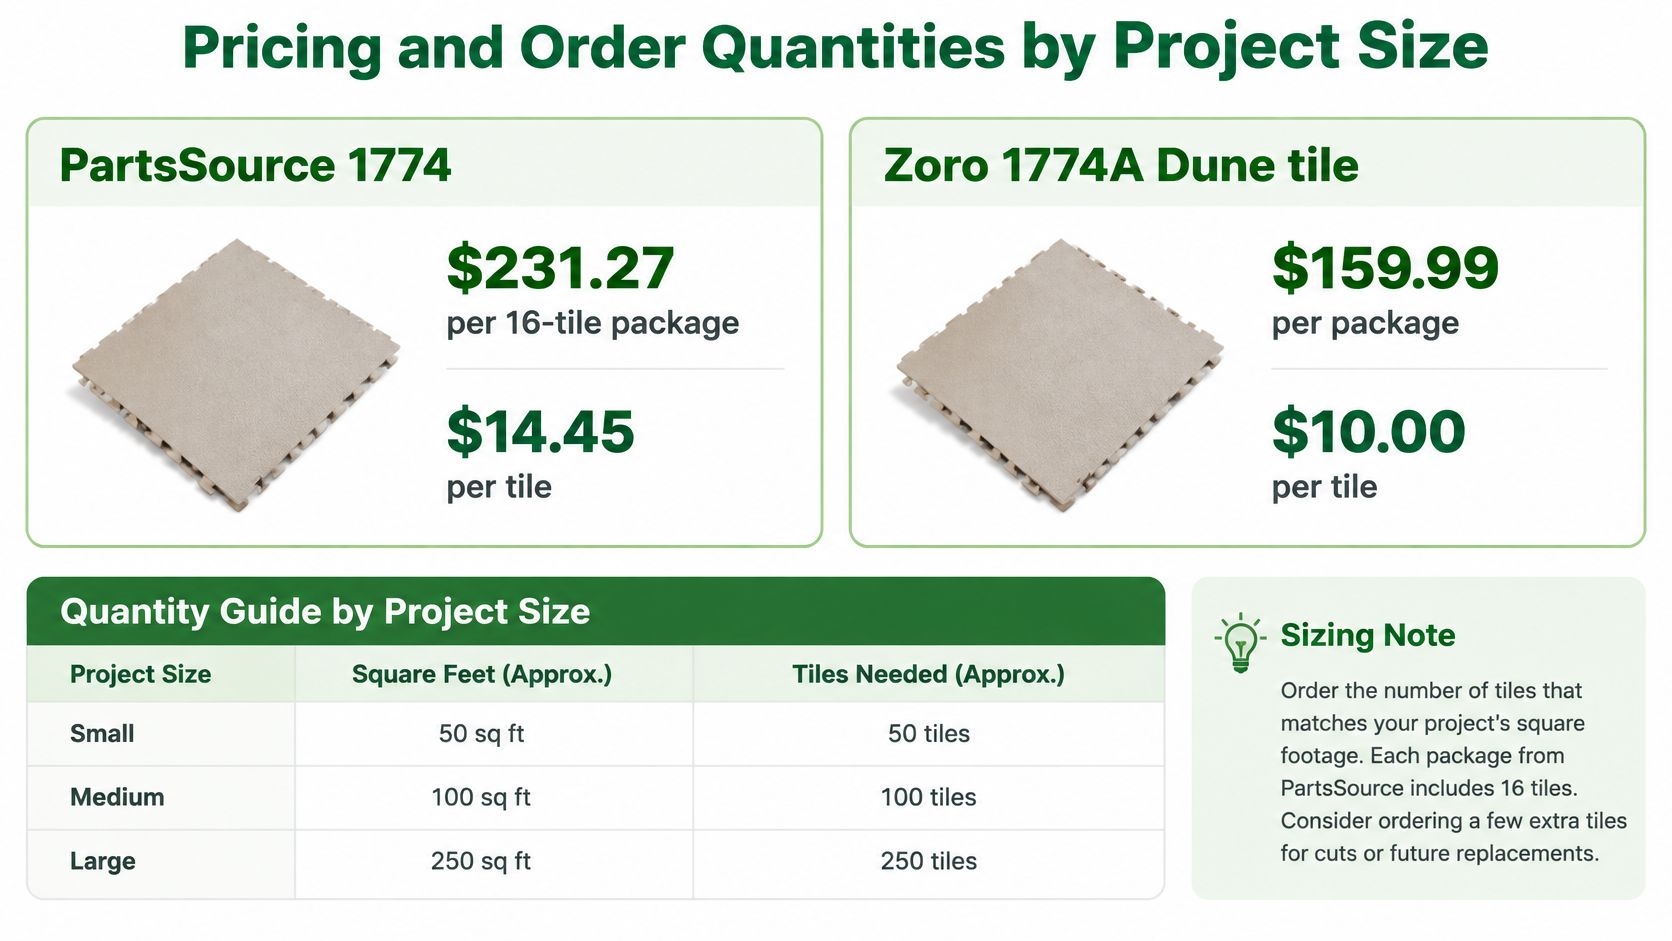
PartsSource listed Armstrong 1774 at $231.27 per package of 16 in 2026, approximately $14.45 per tile. That's a material listing, not an installed price, and it doesn't establish freight, tax, availability or project labor.
Build the order from the layout
Measure the ceiling area receiving panels, then check the reflected ceiling plan for openings, borders and reusable cuts. Convert that takeoff into panels, add a project-specific cutting and handling allowance, and round the purchase to full cartons.
For the hypothetical quantity guide below, the allowance is ten percent. It's an estimating assumption, not a manufacturer requirement; fragmented layouts or unusually tight matching requirements may justify another allowance.
Illustrative order quantities rounded to full cartons
| Hypothetical area to cover | Cartons, using the published carton capacity |
|---|---|
| 100 sq ft | 2 cartons |
| 500 sq ft | 9 cartons |
| 1,000 sq ft | 18 cartons |
These are coverage examples, not universal purchasing quantities. Check whether the job includes full-panel light fixtures, extensive border cutting or owner-required maintenance stock before turning the estimate into an order.
Compare landed cost, not just package price
For a useful cost-per-square-foot comparison, divide the quoted carton price by its stated coverage. For the project budget, divide the entire material purchase, including surplus cartons, freight and tax, by the area being finished.
That distinction matters on small repairs. Buying a full carton to replace scattered panels produces a different effective cost from installing the whole carton in a clear room.
Keep maintenance stock separate from cutting allowance. Cut waste may be unusable, while the facility team needs clean, full panels with intact edges and identifiable carton labels.
A cheaper carton isn't cheaper if it arrives with the wrong edge or misses the installation window.
Confirm current pricing, damage-claim terms and delivery arrangements before award. Include removal, protected staging, perimeter work and trade coordination when comparing installed bids.
How to Install 1774 Tiles in Tenant Improvements
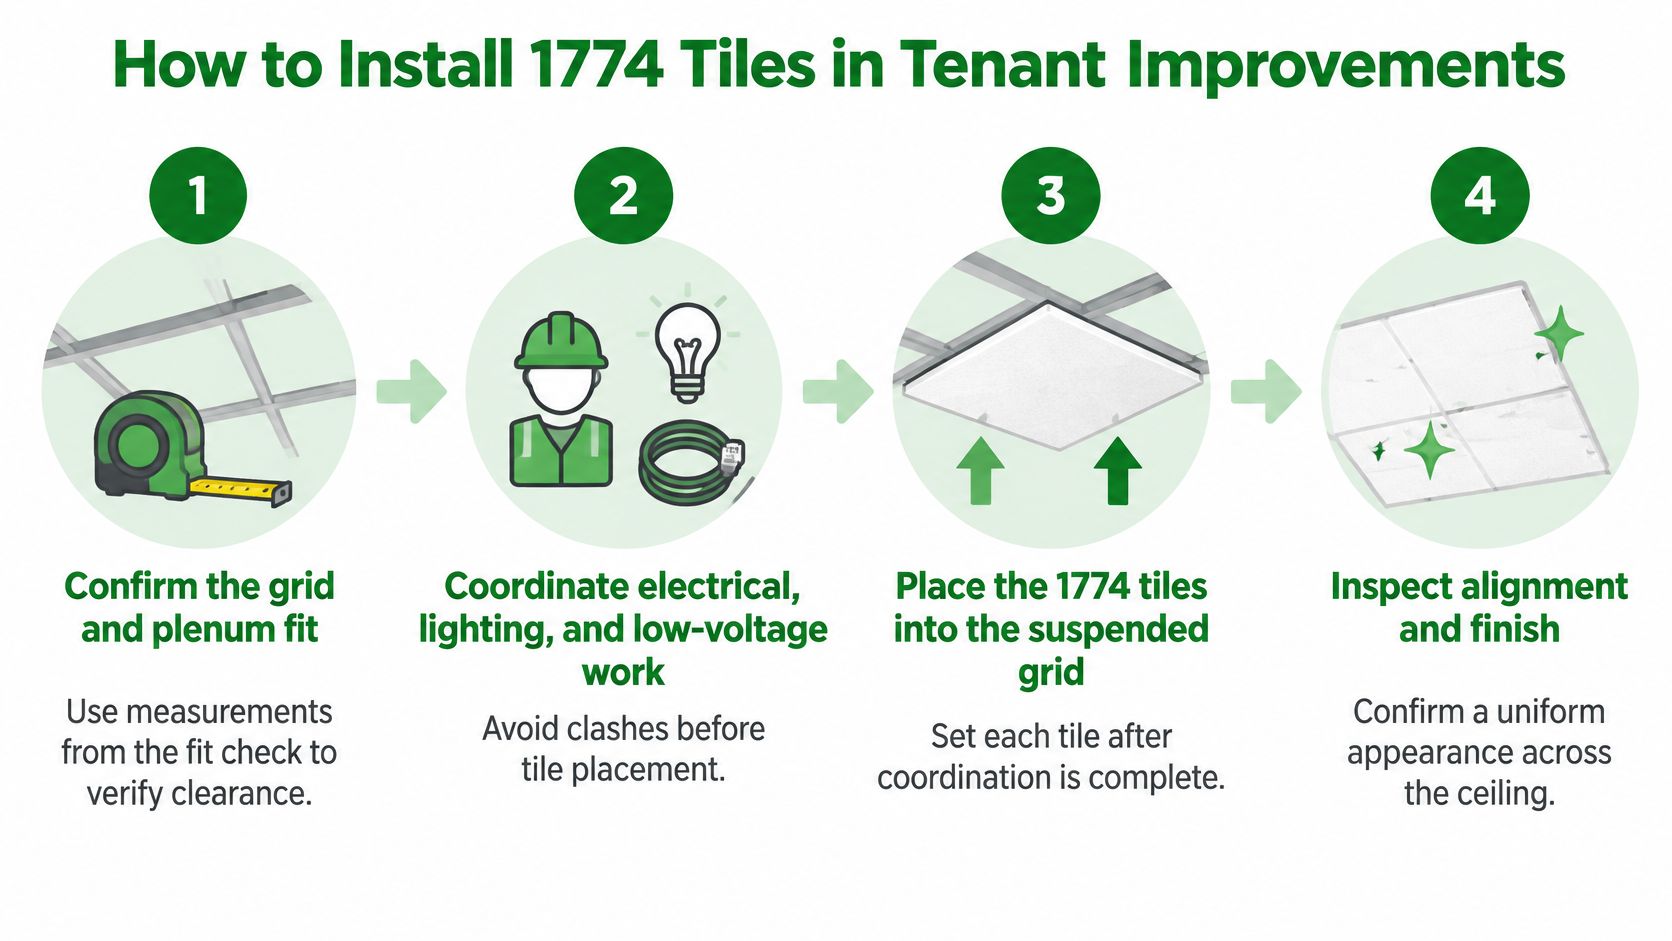
Install the ceiling after overhead work is ready for closure, not when cartons arrive. If electricians and mechanical crews still need unrestricted access, placing finished panels early creates avoidable rehandling.
Prepare the room and suspension
- Verify the approved fit. Compare the delivered carton identification with the submittal and trial panel. Check congested openings before distributing material throughout the room.
- Release overhead work for closure. Coordinate lighting, electrical and low-voltage installation through the tenant-improvement construction scope. Fixtures and services need their specified support; the tile isn't a support platform.
- Establish suitable room conditions. Store panels flat, dry and protected, and follow the current manufacturer's conditioning instructions. Don't impose an arbitrary acclimation period in place of the product's actual temperature and humidity requirements.
- Prepare the grid. Clean exposed flanges, replace damaged components and check level with a laser. Correct twisted runners before fitting panels, because a panel won't conceal a distorted support system.
Set and inspect the panels
- Balance the layout. Establish a centerline and check border widths against the reflected ceiling plan. Avoid narrow perimeter slivers where a revised layout can produce more durable, consistent borders.
- Insert without forcing. Wear clean gloves, tilt the panel through the opening and lower it onto its bearing surfaces. If the tile binds, lift it back out and identify the obstruction rather than crushing the edge.
- Cut borders accurately. Use a sharp utility knife, straightedge and sacrificial cutting surface. Where a tegular border detail is required, form it with the appropriate edge-cutting tool and approved finishing method.
- Inspect under operating light. Check reveals, rocking panels, sag and alignment around service openings. Confirm sprinkler trim and diffuser interfaces without altering those systems to conceal a ceiling error.
- Document close-out. Record carton identification, remaining stock and photographs of the finished work. Label storage locations so maintenance staff can find matching material.
Rushing placement is the common mistake. A panel can appear seated from directly below while its edge rests incorrectly on the runner, leaving an uneven reveal under raking light.
How to Repair or Replace a Damaged Tile
| Damage | Likely cause | Fix |
|---|---|---|
| Water stain or sag | Roof, plumbing or HVAC leak | Find and stop the source, dry the area, then replace the tile |
| Chipped or cracked edge | Impact during handling or access | Replace the whole tile; edge patches aren't a durable bearing repair |
| Tile out of its grid | Displaced by access work or vibration | Reseat at an angle and check for bent runners |
| Shade mismatch | Aging or a different production lot | Replace a visually continuous run with matched material and retain spares |
| Sag across several tiles | Overloaded or failed grid support | Inspect hangers and connections, then review overhead loading |
Remove the cause before the panel
A stained tile doesn't prove that the leak is directly above it. Water can travel along a pipe, duct or runner before reaching the panel, so inspect the overhead route and confirm the area is dry.
Widespread sag needs more than cosmetic replacement. Keep people clear if the suspension appears unstable, and have the responsible trade assess the support system before disturbing it.
Replace without damaging neighboring edges
- Make the work area safe. Protect occupants and furnishings, and use a stable platform. Have a qualified electrician isolate electrical equipment where the work could expose or disturb it.
- Create maneuvering room. Carefully lift nearby panels enough to provide access, keeping them supported. Don't force the damaged panel against adjacent tegular edges.
- Remove the failed panel. Tilt it through the opening and lower it without dragging debris across the grid. Inspect its bearing surfaces and the surrounding suspension.
- Fit the matched replacement. Insert at an angle, lower gently and check its seating. Restore adjacent panels and inspect the reveals from normal viewing positions.
Replacing a failed panel without finding the cause leaves the next panel exposed to the same problem.
A different production lot may be noticeable even when the item designation matches. Before replacing an entire visible run, trial-fit a panel under the room's normal lighting and agree on the acceptable appearance with the owner.
Pre-Order Checklist and Go or No-Go Decision
Price comparisons only matter after product identity is settled: Zoro listed the Armstrong 1774A Dune tile at $159.99 per package of 16 in 2026, or $10.00 per tile. Confirm the suffix, approved characteristics and actual stock before treating that listing as an interchangeable purchase.
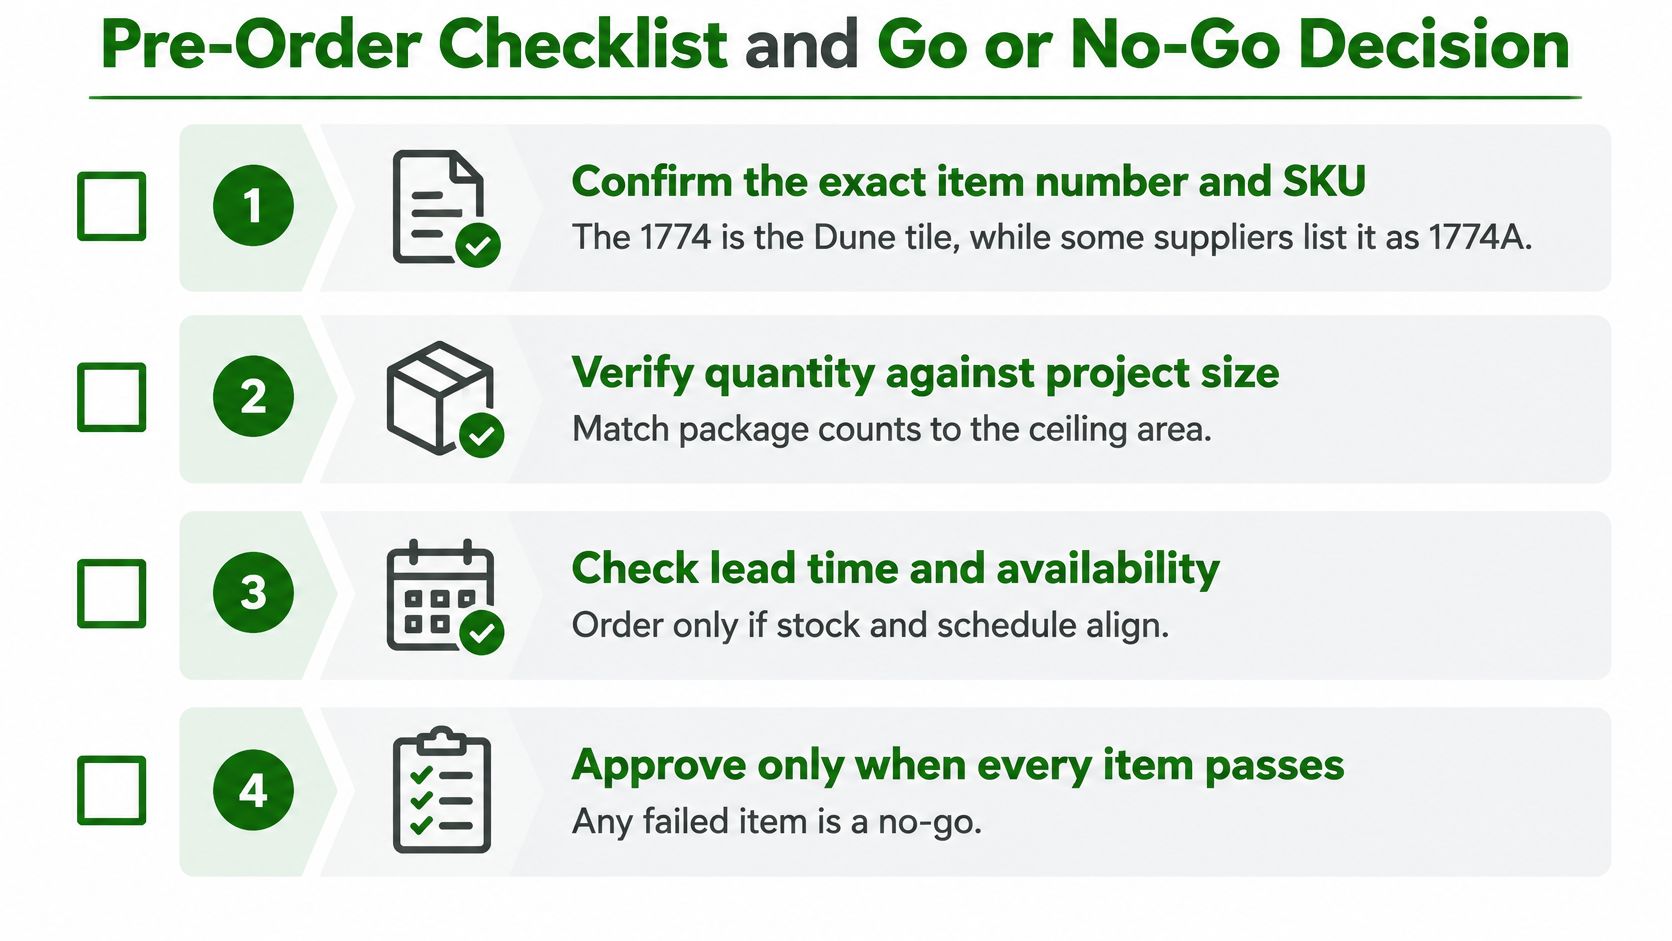
Release only after verification
- Identity: Match the specification, supplier SKU and carton designation.
- Fit: Approve the measured suspension system, edge and insertion clearance.
- Performance: Record current acoustic, thermal and fire documentation.
- Quantity: Approve the takeoff, cutting allowance and separate maintenance stock.
- Delivery: Confirm availability, lead time and protected storage.
- Coordination: Resolve service conflicts and any applicable Title 24 lighting requirements before ceiling closure.
Go when the product fits the approved interior application, suspension system and performance requirements. No-go when compatibility, environmental suitability or documentation remains unresolved. Hold the purchase order until the responsible designer, supplier or trade closes the specific issue.
Access Electrical and Lighting provides commercial electrical, lighting and low-voltage installation and maintenance for tenant improvements and occupied properties. Visit Access Electrical and Lighting to coordinate fixture and cabling work with ceiling closure, keeping service access and trade sequencing in the project scope.