The usual advice for temporary parking lot lighting is to rent enough towers to make the pavement look bright. That's the wrong acceptance test. A tower count doesn't tell you whether a driver can see someone stepping out from behind a van, whether an accessible route stays visible, or whether the installation can remain under California's temporary-lighting treatment.
Start with the lot's use, operating duration, and measured coverage. Then choose the equipment. On an event lot, a resurfacing project, or an outage site, poorly aimed floodlights can make visibility worse even while the pavement looks brighter.
Light Levels That Count as Enough
Don't make fixture count the goal. Select the lighting criteria for what people will do in each part of the lot tonight, including any construction work that continues beside public parking.
Illuminance targets by how the lot is used
| Use | Minimum horizontal | Minimum vertical | Uniformity max to min | When it applies |
|---|---|---|---|---|
| Basic parking per IES RP-20 | 0.2 fc | 0.1 fc | 20:1 | Parked vehicles and drive aisles without an added security brief |
| Enhanced security parking | 0.5 fc | 0.25 fc | 15:1 | Retail, multifamily, or hospitality lots where the project calls for enhanced security |
| General construction area | 5 fc | Not separately specified in the cited table | Not separately specified in the cited table | Construction areas while work is in progress under OSHA Table D-3 |
| Access storage loading and excavation | 3 fc | Not separately specified in the cited table | Not separately specified in the cited table | Access ways, active storage, loading platforms, refueling, excavation, concrete placement, and waste areas |
The parking rows are IES RP-20 benchmarks addressed in the DOE parking-lot guidance used for layout planning. For construction zones, the ASC construction-lighting study discussing OSHA 29 CFR 1926.56(a) identifies 5 foot-candles for general construction areas and 3 foot-candles for the listed access, storage, loading, and related work areas while work is in progress.
Those construction requirements aren't interchangeable with parking recommendations. An open customer aisle and an adjacent excavation may need different treatment even though the same portable tower reaches both.
Read the pavement and the person
Horizontal illuminance describes light reaching a horizontal surface, such as pavement. Vertical illuminance addresses light reaching upright surfaces, which matters when someone needs to recognize a pedestrian rather than merely see the painted stall beneath them.
Uniformity describes the relationship between the brightest and darkest measured locations. A layout with an intense pool beneath a tower and weak coverage at the entrance can look impressive from the delivery truck while performing poorly where drivers turn.
Acceptance rule: A high average can hide dark stalls, crossings, and vertical faces.
Mark the selected criteria on the work order and identify where each category applies. If a contractor's quote gives only fixture wattage and an estimated average, ask for minimum readings and a distribution plan before approving it.
Keep task lighting separate
Say a shopping center keeps customer parking open while a paving crew works behind barricades. The parking area needs a layout suited to vehicle and pedestrian movement, while the active work zone needs illumination appropriate to that work.
Don't try to solve both by pointing a larger floodlight across the barricade. Give the work zone its own coverage and keep its glare out of the public approach.
A foot-candle calculator can help organize preliminary planning, but it can't account for every parked vehicle, obstruction, or aiming error. Use it to prepare the specification, not to replace nighttime meter readings.
Decide Duration Permits and Rent or Buy
Decide duration before signing the rental agreement. A portable fixture isn't automatically exempt from the requirements that apply to outdoor lighting, and a recurring installation needs more thought than an emergency deployment.
The 2025 California Energy Code materials define temporary outdoor lighting as lighting that doesn't persist beyond 60 consecutive days or more than 120 days per year. Treat those limits as a design-review trigger, not as blanket permission to install any portable system without checking other requirements.
Separate code treatment from equipment ownership
For a short deployment with suitable house power and uncomplicated boundaries, a serviced rental can be practical. The agreement should still identify delivery access, controls, maintenance responsibility, and who responds if a fixture stops working.
For a longer redevelopment, ask the designer and local authority to confirm the applicable compliance path before extending the rental. Nearby residences, accessible routes, and emergency egress also justify closer review, regardless of whether the equipment is rented or owned.
Rent or buy by how long the lot stays temporary
| Job | Duration | Better path | Watch-out |
|---|---|---|---|
| One-night event or market | Brief event deployment | Rent towers with delivery and pickup | Book pickup before load-in so equipment doesn't remain unnecessarily |
| Resurfacing or tenant improvement | Through the active work phases | Rent with a repositioning clause | Heads may need to move when paving and pedestrian routes change |
| Multi-phase redevelopment | Beyond the applicable temporary duration limits | Design closer to a permanent system | Confirm whether temporary-lighting treatment remains available |
| Repeat outages at one property | Recurring callouts | Consider owning compatible spare LED heads and renting high-reach equipment | Include storage, testing, mounting compatibility, and maintenance |
| Emergency same-night outage | Immediate restoration period | Seek an available tower and a professionally arranged temporary feed | Keep cords and equipment out of drive aisles and accessible routes |
Buying spare heads makes sense only if someone maintains them and knows how they connect to the property's equipment. Otherwise, the owner has paid for inventory that may not solve the next outage.
Renting transfers some equipment maintenance to the supplier, but it doesn't transfer responsibility for the site layout. Put relocation, refueling, service access, and after-hours contact arrangements in writing.
Ask the local questions early
Contact the appropriate building, electrical, or public-works staff about the actual scope. Ask about temporary power, generator location, traffic interference, and any boom-truck work affecting the public right of way.
Aiming also belongs in the procurement decision. The CIE conference paper on lighting and safety discusses the importance of uniformity and recommends mounting portable lighting high and directing it downward to reduce glare.
That recommendation can change which rental equipment fits. A tower that can't achieve the needed mounting position, or lacks suitable optics, may be the wrong choice even when its quoted light output is generous.
Record the operating start, planned removal, control type, annual deployment history, and responsible reviewer before delivery. Don't let an automatically renewed rental agreement become the property's compliance strategy.
How to Lay Out the Lot Before Delivery
The rental order should describe a site-specific arrangement, not merely request whatever towers are available. Give the supplier a marked plan that shows where equipment can stand and what each fixture must illuminate.
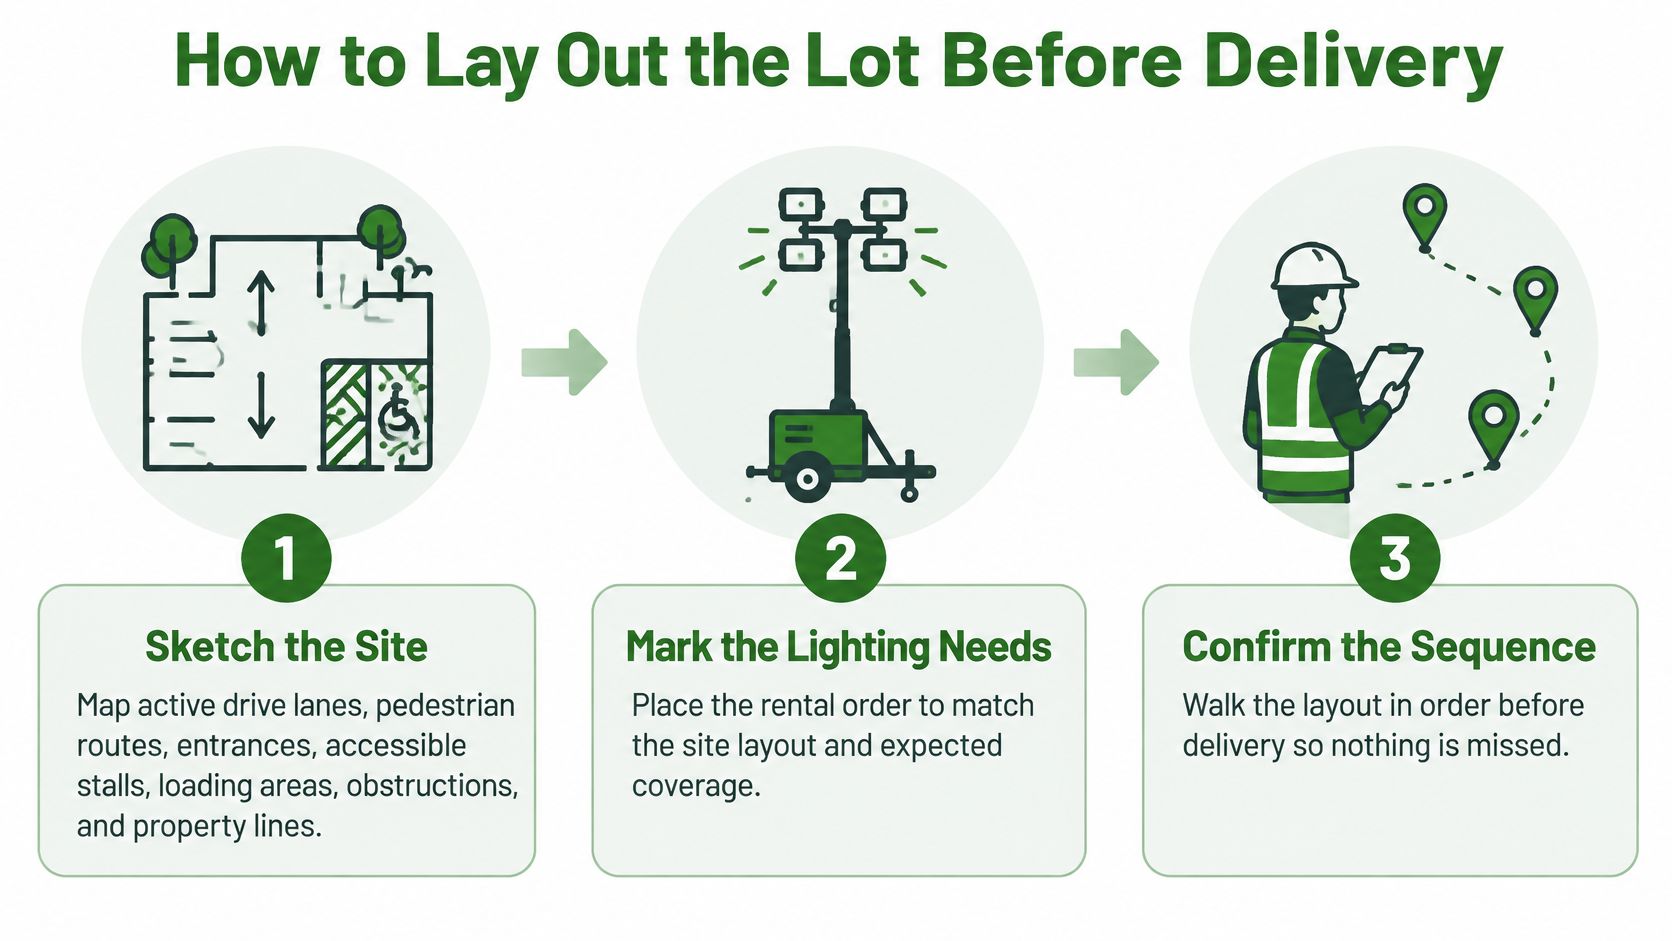
This planning sequence keeps coverage decisions ahead of delivery logistics.
Make the coverage decisions on paper
Sketch the operating site. Map drive lanes, pedestrian routes, entrances, accessible stalls, loading areas, obstructions, and property boundaries. Show the next paving phase as well as the current one, so a proposed base doesn't land in tomorrow's work area.
Place a measurement grid. Give each point an identifier and record the selected lighting criteria on the drawing. The DOE guide to FEMP-designated parking-lot lighting identifies basic parking benchmarks of 0.2 fc horizontal, 0.1 fc vertical, and 20:1 maximum-to-minimum uniformity, and enhanced-security benchmarks of 0.5 fc, 0.25 fc, and 15:1, respectively.
Specify mounting positions and optics. Choose distributions that reach the intended stalls and walking routes without throwing unnecessary light across the boundary. Don't assume every floodlight produces the same useful footprint.
Match the order to the work sequence
Choose hardware for the operating arrangement. Trailer towers are useful where equipment must relocate between phases. Temporary poles or approved rental heads on suitable existing structures may leave more usable pavement on a lot that must remain open. A boom truck provides installation and service access, not a substitute for a lighting plan.
Identify the available power before selecting heads. Request actual fixture input ratings and compatible controls. Where electrical capacity is tight, compare LED options before ordering equipment that forces a larger temporary supply.
Draw protected cable routes and relocation triggers. Show where cords enter the lot, how they reach each fixture, and which paving or traffic change requires a review. Name the person authorized to request that adjustment.
Use a lighting-spacing planning guide to understand spacing decisions, then check the proposed arrangement against the selected fixture's photometric information. Trees, parked delivery vehicles, canopies, and changes in elevation can invalidate a neat-looking drawing.
The finished order sheet should include head count, mounting height, optics, base locations, power connections, and the measurement grid. Attach site photographs showing access restrictions and overhead obstructions.
Order the light distribution you need, not just the wattage the rental yard has available.
Before approving delivery, have the site superintendent or property representative confirm that every proposed location will remain accessible for installation, service, and eventual pickup.
Poles Power Sources and Load Math
Separate the structural plan from the electrical plan. A suitable generator won't make an unstable mast acceptable, and a secure tower won't prevent a long, undersized cord from causing electrical trouble.
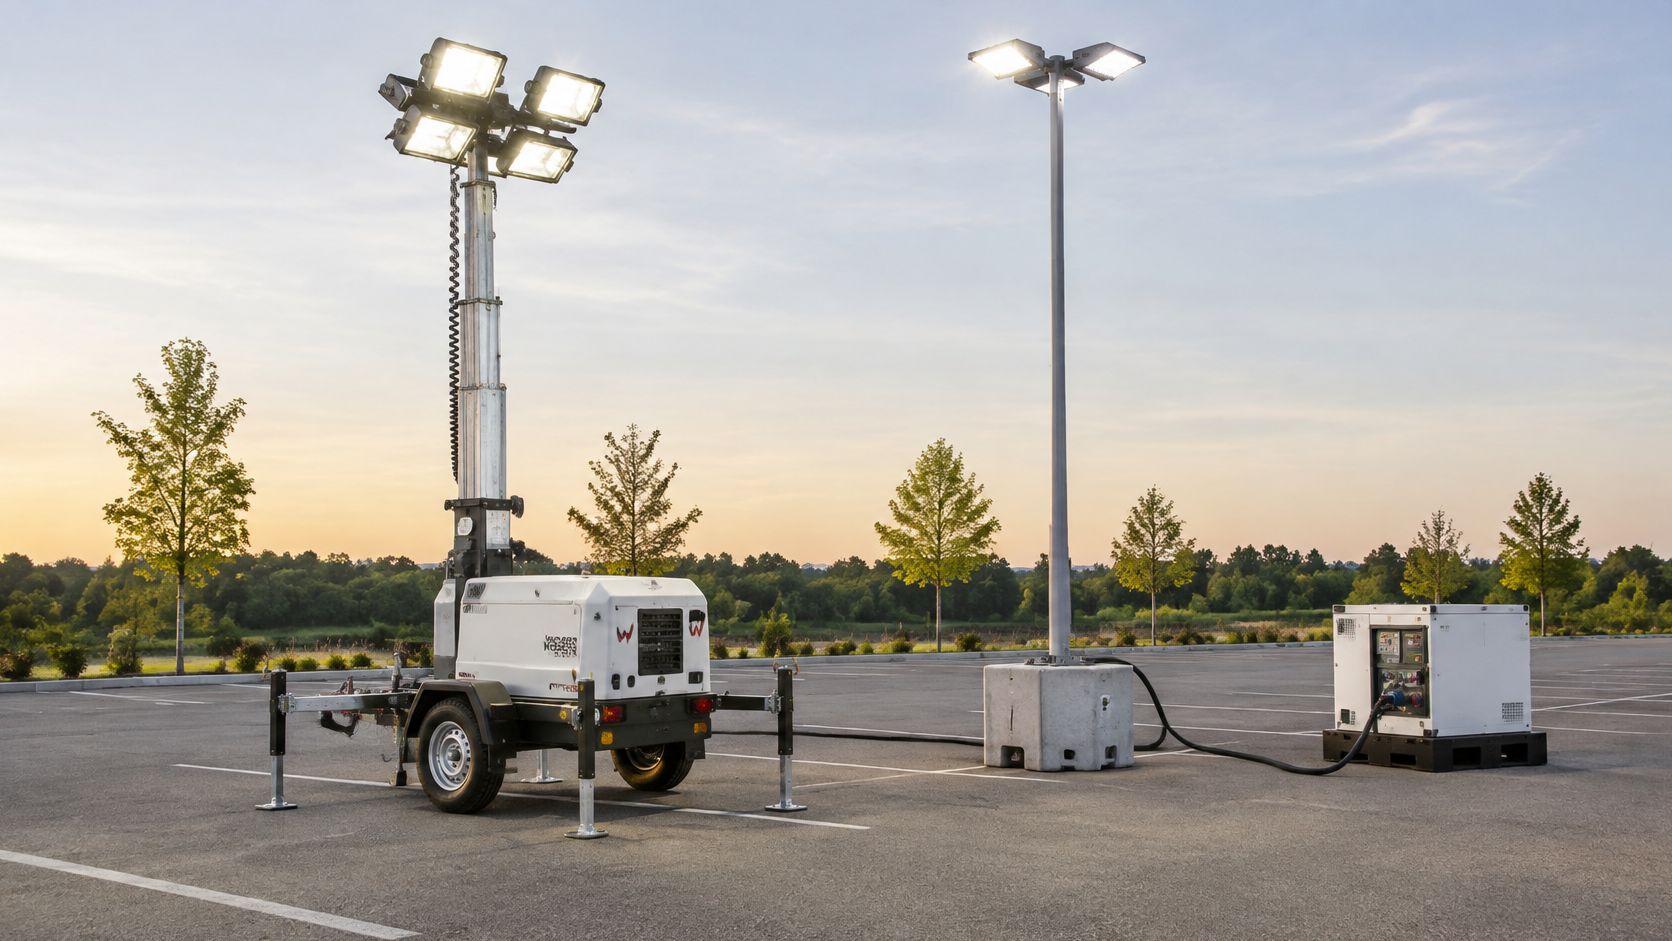
The equipment arrangement needs room for both safe support and service access.
Build the load schedule from nameplates
Write down each luminaire's input watts, voltage, input current, and power factor where provided. Include driver losses through the manufacturer's input rating rather than using nominal LED output or lamp wattage alone.
For a copyable load worksheet, use this sequence:
- Connected lighting load: Add the actual input ratings of all heads operating together.
- Other equipment: List controls, chargers, tools, and anything else sharing the source.
- Circuit sizing: Have the electrician apply the applicable continuous-load requirements and protective-device rules.
- Generator selection: Check continuous output, receptacle limits, load balance, and equipment compatibility, not just the generator's advertised peak rating.
- Distribution check: Evaluate conductor size, cable length, voltage drop, connectors, and outdoor protection.
The DOE parking-structure lighting analysis identifies typical parking fixtures at roughly 50–200 watts. That's useful context for comparing technologies, but it isn't a portable-tower rating and shouldn't replace the rental equipment's nameplate.
For a worked calculation without guessing equipment ratings, let total input watts equal the sum of the selected heads' documented input watts. For a suitable single-phase load, divide by supply voltage and account for power factor where applicable to estimate current, then verify against the manufacturer's input-current information.
The watts-to-amps guide helps explain that conversion. It doesn't replace conductor sizing or a generator load review.
Choose the support without sacrificing circulation
A trailer tower needs firm, level support and outriggers deployed according to its instructions. Keep the tongue, stabilizers, and service envelope outside travel lanes and accessible routes.
A temporary pole needs a base or attachment designed for the actual assembly and site conditions. Don't improvise ballast, and don't clamp rental heads to an existing pole until its condition and mounting suitability have been checked.
House power avoids routine generator fueling, but only after an electrician confirms capacity and a suitable connection. Label the temporary circuit so maintenance staff don't disconnect it while troubleshooting another system.
Generators require an operating plan for fuel, noise, exhaust, weather, and authorized servicing. Place them away from occupied openings and public circulation, following manufacturer instructions and applicable local requirements.
Outdoor-rated cords, appropriate ground-fault protection, weather-protected connections, and a suitable disconnect belong in the installation scope. Household power strips and improvised cord chains don't belong in a commercial parking lot.
Put the load schedule, source, cable routes, and service responsibilities beside the layout drawing. That gives the delivery crew a usable installation package rather than separate instructions that contradict each other.
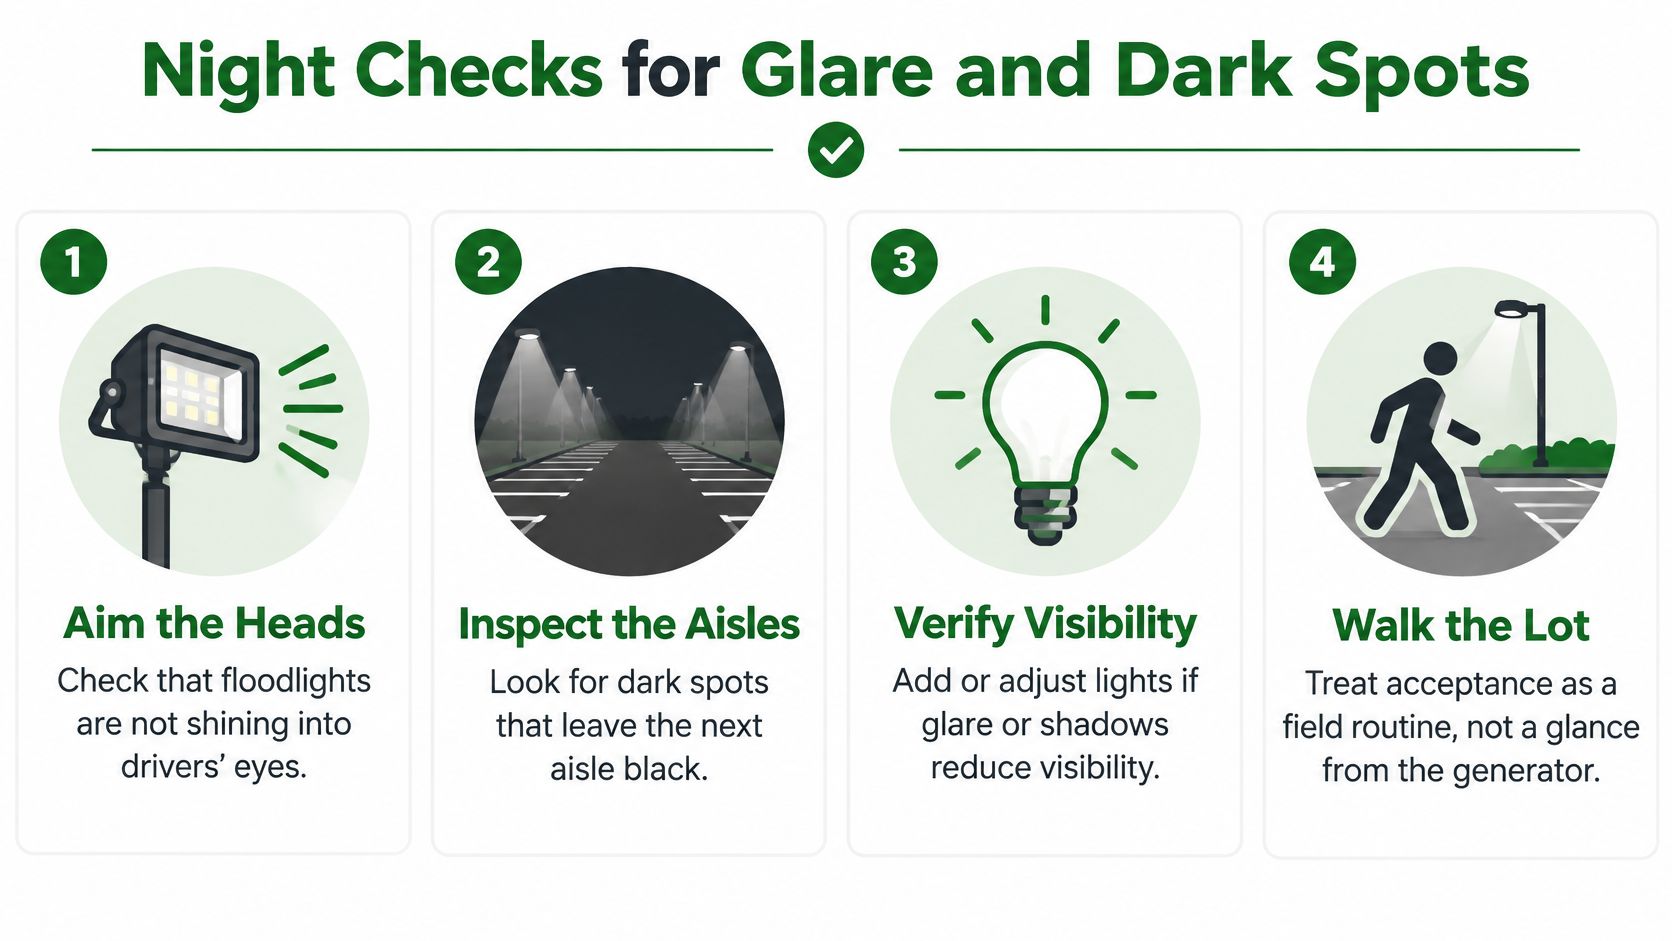
Night Checks for Glare and Dark Spots
More floodlights can reduce visibility. A head aimed toward an arriving driver can obscure pedestrians even while it increases the light meter reading on nearby pavement.
Acceptance needs a field routine performed under the conditions in which the lot will operate. Include representative parked vehicles where practical, because an empty lot won't reveal every shadow.
Walk first, then measure
The DOE outdoor-area lighting guidance recommends assessing glare with the luminaire installed at its intended mounting height under typical nighttime conditions. A fixture's catalog image or a daytime aiming check can't establish how drivers will experience it.
Walk the approaches and pedestrian routes. Enter from each operating driveway, then inspect at pedestrian eye level. Mark direct views into bright heads, abrupt transitions, shadows behind tall vehicles, and light entering neighboring windows or roadways.
Read the identified grid points. Use a calibrated light meter and keep sensor position and orientation consistent with the measurement plan. Record horizontal and vertical readings separately, along with operating conditions and any obstruction affecting the result.
Write down the lowest readings and their locations. Calculate the specified uniformity measure using the relevant readings rather than substituting an average that looks more favorable.
If a delivery van blocks a walking route's illumination, record the operational problem as well as the meter result. The response might involve parking restrictions, equipment relocation, or additional localized coverage.
Correct the distribution before increasing output
- Fix the cause of each miss. Re-aim a head, change its optic, adjust a suitable mounting position, or redistribute fixtures before increasing output. Raising a mast may improve some conditions, but it also changes coverage and structural demands, so work within the equipment's approved configuration.
A boundary problem needs a boundary solution. Use suitable shielding, a different distribution, or another mounting location instead of accepting light in neighboring bedrooms as an unavoidable consequence of temporary work.
Field judgment: Don't approve a dark crossing because the stall beside it is exceptionally bright.
- Test controls and the outage response. Verify automatic daylight shutoff using the control manufacturer's test method. Arrange a controlled interruption with the responsible electrician and site representative to identify which routes lose illumination and whether the intended emergency provisions operate.
Don't interrupt an occupied site's lighting without managing the exposure. If the test reveals that required egress depends on a single unprotected temporary supply, resolve that issue before accepting the setup.
- Document the final arrangement. Photograph fixture positions and aiming, mark changes on the drawing, and save the readings with the corrective-action record. Identify who can authorize subsequent adjustments so a well-meaning worker doesn't rotate a head toward a complaint and create another dark area.
Repeat the affected checks whenever paving, barriers, vehicle storage, or pedestrian routing changes. Acceptance applies to the operating arrangement you tested, not every arrangement the site might adopt later.
Removal Steps and the One-Page Package
Say a resurfacing crew finishes a phase and the property's repaired lighting is ready to take over. The rental pickup is booked, but removal begins with a transfer of coverage, not with someone unplugging the nearest tower.
The property representative and electrician first confirm that the replacement lighting serves the routes that will remain open. If the permanent system isn't ready, they retain the necessary temporary coverage or control access until another arrangement is operating.
Transfer coverage before disconnecting
The electrician identifies the temporary supply, isolates it, applies appropriate lockout procedures, and verifies the de-energized condition before dismantling. The crew then coils cords into a controlled staging area rather than leaving them across the pavement while waiting for the truck.
Bases and anchors come out with the equipment. Patch anchor holes, remove loose hardware, and inspect the former tower locations for trip hazards, pavement damage, or debris.
- Account for the supply: Confirm that temporary circuits are disconnected or safely terminated and that generators are shut down and prepared for transport under the rental company's instructions.
- Inspect what remains: Check that removal hasn't damaged permanent fixtures, wiring, landscaping, or vehicle barriers.
- Record the handoff: Save the actual removal date, equipment return confirmation, and any aiming changes made to the remaining lighting.
Leave a package the manager can use
The closeout summary should fit on a practical cover sheet, with supporting drawings and readings attached. Include the selected lighting criteria, final grid, load schedule, permit notes, rental or ownership decision, inspection record, and operating dates.
Add the names of the people who approved the temporary installation and accepted the replacement coverage. Note unresolved repairs plainly rather than burying them in an email thread.
The useful deliverable isn't a photograph of a bright lot. It's a record showing what was illuminated, how the system was supplied, what the nighttime checks found, and when temporary equipment stopped serving the property.
Access Electrical and Lighting provides commercial lighting design, electrical troubleshooting, pole services, and lighting-control testing for Southern California properties. Visit Access Electrical and Lighting to discuss temporary coverage during an outage or resurfacing project, with your site plan, operating schedule, and available power information ready for review.