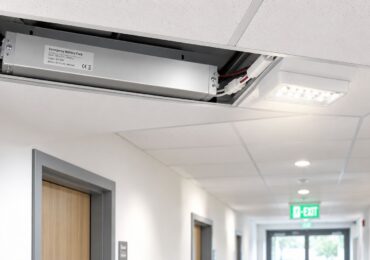
The fixture in front of you lights when you press the test button. It did the same last month, and the month before. Then a brief outage knocked out the corridor circuit, and the lamp went dark after four minutes. Nothing about the fixture changed between the passing button test and the failed outage. The battery had been fading the whole time.
That gap between lights and lasts is where most emergency lighting battery replacement decisions go wrong. A lamp that comes on proves the circuit is alive. It doesn't prove the battery can carry the load for the full rated duration, and it doesn't prove the charger, driver, wiring or luminaire are healthy. Those are separate questions, and they lead to separate spending decisions.
This guide walks through the test results that call for a new battery, how to run the tests without fooling yourself, how to tell a dead battery from a failed fixture, and how to set a replacement policy that holds up when an inspector asks for the records. The goal is simple: know when you're buying a battery and when you're buying a repair.
Test Results That Signal a Battery Replacement
Start with the last test result, not the installation date. The table below is the short answer to when emergency lighting battery replacement is due, and every row follows the same logic: the unit has to prove it can carry the load, and lighting up is only the first part of that proof.
| Check | How Often | Minimum Duration | Replace or Service When |
|---|---|---|---|
| Functional test | Every 30 days | 30 seconds | Lamp does not light or the unit does not respond |
| Full-duration test | Every 12 months | 90 minutes | Illumination ends before 90 minutes |
| Visual inspection | Every 30 days | Not timed | Leaking, swollen or damaged cells, or abnormal battery voltage |
| Recharge check | 24 hours after recharge | Full rated duration | Full rated duration does not repeat |
In the United States, NFPA-based emergency exit light guidance commonly requires a functional test every 30 days lasting at least 30 seconds and an annual test lasting 1.5 hours, or 90 minutes. The annual test is the one that matters for battery condition because it asks the battery to sustain illumination for the full rated emergency duration. The button test asks a much smaller question: will the lamp light right now?
That difference explains why a fixture can pass every monthly check and still fail in an outage. Pressing the test button proves the lamp lights. It says nothing about whether the battery can carry the lamp for 90 minutes. A battery can hold enough surface charge to strike the lamp and still have lost the capacity to keep it lit. Think of a car that starts on a cold morning but stalls two blocks away: the ignition worked, the fuel didn't last.
Read each result as a performance verdict, then match it to one of these signals:
- The unit ends before 90 minutes. The battery can no longer deliver its rated duration. This is the clearest replacement signal.
- Battery voltage is abnormal. A reading outside the battery's specification points to a cell problem or a charger problem. Diagnose before you buy.
- Cells are damaged or leaking. Swollen cases, corrosion and electrolyte residue mean the battery comes out of service immediately.
- The unit doesn't recharge correctly. If the charge indicator stays off or the battery drains soon after a full charge, the charger or the battery is failing.
Notice that none of these signals mention age. A two-year-old battery that passes the 90-minute test stays in service, and a one-year-old battery with a swollen case comes out today. The calendar tells you when to test. The test tells you what to replace.
The same NFPA-based provisions require written records of visual inspections and tests, which gives building owners and authorities having jurisdiction a documented maintenance trail. That makes a failed annual test a life-safety problem, not a maintenance preference.
To use the table, find the last result for the fixture and match it to the row. A lamp that lit for 30 seconds but hasn't been duration-tested in two years isn't a pass. It's an unknown.
How to Run the 30-Second and 90-Minute Tests
Run the tests in the same order every time. The order matters because a battery that hasn't been charged properly will fail for the wrong reason, and you'll spend money on a replacement you didn't need.
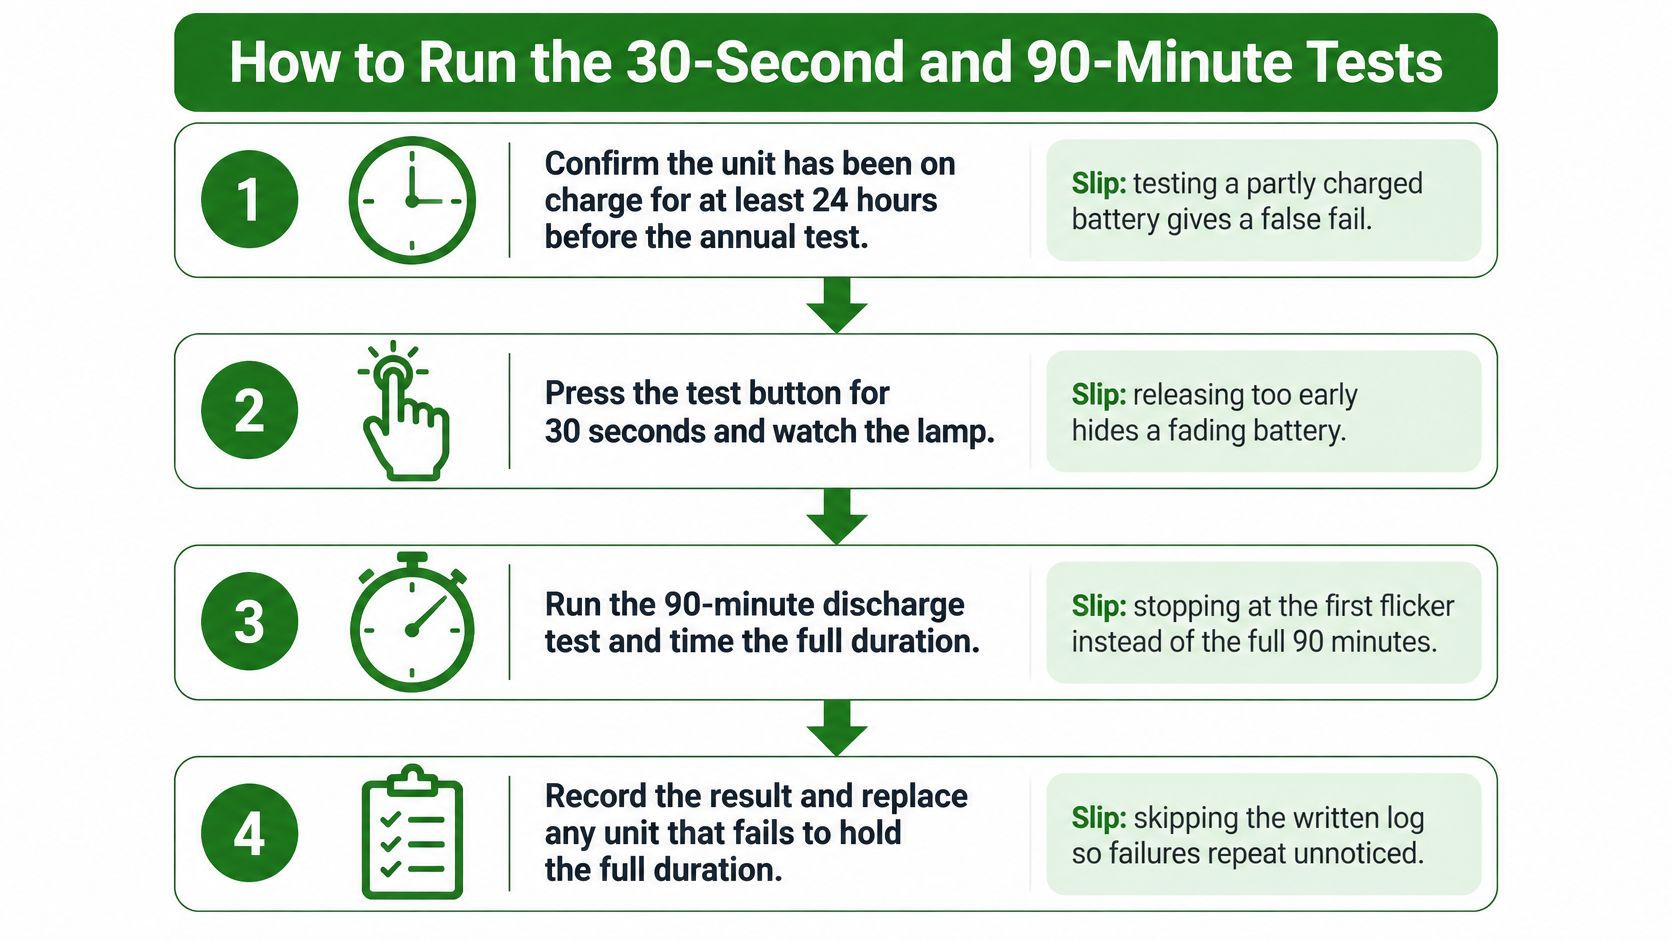
- Confirm a full charge before the annual test. Leave the unit on charge for at least 24 hours. A partly charged battery fails early and makes a healthy unit look faulty.
- Tell occupants and your monitoring company. Note the start time and the fixtures you're taking offline. Otherwise a test can trigger a false alarm response or a complaint from a tenant who sees dark corridors.
- Run the monthly functional test. Cut mains supply to the fixture or use its test button, and time 30 seconds. The lamp must light immediately and stay lit for the full 30 seconds. Releasing at five seconds hides a battery that's already fading.
- Run the annual test for the full duration. Interrupt power for 90 minutes and time it. The common slip is stopping at 60 minutes because the lamp still glows. A lamp that glows at 60 minutes and dies at 70 has failed.
- Write down what you see. Record which fixtures dimmed, went out, or ended before 90 minutes. A result like "passed" without a duration tells you nothing next year.
- Restore power and confirm the charge indicator. The unit should return to its normal charging state. If the indicator stays off or the battery gets hot, tag the fixture. European guidance based on BS EN 50172 emergency lighting battery guidance expects a battery system to provide 80% of its specified duration within 12 hours of recharge and to repeat its full specified duration after 24 hours, so retest a failed unit after that recharge window before you condemn the battery. In the United Kingdom, common practice calls for a short monthly test and a full-duration annual test, typically three hours for systems rated at that duration.
- Tag failures and move them into the replacement queue. A failed unit stays out of service until it's repaired and retested. Build the results into your emergency lighting testing log as you go, not at the end of the month.
The common slip: stopping the annual test when the lamp still glows. The test isn't asking whether the lamp is on. It's asking whether the battery can keep it on for the rated duration.
A passing test looks boring. The lamp lights at once, stays bright for the full period, and the charge indicator returns to normal after power is restored. Anything less is a result you need to write down and act on.
Telling a Dead Battery From a Failed Fixture
A failed duration test tells you the unit didn't hold. It doesn't tell you why. The most expensive mistake in emergency lighting battery replacement is treating every failure as a battery problem.
Swapping the battery in a fixture with a failed charger is like replacing a car battery when the alternator has died. The new part is fine. The system still won't charge. The North Carolina fire code testing template requires checking the complete unit, and it says inadequate illumination means the equipment should be serviced, repaired or replaced, not fitted with a new battery.
| Symptom | Likely Cause | Check First |
|---|---|---|
| Lamp dark during test, charge indicator off | Failed charger or no line power | Supply voltage and charger output |
| Lamp lights but ends before 90 minutes | Aged or low-capacity battery | Battery capacity against its rating |
| Battery warm, swollen or leaking | Failed cells or overheating | Remove from service |
| Lamp dim while battery tests healthy | Failed LED driver or aging lamp | Driver output and lamp condition |
| Battery charges but drains within hours | Wrong chemistry or capacity, or wiring fault | Battery specification and connectors |
Run the checks in this order:
- Verify line power and the charge indicator. If the fixture has no supply, the battery never charged. That's an electrical fault, not a battery failure.
- Inspect connectors, terminals and wiring. Look for loose spade connectors, heat marks and corrosion. A poor connection can mimic a dead battery.
- Confirm voltage and capacity against the label. The replacement has to match the nominal voltage and the rated ampere-hours. A lower-capacity battery will fail the duration test even when it's new.
- Check chemistry, connector type and temperature rating. The luminaire was designed around a specific cell chemistry and charging profile. Mixing them can damage the battery or the charger.
- Retest under a real power interruption. The test button checks the circuit. A real interruption checks the whole system, including the transfer to battery power.
A weak result can also come from excessive temperature, an aging luminaire or the wrong battery capacity. A hot ceiling void can shorten battery life, but it can also cook a driver. That's why the diagnosis has to include the fixture, not just the part that failed.
Decision rule: if the battery passes its own checks and the fixture still fails the duration test, service or replace the whole unit. Installing a second battery just moves the failure to the next test.
Timing Replacement Without a Fixed Calendar
A 60-unit apartment community has 48 corridor and stairwell fixtures, all installed during the same construction phase. In year three, the annual test shows two units ending early. The next month, four more run shorter than the year before. The property can wait for each unit to fail and dispatch an emergency call, or it can schedule a batch replacement while the pattern is visible.
The useful work happens before the failures multiply.
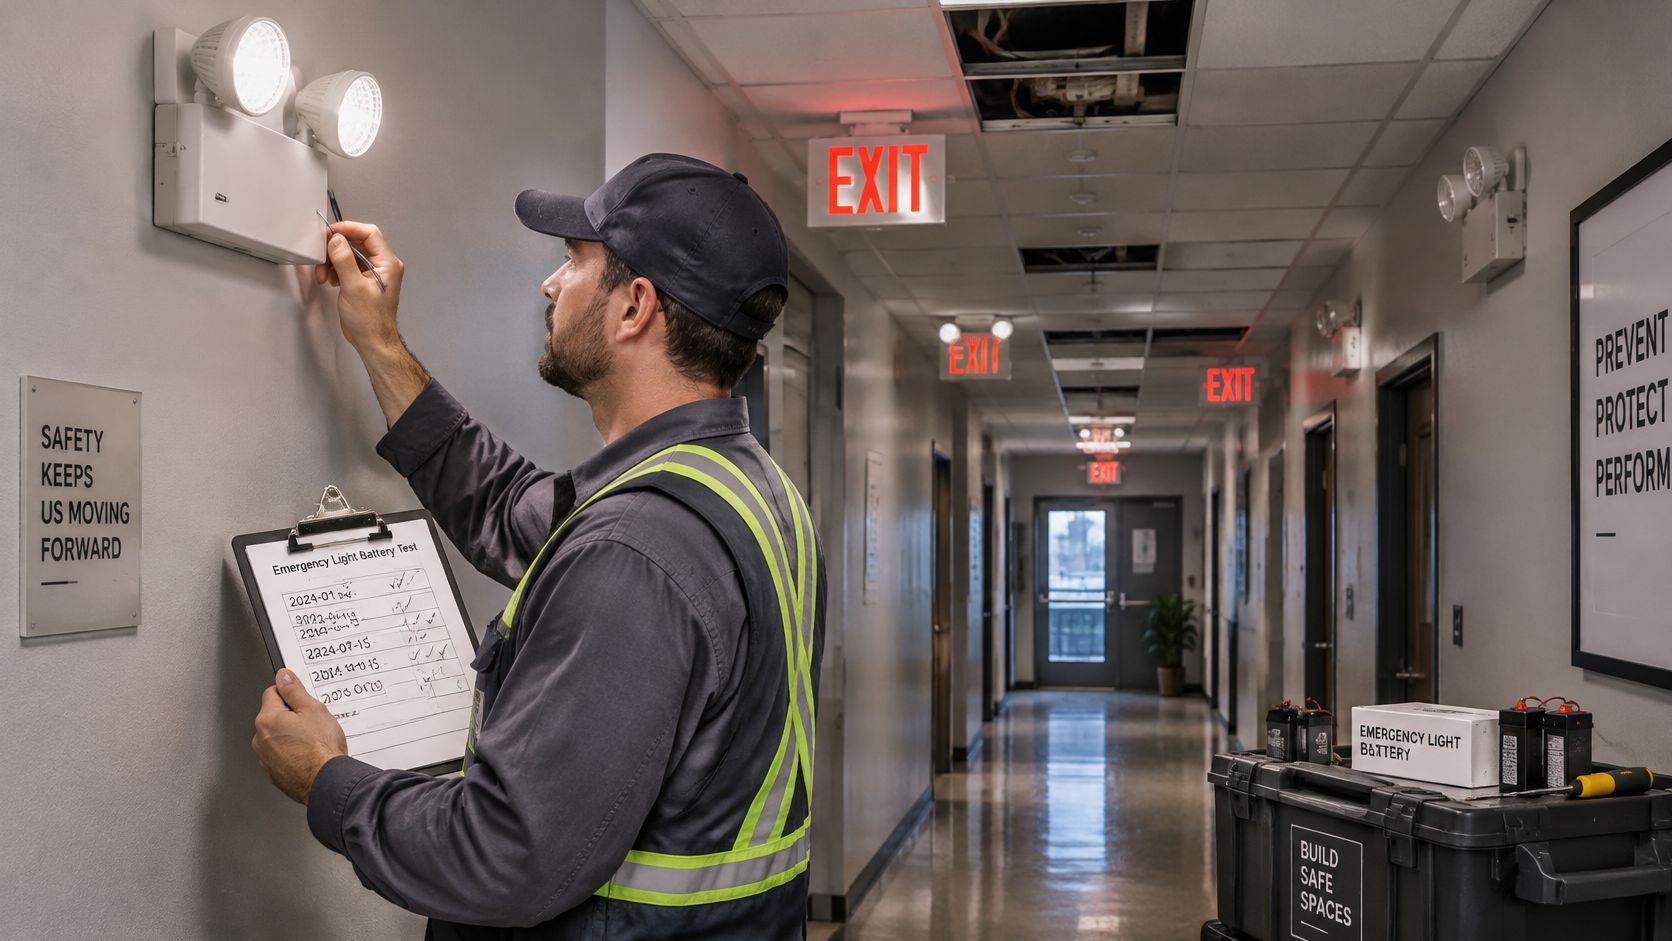
Three inputs decide the schedule:
- Test history per unit. Track the run time each fixture achieves, not just pass or fail. A unit that ran 88 minutes last year and 72 minutes this year is telling you something before it fails outright.
- Ambient conditions. Emergency luminaires in hot ceiling voids, parking structures, warehouses and exterior-adjacent areas age differently from units in conditioned interiors. Heat shortens battery life and stresses chargers.
- Installation batch. Fixtures installed in one construction phase tend to fail in the same window. Batch tracking lets you replace a group on your schedule instead of reacting to scattered failures.
A Joint Commission standards FAQ on emergency lighting maintenance sets monthly and annual test expectations but no universal battery-replacement interval. The practical triggers are manufacturer guidance, test performance, condition and local code adoption. That undercuts the familiar advice to swap every battery on a fixed cycle. A fixed interval treats replacement as a date on a calendar. Test performance treats it as a decision based on what the unit can still do.
Heat is the variable most often left out of the conversation. A fixture above a parking structure ramp and one in a conditioned office corridor may carry the same part number and age at different rates. The test record is the only reliable way to see that difference.
Timing has a second dimension worth naming. When a unit's run time drops because the luminaire itself is wearing out, a fresh battery only postpones the same failure and can leave a noncompliant unit in service. And because fixture standards periodically tighten the safety requirements a battery must demonstrate, a commercial portfolio should confirm that any replacement component carries the conformity evidence the fixture standard expects before placing a bulk order.
Start with the emergency lighting code requirements your local authority enforces, then write the policy down with its reasons.
The policy in one line: replace now after a failed full-duration test, schedule a batch when a group's run times fall, and replace at manufacturer end-of-life for units that have never failed.
Choosing a Replacement Battery That Matches the Fixture
A battery that fits is not the same as a battery that belongs. The label details are the specification, and every one of them exists for a reason. Skip one and you can put a unit back on the wall that looks fine and still fails its next 90-minute test.
Voltage. Match the nominal voltage on the fixture label. A mismatch changes charge and discharge behavior, and the charger may never bring the battery to full capacity.
Capacity. Match or exceed the rated ampere-hours so the unit keeps its full rated duration. A lower-capacity battery can pass a 30-second test and fail at 40 minutes.
Chemistry. Use the chemistry the luminaire was designed for. Mixing chemistries can damage the cells or the charger, even when the voltage looks right.
Connector and polarity. Match the plug or terminal type and confirm orientation. A connector that fits backward can destroy a new battery in seconds.
Temperature rating. Check it against the location. Hot ceiling voids, parking structures and exterior-adjacent areas need a battery rated for that heat.
Approval. Confirm the replacement is listed for that specific luminaire and carries current battery-safety conformity where the fixture standard requires it.
Cost is part of the decision, but it shouldn't drive the specification. A 2025 emergency lighting market analysis states that batteries represent approximately 35% to 45% of total emergency-lighting system cost. Use that share for budgeting, not as a reason to buy the cheapest cell that fits. And resist the urge to shop by age. The right battery is chosen on specification, and the right moment to install it comes from test results and condition, not from how long the old one happened to last.
Match every line of the label specification, not just the ones that are easy to check.
There is one more trap worth naming. Replacing the battery restores the power source, but it does not restore a fixture whose lamp head, charger board or housing has also degraded. If the unit failed for reasons beyond the battery, a fresh cell puts a noncompliant fixture back in service with a new part number in the log. Confirm the rest of the unit is sound before you close it up.
Before you order, photograph the old battery's label and connector, and copy the voltage, capacity, chemistry and part details into the service record. That habit saves the next technician from guessing and gives you a paper trail if the replacement is ever questioned.
Replacing the Battery Without Creating a New Hazard
- Isolate the fixture. Switch off the circuit feeding it, confirm the lamp is dark, and notify occupants and your monitoring company before handling the unit.
- Photograph the wiring and terminals. Take the photo before you disconnect anything, so the new battery goes back with the same polarity and connector orientation.
- Disconnect the battery from the charger and lamp circuit first. Then remove it. Wear insulated gloves and eye protection, and keep terminals away from metal.
- Check the replacement against the label details you copied into the service record. Seat it snugly so the cells aren't stressed or pinched, and confirm the connector clicks or seats fully.
- Restore power and confirm the charge indicator returns to normal. Log the installation date on the battery and in the fixture record.
- Dispose of the old battery through a hazardous waste or battery recycling route. Never put it in general trash. Identify its chemistry first, because lead-acid, nickel-cadmium and lithium cells are handled differently.
- Run the 30-second functional test immediately, then book the 90-minute test after a full 24-hour charge. The new battery isn't proven until it holds the rated duration.
Records and a Dated Plan That Prove Compliance
An inspector does not want a story about maintenance. They want a date, a duration, a result, a corrective action and a retest outcome for every test. If any of those five items is missing, the work may have been done and still fail the review.
| Field | Example Entry | Why It Matters |
|---|---|---|
| Fixture ID and location | EL-2-14, Level 2 east corridor | Matches the unit to the floor plan |
| Installation date | March 2021 | Shows age and batch grouping |
| Battery replacement date and part | March 2025, 6 V 4.5 Ah sealed lead-acid, connector type recorded | Proves the replacement met the original spec |
| Monthly test date and result | 12th, pass | Shows the 30-day check was done |
| Annual test duration achieved | 90 minutes, pass | Shows the 90-minute requirement was met |
| Faults and corrective action | Driver replaced, battery retested | Shows the cause was fixed |
| Retest result | Passed after 24-hour recharge | Closes the record |
Keep one test log per building, built on those same columns for every fixture. Records kept at fixture level show where failures repeat within one batch or location, and that repetition is the evidence for replacing a whole fixture instead of swapping batteries again. When the same fixture ID lands in the corrective-action row after a second battery change and still falls short of 90 minutes, the log is pointing at the charging circuit or the driver rather than the cell. File the original battery specification with each fixture record so any replacement part can be checked against it, and keep the log where the authority having jurisdiction can review it. A shared format such as an emergency lighting inspection form keeps every entry on the same fields.
Then put dates on the work:
- This month: audit every fixture for location, install date and last battery change, and add each one to the log.
- Every month: run the 30-second functional test on all units and record each result.
- Annually: run the 90-minute duration test with occupants informed, and record the duration achieved.
- After any battery replacement: write the installation date on the battery and in the record, then retest after a full 24-hour charge and close the entry with the retest result.
For buildings with many fixtures, Access Electrical and Lighting can run the tests, replacements and documentation. The Mission Viejo contractor has served commercial properties since 2000 and has serviced or replaced tens of thousands of emergency lighting fixtures and systems in commercial and multifamily spaces across Southern California, with 24/7 emergency service for after-hours failures. The plan works the same way whoever carries it out.
When the next annual test comes due, Access Electrical and Lighting can test every unit, replace the batteries that fail the duration check and leave records an inspector can follow. The company installs, maintains and tests emergency lighting systems, battery backup systems and exit signs for commercial, retail, office and multifamily properties, and handles after-hours emergencies at (949) 364-6063. Visit Access Electrical and Lighting to schedule testing or a complimentary lighting survey before the next inspection cycle.