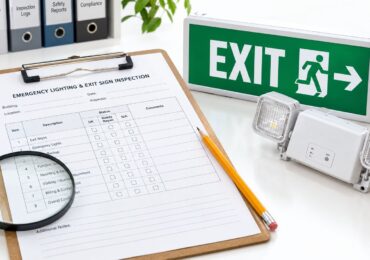
If you've ever walked a property after hours, found one emergency light that won't stay on, and then realized the last test log just says “checked,” you already know the problem. The light turning on is only the first hurdle. The actual question is whether it can hold output long enough, light the actual egress path, and survive an inspection when a fire marshal asks for proof.
That's where emergency lighting testing gets misunderstood. A quick push-button check can tell you a fixture isn't dead, but it won't tell you whether the battery can support the full emergency period, whether a stair landing is too dark, or whether your records would stand up in Orange County or anywhere else in California. For commercial, retail, office, and multifamily properties, the gap between “it lit up” and “it kept people safe” is where most compliance failures live.
Why Emergency Lighting Testing Goes Beyond Flipping a Switch
A facility manager can do everything right on paper and still miss the failure that matters. I've seen buildings where the monthly test box got checked for months, then the annual endurance test exposed a fixture that dimmed early, never recovered charging properly, and would have left a blind spot at the worst possible moment. That's the kind of failure a casual on-off check won't catch.
Code compliance is not the same as real performance
The baseline expectation in NFPA-oriented practice is a monthly functional test of at least 30 seconds and an annual full-duration test of 90 minutes for battery-operated systems, with records kept and failures corrected immediately, as summarized in industry guidance on the topic (NFPA-aligned testing practice). That matters because the short test confirms transfer and startup, while the long test proves the batteries can carry the load through the actual emergency window.
California properties also live under a practical reality that's more demanding than a checkbox. Fire marshals, plan reviewers, and insurance auditors tend to care less about whether the unit blinked on and more about whether the building team can show consistent testing, corrective action, and a clear maintenance history. If your records are thin, the building can look noncompliant even when the fixtures are physically present.
For a broader safety context, Access Electrical and Lighting's overview of workplace lighting standards is a useful companion piece on how compliance and usability overlap, especially for properties trying to align maintenance with life-safety expectations (OSHA lighting standards overview).
The field reality in Orange County
Orange County inspectors tend to push past superficial answers. In commercial offices, that usually means looking for logs, not just functioning heads. In retail centers and multifamily common areas, the weak point is often consistency, one building gets tested well, another gets treated like a routine chore.
Practical rule: if the log doesn't show duration, location, and corrective action, treat the test as incomplete.
The right mindset is simple. Emergency lighting testing is not a ritual, it's a control. Done properly, it protects occupants, helps the owner show diligence, and forces weak fixtures out of circulation before they become an incident.
Monthly and Annual Test Procedures Explained
The monthly test is quick, but it should still be disciplined. Start by isolating the circuit or using the unit's built-in test switch, then verify that the fixture transfers to battery power and reaches full illumination. The light should stay on for the minimum functional window, then you restore mains power and record anything unusual, flicker, dimming, delay, or failure to recharge.
What a monthly test should actually look like
A good monthly workflow is boring in the best way. The technician or maintenance lead should:
- Simulate loss of normal power by using the test switch or opening the circuit method that applies to the installation.
- Confirm battery transfer happens immediately, not after a delay that leaves a dark gap.
- Watch for full illumination on the head, exit sign, or remote unit, especially in older fixtures that struggle on transfer.
- Restore power and log defects before moving on.
The fast mistake is treating “light came on” as a pass. A head that comes on but looks weak, pulses, or fails to regain charging indication after reset is already telling you something is wrong. In the field, that usually means a battery problem, a transfer issue, or a fixture that's overdue for replacement.
The annual test takes more planning because it runs on battery for the full duration, commonly 90 minutes in NFPA-oriented guidance and 1.5 hours in some local materials, as noted in practical testing guidance (complete emergency light testing guide). You want to stage that test so it doesn't disrupt tenants, but you also can't fake it with a quick glance. Run the system, note the start time, check performance through the endurance window, then verify recharge recovery after power is restored.
Tools that matter more than people think
For simple monthly checks, a test switch and a circuit isolation method may be enough. For annual verification, a calibrated lux meter becomes important, especially if you're checking real egress performance instead of only pass-fail status. Hard-to-reach fixtures, like parking structures or high-ceiling retail spaces, often need access equipment and a technician who can move quickly without skipping units.
If a fixture is hard to reach, it's usually hard to maintain correctly too.
For the practical difference between light units and measured output, the key point is this. Monthly tests confirm the system wakes up. Annual tests confirm it can stay awake long enough to matter.
Measuring Illuminance on the Egress Path
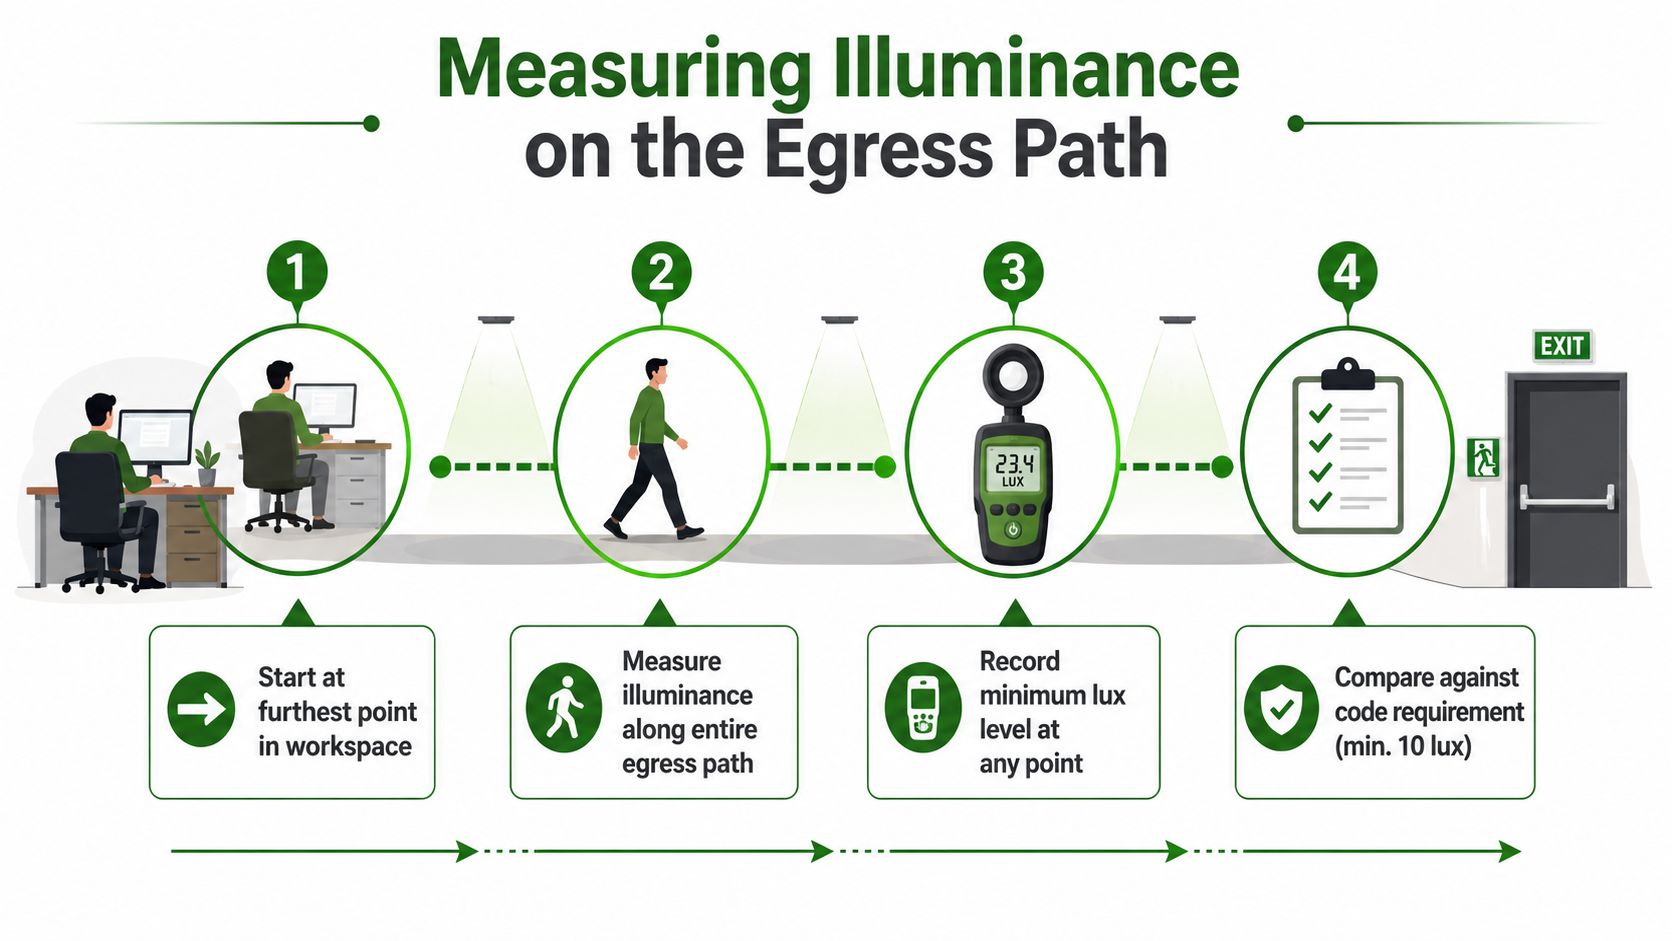
A lot of programs fall apart here. A fixture can pass activation and still leave a corridor threshold, stair turn, or exit door area too dark to trust. That's why emergency lighting testing has to include actual illuminance measurement along the escape route, not just a yes-or-no activation check.
Where the readings belong
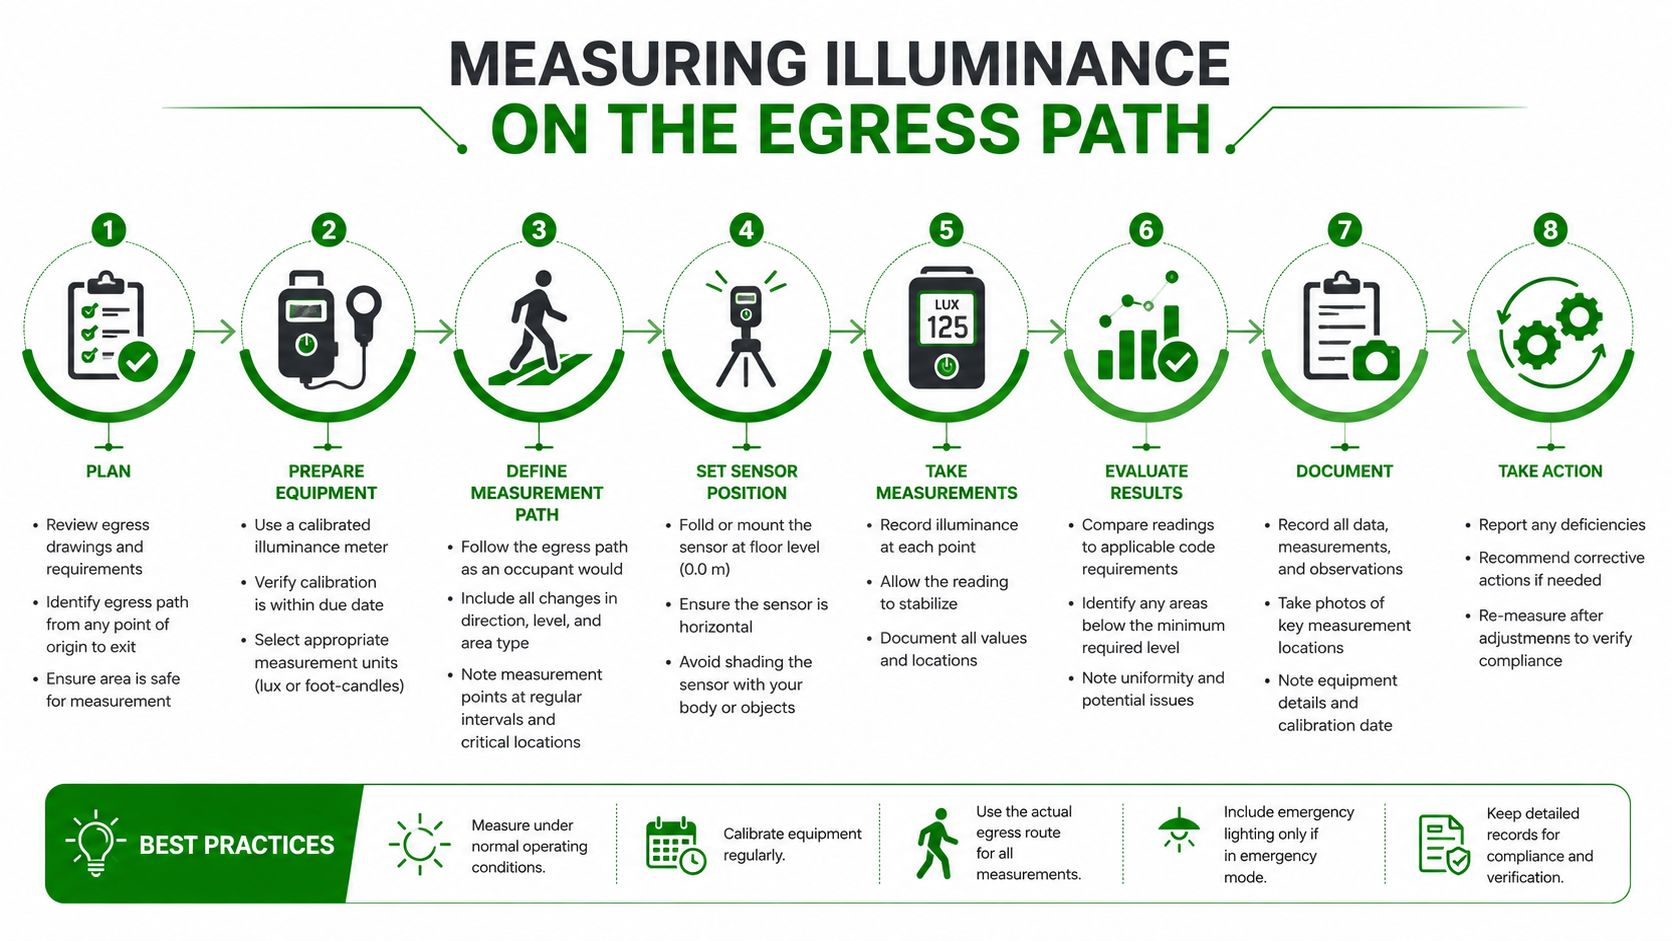
Independent guidance on emergency lighting measurement recommends checking at least 1 foot-candle on the exit route and 0.1 foot-candle elsewhere, with readings taken at floor level along the egress path (illuminance measurement guidance). That matters because people evacuate through space, not through a simplified diagram. Stairwells, corners, thresholds, and changes in direction are the points where bad spacing shows up first.
The better approach is to map the route the way a person would move. Start at the farthest practical point in the protected area, then take readings at likely minimum-light locations, including stair transitions and door approaches. If the property has long corridors or irregular layouts, a single mid-hall reading won't tell you much.
Why runtime alone isn't enough
A fixture that stays on for the full test period can still fail if it drops below usable brightness halfway through. That's why some procedures call for checking brightness degradation at intervals such as 30 and 60 minutes during long-duration tests, because a unit can remain lit while already below serviceable output. The failure shows up in the meter data before it becomes obvious to the eye.
Meter selection matters too. Guidance on measurement emphasizes good cosine correction and low-light sensitivity, because cheap meters can overstate or understate what's really happening at the floor. In complex commercial buildings, that difference isn't academic. A system can pass a basic functional check and still leave a localized dark pocket at the exact place someone needs to turn, descend, or find the exit.
A good way to think about it is this. Compliance testing asks, “Did it turn on?” Performance verification asks, “Could someone use the route to get out?”
For a practical conversion reference between measurement systems, Access Electrical and Lighting also publishes a useful guide on translating light units for field work (convert foot-candles to lux).
Documentation Templates and Recordkeeping Best Practices
A test that isn't documented is usually useless when the inspector arrives. The record needs to show who tested it, where it was tested, how long it ran, and what happened afterward. That's true whether the property is a small office, a retail center, or a multifamily complex with multiple common areas.
What to capture every time
A usable test log should include these fields:
| Field Name | Monthly Test | Annual Test | Why It Matters |
|---|---|---|---|
| Fixture ID | Yes | Yes | Ties the result to a specific unit |
| Location | Yes | Yes | Shows where the fixture sits on the egress path |
| Test date | Yes | Yes | Proves the test was done on schedule |
| Duration | Yes | Yes | Separates a quick check from a real endurance test |
| Pass/Fail status | Yes | Yes | Makes the result easy to audit |
| Corrective action taken | If needed | If needed | Shows the failure was addressed |
| Technician name | Yes | Yes | Identifies who performed the work |
That structure aligns with the practical guidance in industry inspection workflows and makes it far easier to produce records during a fire marshal visit or insurance review (electrical inspection report framework).
Manual, self-testing, and automated systems
NFPA-oriented guidance recognizes three workable paths. One is manual monthly testing with the annual endurance test. Another uses self-testing or self-diagnostic battery equipment with monthly visual checks. A third uses computer-based self-testing systems that generate reports automatically, with written records still required (documentation and self-testing guidance).
The tradeoff is straightforward. Manual testing is simple and familiar, but it takes labor and discipline. Automated systems reduce manual effort, but they shift the burden to report review, exception handling, and replacement planning. That makes them useful for larger portfolios, as long as someone reviews the output instead of assuming the system handled everything.
Good recordkeeping beats good memory. If the only proof lives in a technician's head, the building is exposed.
For California properties, the best practice is to keep records organized by building, then by floor or zone, then by fixture. When a fire marshal asks for proof, you don't want to hunt through old email threads. You want a log that shows the system history cleanly and quickly.
Troubleshooting Common Emergency Lighting Failures
Once a test fails, the useful question is not “Did it fail?” It's “What kind of failure is it?” The fix is different for a battery that can't hold load, a lamp that's dimming, a transfer issue, or a charging circuit that won't recover.

Common failure modes and what they usually mean
| Symptom | Likely root cause | Corrective action |
|---|---|---|
| Light dies before the endurance test is complete | Battery can't sustain runtime | Replace battery or fixture assembly |
| Unit lights but output is weak | LED array, lamp, or lens issue | Inspect, clean, or replace the affected components |
| No transfer during power loss | Transfer switch or internal control failure | Test the unit, repair or replace as needed |
| Charging indicator doesn't recover | Charging circuit fault or battery damage | Service the charger, then retest |
| Passes activation, fails illuminance check | Poor placement or degraded lens | Reposition, clean, or upgrade the fixture |
The biggest field mistake is assuming every failure means “bad battery.” Sometimes it does, but not always. A fixture may be healthy electrically and still fail because its placement doesn't cover the route well enough, or because dirt and yellowing lenses are cutting useful light at the floor.
When diagnostics should go deeper
Infrared thermography is useful when you suspect a battery pack, ballast, or charging component is overheating before it fails outright. That kind of inspection can catch problems early, especially in older buildings where heat and dust have been working on the equipment for years. It doesn't replace the test, but it can help explain why a unit keeps failing after replacement.
For remediation, the line between in-house and contractor work is pretty clear. Cleaning lenses, replacing a visibly failed battery in a simple battery unit, or resetting a mislabeled circuit may be manageable for trained maintenance staff. Anything involving transfer circuitry, recurring faults, high access, or a system-wide pattern should move to a licensed electrical contractor.
The goal isn't to repair everything yourself. The goal is to get the right failure identified fast, then fix it with the least risk to the building.
When to Hire a Licensed Electrical Contractor
Many properties can handle routine visual checks in-house, but not every team should be doing the full scope alone. If the building has high-mounted fixtures, parking structures, mixed emergency systems, or repeated failures across multiple units, the smarter move is to bring in a licensed electrical contractor who can test, diagnose, and document the work properly.
What to verify before you sign a service proposal
For California work, verify a C-10 electrical license, bonding, and insurance. You also want a contractor who can support Title 24 compliance testing and documentation when lighting controls or broader electrical upgrades are part of the picture. Those details matter because the contractor isn't just changing bulbs, they're touching a life-safety system that may be reviewed by multiple parties.
The right contractor should also have the equipment to handle fixtures at height and parking structure assets safely. In practical terms, that means high-reach access where needed, plus diagnostic tools that can find overheating or intermittent faults before they become a failure. Access Electrical and Lighting is one example of a contractor that lists emergency lighting service, infrared inspections, high-reach capability, and Title 24 support as part of its commercial scope, which is the kind of mix that makes sense for larger properties in Southern California.
When in-house stops being enough
Hire out the work when:
- Access is a problem. If fixtures are in parking structures, high atriums, or other hard-to-reach areas, the risk of skipped units goes up fast.
- Failures repeat. A single dead head is maintenance. A pattern of dead heads is a system issue.
- Documentation matters. If you need a clean record for a fire marshal, insurer, or owner file, a contractor's report is often worth more than a handwritten note.
- A post-event check is needed. After a power event, remodel, electrical panel change, or tenant improvement, the emergency lighting should be reverified.
In Orange County and the wider Southern California market, working with a contractor who understands local inspection expectations saves time. It also reduces the risk of getting stuck between maintenance staff who can't escalate the issue and inspectors who want proof the issue was fixed correctly.
Building a Sustainable Testing Schedule
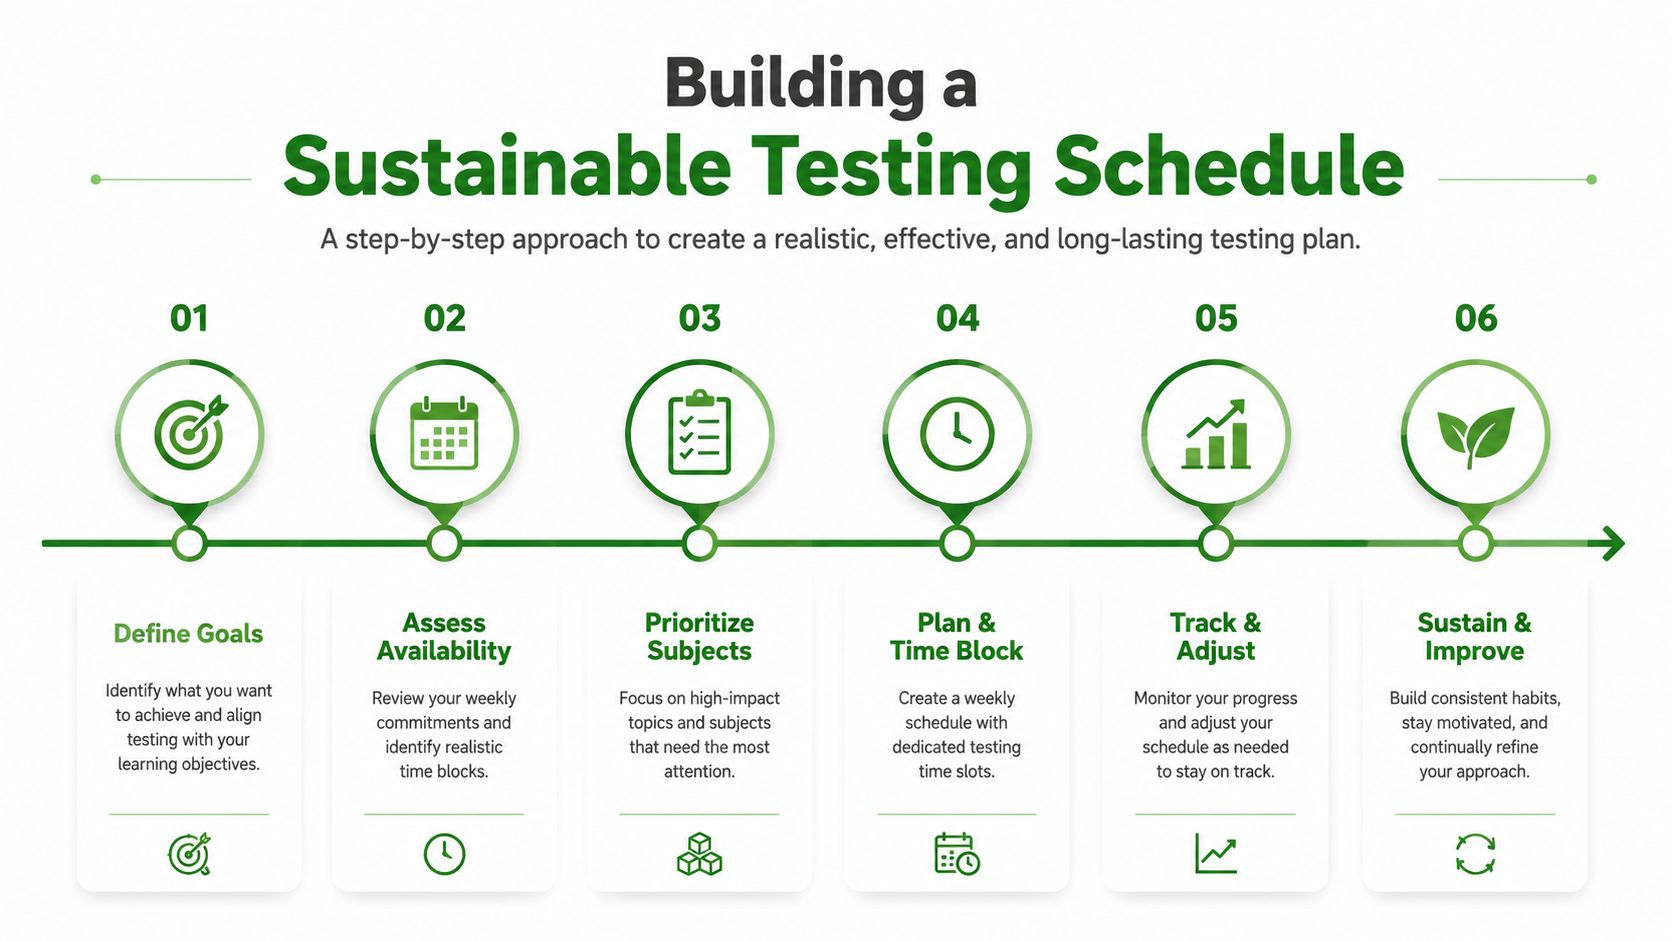
The best programs are routine enough that nobody has to reinvent them every month. A workable calendar usually combines monthly functional checks, annual endurance testing, periodic illuminance verification, and contractor review for repairs or deeper diagnostics. That keeps the building ready without turning every test into a disruption.
Keep the schedule tied to real building activity
The cleanest scheduling approach is to pair emergency lighting work with other planned maintenance, like fire alarm checks, electrical inspections, or after-hours service windows. That reduces tenant disruption and makes it more likely the test happens on time. In multifamily and retail settings, communication matters too, because people need to know when power will be interrupted and which spaces are affected.
A few triggers should force an unscheduled test. New construction, remodels, panel upgrades, and any significant power event all justify a fresh look at the system. If the building changed, the emergency lighting assumptions changed too.
Build for compliance, not scramble
A sustainable program does three things well. It creates a repeatable calendar. It keeps documentation easy to retrieve. It assigns repair responsibility before a failure turns into a surprise.
A good schedule doesn't just keep you compliant, it keeps the building from drifting into guesswork.
For owners and managers across Southern California, that's the core business case. Documented testing reduces liability exposure, supports insurance review, and makes emergency repairs less likely. If you want a practical starting point, schedule the monthly checks, lock in the annual endurance test, add measured illuminance verification for higher-risk or more complex egress paths, and use a licensed contractor when access, diagnostics, or documentation get beyond what your staff can safely handle.
If you manage a building in Orange County or anywhere in Southern California, schedule a professional emergency lighting review with Access Electrical and Lighting so your fixtures, logs, and egress-path measurements are ready before the next inspection window opens.