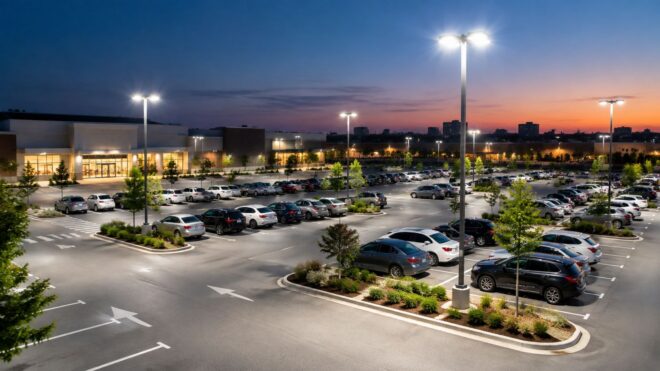
You're walking a commercial parking lot after closing, and the problem becomes obvious only after dark. One pole creates a bright patch, the next leaves a shadowed lane, and a fixture aimed toward the building sends glare across a driver's windshield. Meanwhile, the lights run all night whether the lot is full or nearly empty, and your utility bill reflects every hour.
Choosing LED flood lights for parking lot applications isn't just a matter of replacing old fixtures with the highest-wattage product available. A reliable design starts with usable illuminance, even coverage, sensible optics, correct pole geometry, and controls that match occupancy. The right system can improve visibility while using less energy than legacy high-intensity discharge lighting, but only if the fixtures are sized and aimed for the property rather than selected from a catalog by wattage alone.
Why Parking Lot Lighting Fails and What Good Looks Like
A parking lot usually fails in familiar ways. Tenants report dark areas near a rear walkway. Drivers complain about glare instead of darkness. Security staff can see a bright pole but not the spaces between poles. A maintenance team keeps replacing lamps or ballasts, yet the lot still looks uneven because the underlying layout never matched the site.
The business impact is practical. Poor visibility affects how comfortably people move from vehicles to entrances, how clearly drivers read the lot, and how confidently property teams respond to safety concerns. Over-lighting creates its own problems, including glare, wasted energy, and light trespass onto neighboring properties or residential windows. Before requesting a fixture quote, review the site's obligations and design expectations through a resource such as the parking lot lighting standards guide.
The difference between bright and useful
A bright spot under a fixture doesn't prove that the lot works. Good lighting distributes enough light across driving lanes, parking stalls, pedestrian routes, and building approaches without creating sharp transitions between bright and dark areas.
IES guidance has long provided a reference for designers. The earlier RP-20 practice became an important reference point for parking-facility lighting, while current roadway and parking-facility guidance is published as ANSI/IES RP-8-22. For open parking lots, IES-derived recommendations commonly range from about 0.5 to 2.0 foot-candles average, depending on activity, while parking structures often target about 3.0 to 5.0 foot-candles. Entry and exit transition zones may reach as high as 50 foot-candles to help eyes adapt between different lighting conditions, as described in the IES parking-facility guidance preview.pdf).
Practical rule: A successful parking-lighting project makes the lot easier to read, not merely brighter to look at from underneath one fixture.
A well-designed LED system gives you a photometric layout, fixture locations, mounting heights, aiming details, and control sequences. It also accounts for pole condition, electrical capacity, glare, and future maintenance access. That combination protects safety and operating cost far better than a simple fixture swap.
How LED Flood Lights Create Safe Usable Light
At night, a property manager should be able to follow a route from the parking stall to the building without stepping through alternating pools of light and shadow. That result depends on more than the fixture's lumen rating. The design must hold its intended performance after normal depreciation and make people visible from more than one direction.
Maintained and vertical illuminance
Maintained illuminance is the light level a system is expected to provide after dirt, aging, and component performance reduce initial output. A photometric plan therefore evaluates the lot beyond its first night. It asks whether the lighting will still support driving, walking, and security after the installation has been operating.
The designer also checks how light reaches vertical surfaces. Pavement illuminance helps drivers and pedestrians read curbs, stalls, and walking paths. Vertical illuminance puts light on a person's face, helping occupants recognize one another and supporting camera performance. A lot can look bright from above while still leaving faces and vehicle sides difficult to read.
Security-focused guidance describes regular parking lots around 0.2 maintained foot-candles and enhanced-security areas around 0.5 maintained foot-candles. It also identifies vertical targets from 0.1 to 0.25 foot-candles, with uniformity ratios of 20:1 or 15:1, respectively, in the parking-garage lighting standards discussion. These figures are design checks, not a reason to install the brightest available fixture. The target should match the property's use, visibility needs, and operating plan.
Uniformity prevents the flashlight effect
A flashlight creates a bright center and a quick falloff. Parking lots need the opposite behavior: overlapping coverage that softens the change between bright and dark areas across aisles, stalls, and pedestrian routes. Excess output concentrated in one spot can increase glare while leaving the next area underlit.
LED flood lights give designers more control over distributions, lumen packages, and operating levels than many older high-intensity discharge systems. That control supports a better return on investment. Right-sized output can meet the maintained target, while optics place that output where people need it and occupancy controls reduce the operating level when activity drops.
Independent industry and utility guidance places typical LED retrofit energy reductions at roughly 40% to 60% compared with metal halide or high-pressure sodium, with some specific conversions reaching about 70% or more, as explained in this LED parking-lot flood-light technical guide.
Use this working model: lumens are the supply, foot-candles are the result on the pavement, and uniformity tells you whether the result is usable everywhere. The project succeeds when those three pieces support safe movement without paying to illuminate areas that do not need it.
Choosing Optics and Beam Patterns for Even Coverage
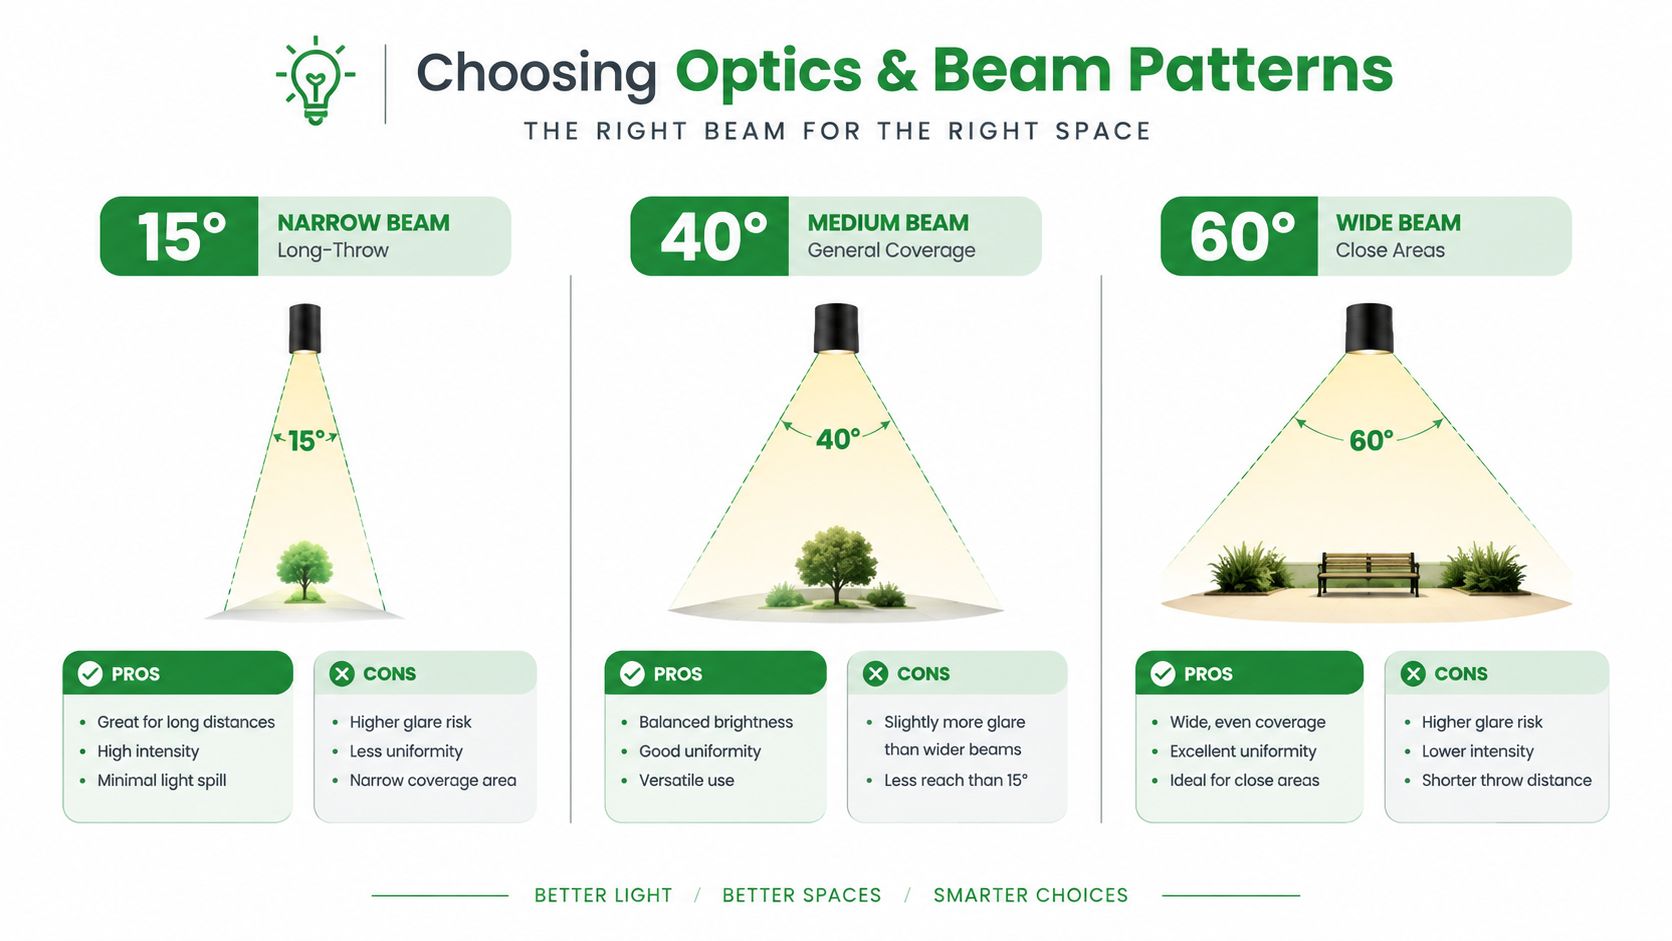
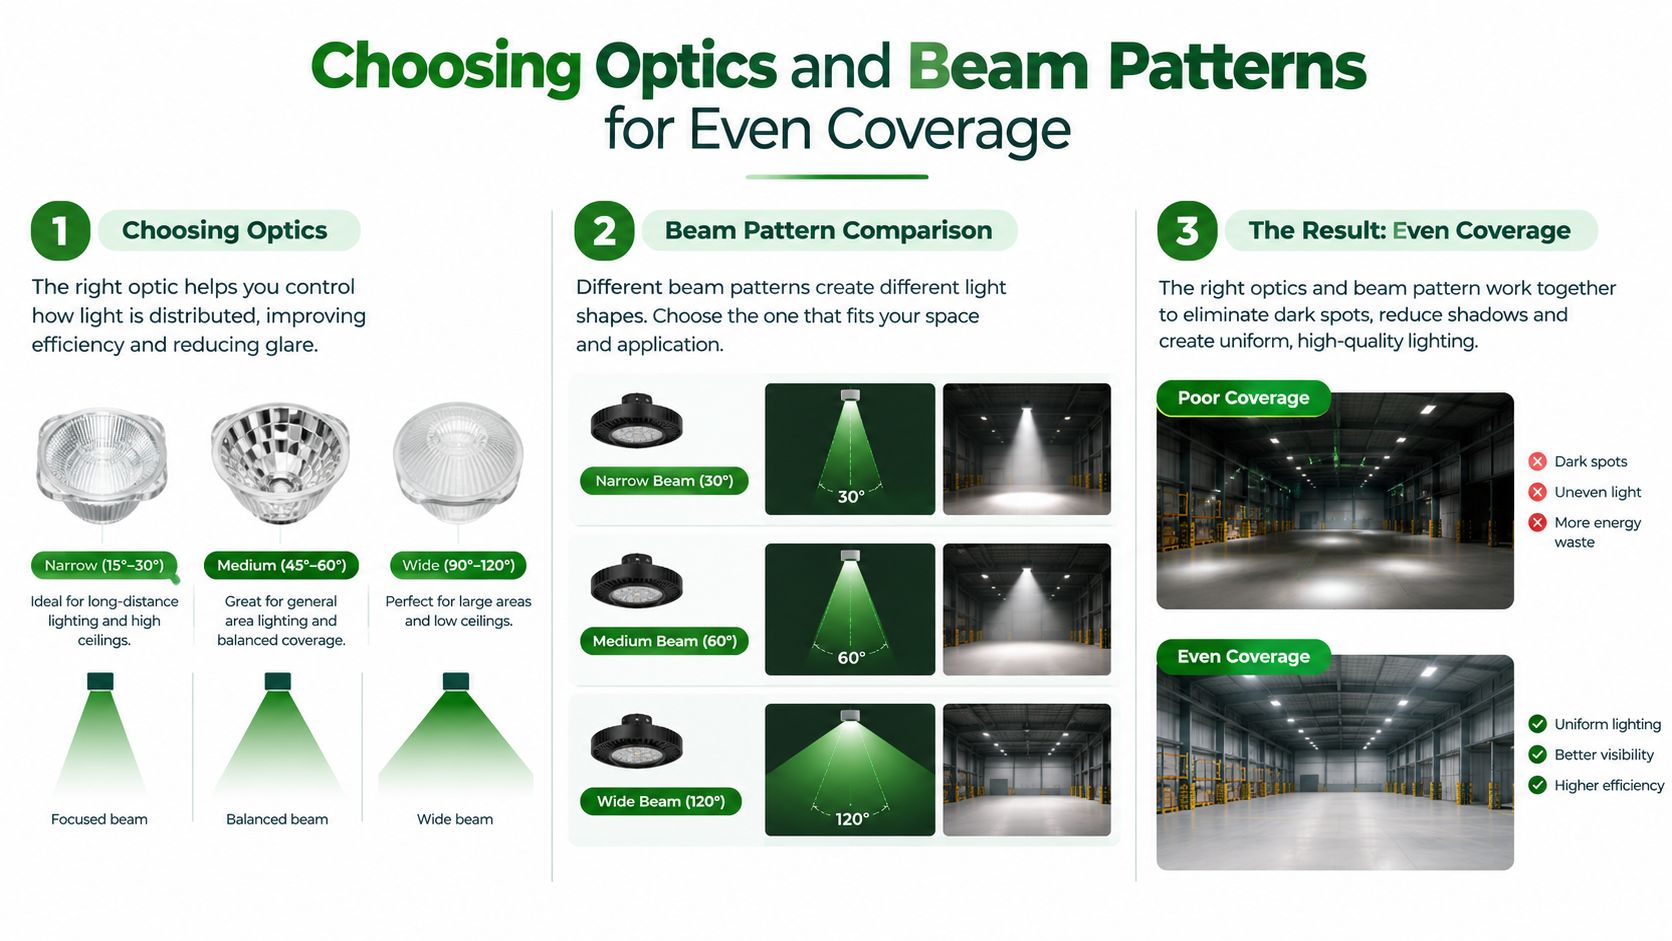
Optics determine where the light goes. A narrow beam can project farther from a high pole, but it may create a brighter center and sharper falloff if the spacing or aiming is wrong. A wide beam can cover nearby stalls and pedestrian areas, but it may waste output beyond the intended boundary or produce glare when mounted too high.
Compare the beam choices
| Beam approach | Where it can fit | Main advantage | Main risk |
|---|---|---|---|
| Narrow distribution | Long throws, perimeter edges, separated mounting points | Reaches farther with controlled direction | Hot spots and dark gaps when spacing is too wide |
| Medium distribution | General parking-lot coverage | Balances reach and spread | Requires accurate aiming and pole coordination |
| Wide distribution | Close areas, building edges, pedestrian zones | Covers broad nearby surfaces | Glare or light trespass if aimed carelessly |
A commercial lot often needs more than one distribution. A fixture near a property boundary may need to push light inward rather than outward. A pole in the middle of a broad field may benefit from a pattern that covers both sides. A wall-mounted flood light may need a different approach from a pole-mounted area fixture because the mounting surface, setback, and viewing angles change.
Match the optic to the pole geometry
Mounting height changes the footprint. At a higher pole, a narrow distribution can reach a distant row without spreading too much beyond it. At a lower pole, the same optic may create an intense patch directly below the fixture. A wide distribution on a tall pole can send light into neighboring properties, upper windows, or the sky if the designer doesn't control the aiming angle.
Common area-lighting patterns include Type III, Type IV, and Type V distributions. Type III generally pushes light outward from a mounting point, Type IV favors a forward semicircular pattern, and Type V produces a more symmetrical area around the pole. The exact fixture data matters more than the label, so ask for the manufacturer's distribution file and the completed photometric plan.
Aiming is part of the fixture selection. The same flood light can perform well or poorly depending on tilt, mounting arm, pole height, and the surfaces that surround the lot.
A good proposal shows the property boundary, pole locations, mounting elevations, average and minimum readings, and areas where light crosses beyond the site. It should also address glare for drivers approaching from each direction. Fewer fixtures can be a benefit, but only when the chosen optics maintain coverage rather than stretching the spacing.
Sizing Lumens Wattage and Pole Height the Right Way
Wattage tells you how much electrical power the fixture uses. It doesn't tell you whether the lot receives the right amount of light. Two fixtures with similar wattage can produce different lumen packages, distributions, glare characteristics, and maintenance results.
For a medium commercial lot, a practical benchmark is roughly 20,000 to 30,000 lumens per fixture, often using 100 to 200 watts on 20 to 25 foot poles, according to this commercial LED flood-light sizing guide. Large industrial areas may need 30,000 to 70,000 lumens with wider spacing, but the layout still determines whether that output becomes useful illumination or wasted brightness.
Use the site layout before the catalog
A contractor should begin with a scaled plan, not a product page. The plan should show pole locations, lot dimensions, drive aisles, stall rows, entrances, sidewalks, loading areas, building faces, and nearby properties. From there, the designer can model fixture height, aiming, distribution, and maintained light levels.
| Lot Scale and Pole Height | Typical Lumen Package | Typical LED Wattage | Spacing Consideration |
|---|---|---|---|
| Medium lot, 20 to 25 foot poles | 20,000 to 30,000 lumens per fixture | 100 to 200 watts | Coordinate spacing and optics to avoid dark lanes |
| Medium lot, 25 foot poles | 20,000 to 30,000 lumens per fixture | 150 to 200 watts | Use aiming and distribution to balance reach with uniformity |
| Large industrial area | 30,000 to 70,000 lumens per fixture | Select from the modeled package | Wider spacing may work, but confirm pavement and vertical readings |
These are starting benchmarks, not automatic specifications. A lot with trees, slopes, covered walkways, or neighboring residences may need a different arrangement. The designer should also check whether the existing pole can safely support the fixture, arm, and wind load.
Sanity-check the photometrics
Ask three questions before approving a fixture schedule:
- What maintained illuminance target is the design using, and why does it fit the property's activity and security needs?
- Where are the minimum readings, not just the average?
- What uniformity ratio does the layout achieve across stalls, aisles, and pedestrian routes?
The goal is to divide the required light across the actual layout, then select a fixture that delivers it with controlled distribution. Buying the brightest available flood light can push average readings above what the site needs while leaving the same weak areas untouched. A right-sized lumen package, matched to pole height and spacing, usually gives you a cleaner design and a more defensible operating plan.
Controls Dimming and Title 24 Strategies That Save More
Fixture replacement lowers the power draw of each operating hour. Controls reduce unnecessary operating hours or output. That distinction matters in a parking lot, where occupancy changes throughout the night and full output may not be necessary in every zone at every moment.
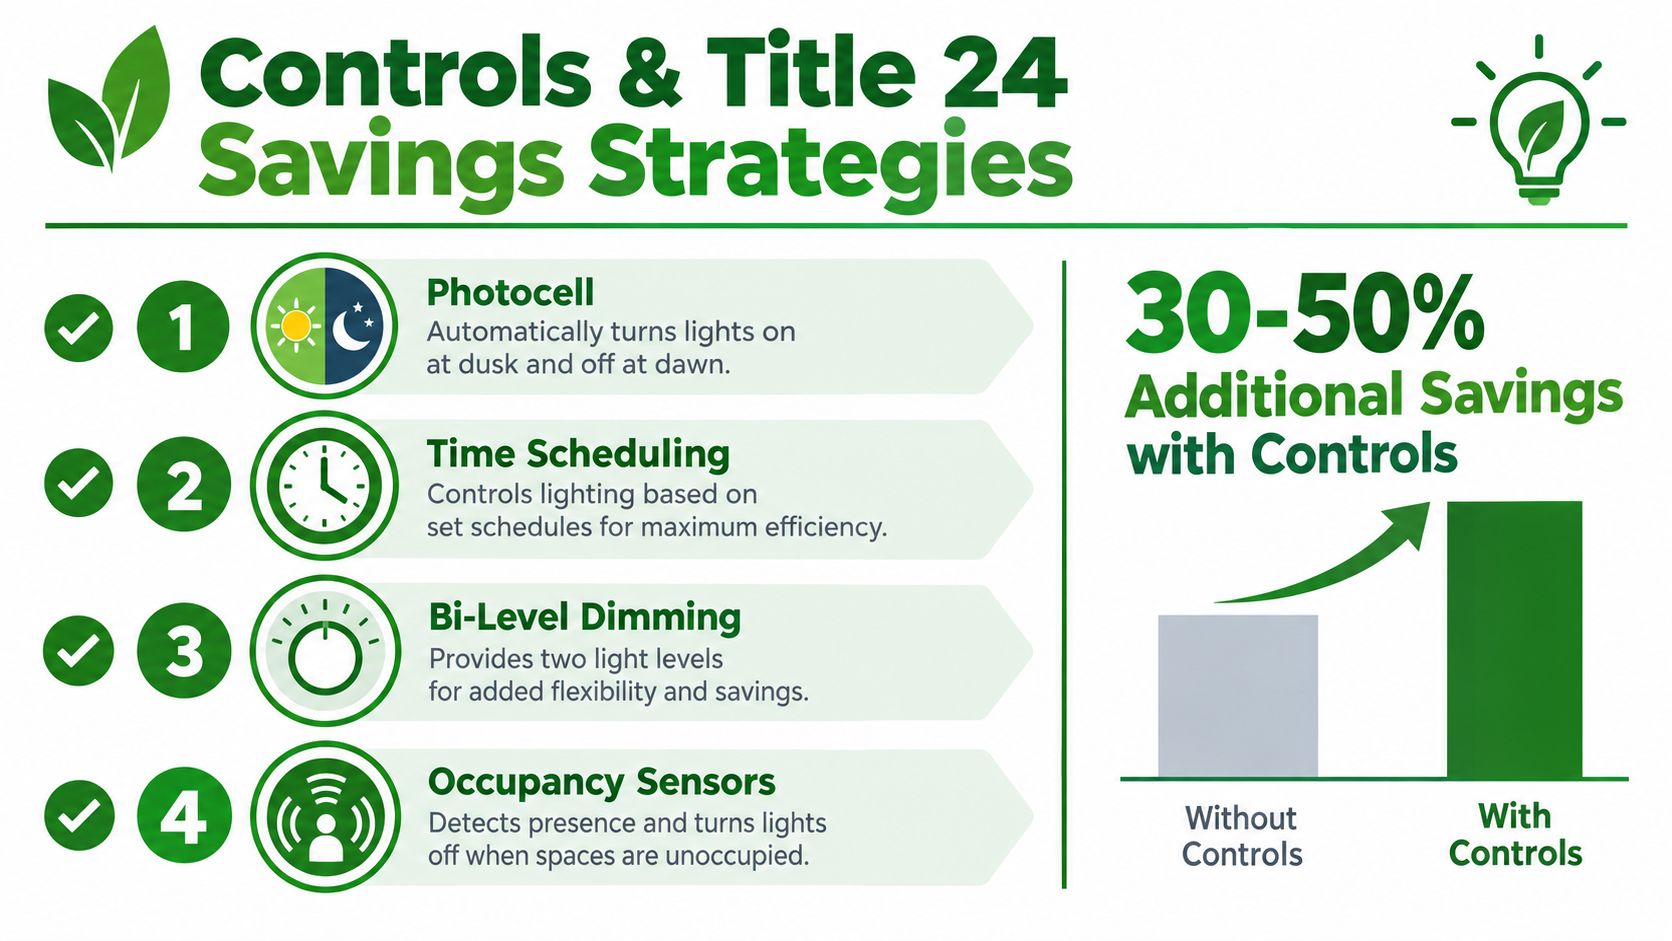
A basic control sequence often begins with a photocell. The photocell turns the system on when daylight falls and off when daylight returns. Time scheduling adds a predictable operating pattern, while bi-level dimming allows fixtures to run at a lower level during periods of reduced activity. Occupancy sensors can raise output when a person or vehicle enters a zone, then return fixtures to a lower setting after the area clears.
Build controls around zones
A single sensor for an entire property can create nuisance activation or leave distant areas at the wrong level. Zoning works better. Group fixtures by entrances, pedestrian paths, drive aisles, remote stalls, loading areas, and perimeter conditions. The control plan should define the normal level, the trigger for higher output, the return delay, and the override process for security or maintenance.
The PNNL study on LED parking-lot and garage lighting modeled 73% energy savings from occupancy sensors in one parking-lot case, as documented in the PNNL parking-lighting controls report. That result doesn't mean every property will achieve the same outcome. It does show why controls deserve a place in the initial design conversation rather than being treated as an optional add-on after fixture selection.
Treat Title 24 as a design requirement
California projects may need control strategies, testing, certification, and documentation under Title 24. The exact requirements depend on the project scope and site conditions, so the bid should identify who handles the compliance paperwork and functional testing. A lighting contractor familiar with automated lighting controls can help connect the control hardware to the required sequence instead of leaving the property team with an untested system.
The strongest controls plan protects peak-use visibility first. Dim remote zones during vacancy, keep critical routes appropriately illuminated, and provide a clear manual override for unusual activity.
Request these items in writing:
- Control zones: Show which fixtures respond together and which operate independently.
- Dimming sequence: State the normal and high-output levels in plain language.
- Sensor placement: Identify coverage areas and potential obstructions.
- Commissioning: Include testing, programming, staff orientation, and documentation.
- Compliance scope: Clarify who prepares Title 24 forms and verifies operation.
The best return may come from combining moderate-output fixtures with intelligent zoning, not from installing maximum-output flood lights everywhere.
Retrofit Maintenance and High Reach Installation in Practice
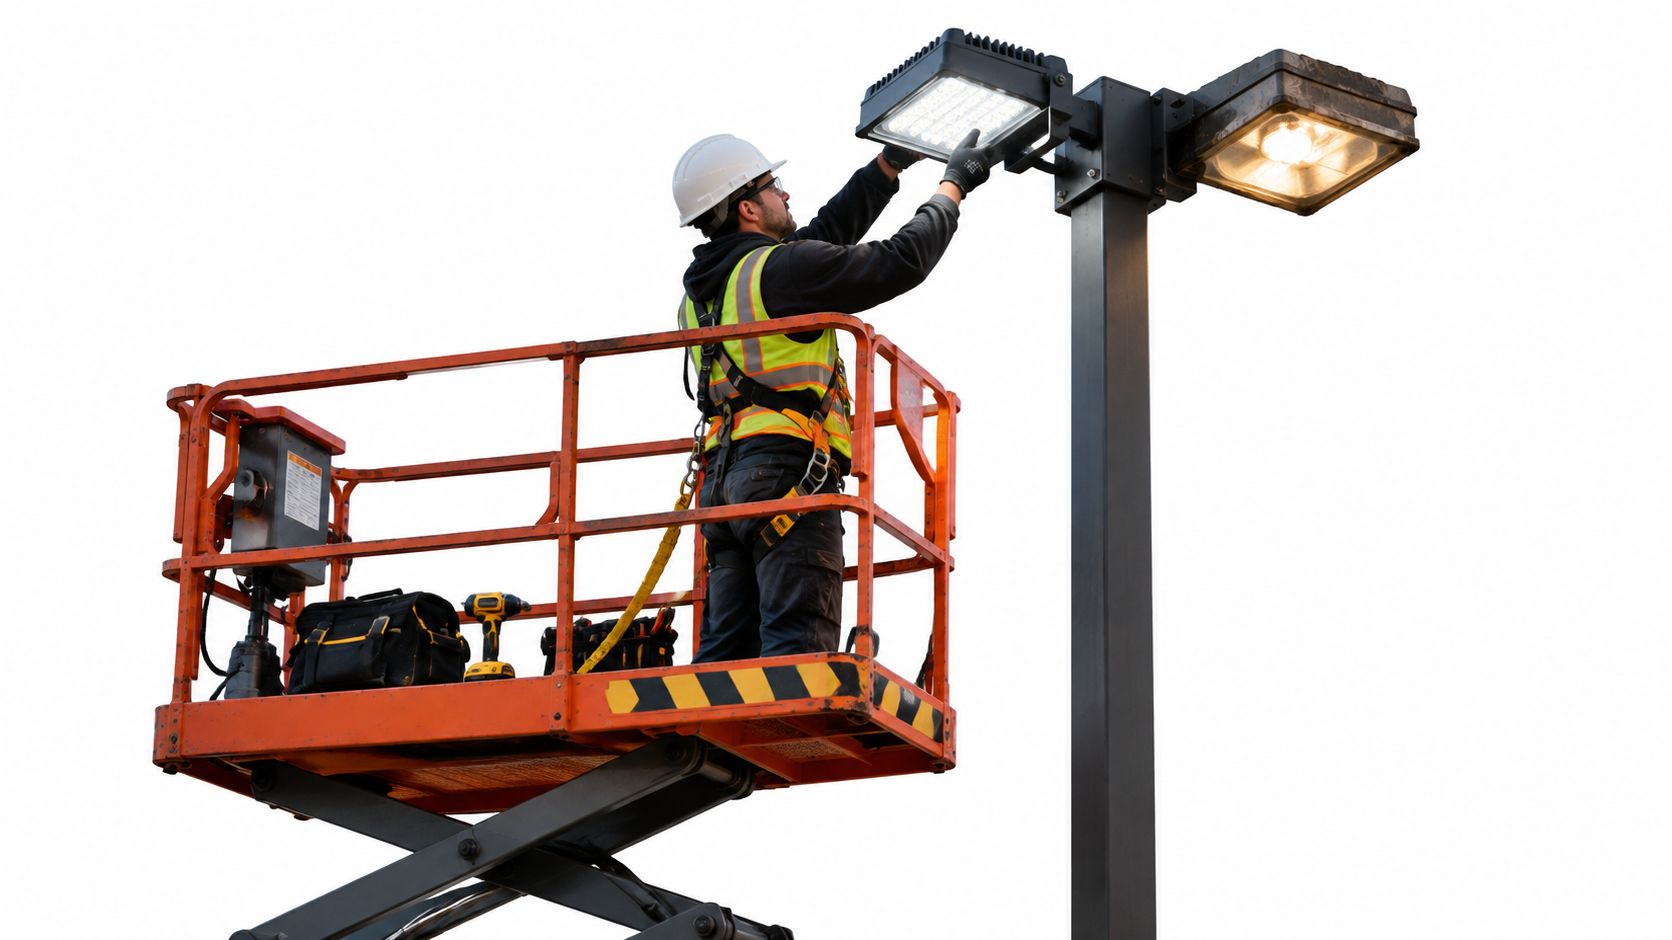
At 10 p.m., a parking-lot retrofit is still an active construction project. Tenants need safe routes, drivers need clear access, and the crew needs a plan for lifts, traffic control, materials, and temporary outages. The fixture decision only works when the installation team can execute it without damaging poles, wiring, controls, or the surrounding property.
Start with the infrastructure. Inspect pole shafts, anchor areas, arms, handholes, junctions, grounding, branch circuits, disconnects, and existing photocells. A new LED head won't solve a corroded connection or a compromised pole. If the existing electrical system has hidden overheating or loose terminations, infrared inspection can identify abnormal heat patterns before the crew closes the work area.
Plan the work in phases
A practical sequence often looks like this:
- Survey first: Confirm pole locations, fixture types, circuit paths, mounting hardware, and access restrictions.
- Test the existing system: Record outages, voltage concerns, control behavior, and pole-condition issues.
- Install by zone: Keep most of the lot operating while crews work through defined areas.
- Aim and verify: Set the fixture position, confirm the control response, and compare the installed condition with the approved layout.
- Document the result: Provide fixture schedules, control settings, test records, and maintenance notes.
Fixtures installed at height require the right equipment and trained personnel. A boom truck may be appropriate for tall poles or repeated service points, while a scissor lift can suit accessible areas. The selection depends on reach, ground conditions, traffic exposure, and the fixture's mounting location.
Maintenance protects the original design
Dust on lenses, damaged seals, loose hardware, failed drivers, and misaligned heads can gradually change the lot's coverage. Schedule inspections around the property's operating demands, and include control checks rather than looking only for burned-out fixtures. A maintenance team should know which zones dim, which sensors trigger them, and how to report a dark area.
For properties in Southern California, commercial light-pole installation and repair services can be part of the same planning conversation as the LED retrofit. A licensed C-10 contractor can coordinate electrical work, high-reach access, pole repairs, testing, and documentation under one field plan.
Your Next Steps to a Safer More Efficient Lot
Start with the pavement, not the product. Decide what the lot needs to support, identify the maintained illuminance and uniformity expectations, and mark the routes where pedestrians, vehicles, cameras, and security staff need dependable visibility.
Then evaluate proposals in this order:
- Photometric performance: Request average, minimum, maximum, and uniformity results for the actual site.
- Optics and aiming: Confirm the distribution type, mounting height, tilt, pole spacing, and property-boundary control.
- Lumen and wattage fit: Compare the proposed output with the layout instead of accepting the largest fixture.
- Controls: Require photocell operation, schedules, dimming levels, sensor zones, overrides, and commissioning details.
- Installation readiness: Check pole integrity, wiring, access equipment, traffic protection, and outage planning.
- Compliance records: Assign responsibility for Title 24 testing, certification, and closeout documentation where applicable.
A strong bid makes these decisions visible. It doesn't hide the design behind a fixture model number or promise savings based only on nameplate wattage. It shows how the light reaches the ground, how the system behaves when the lot is vacant, and how the contractor will keep the installation safe and maintainable.
Bring in a commercial lighting contractor before procurement when poles are deteriorated, circuits are uncertain, controls are required, or the property needs documented testing. That early coordination can prevent a costly fixture mismatch and produce a system that performs as designed after the lift leaves the site.
Access Electrical and Lighting provides commercial LED parking-lot retrofits, lighting controls, pole work, high-reach installation, infrared inspections, testing, and Title 24 documentation across Southern California. For help matching flood-light optics, lumen packages, controls, and field execution to your property, visit Access Electrical and Lighting.