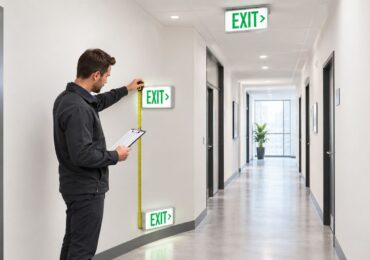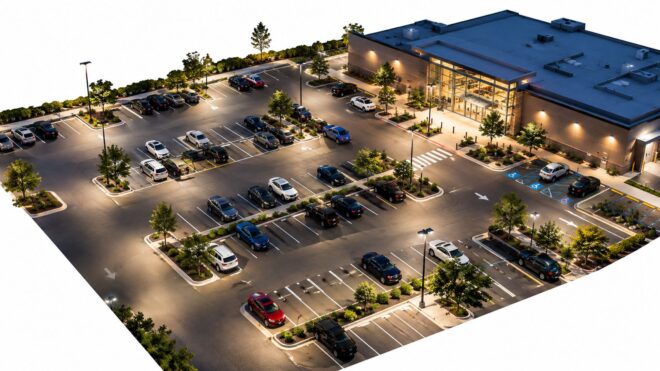
You're walking a Southern California property after sunset because someone has complained about the parking lot again. The LED poles look bright, but the far stalls and the path to the building don't feel nearly as comfortable. Before approving brighter fixtures or removing poles from a retrofit proposal, you need to know what the layout will deliver where people drive and walk.
Why a Bright Lot Can Still Feel Dark
Consider a typical site review: from the street, you can see bright fixtures and clean pools of light beneath them. From a parking stall, however, the route to the entrance looks uneven. A resident steps away from a well-lit pole and hesitates near the stair path.
This is an illustrative situation, not a documented project, but it captures the management problem. You aren't buying an impressive view of the fixtures. You're trying to provide usable illumination between parked cars, across pedestrian crossings, and along door approaches.
A proposal that starts with “How far apart can we put the poles?” skips those places. A more useful question is: Where must people be able to see, and what happens between the fixtures?
Look beyond the bright centers
Think of shining flashlights onto a floor. Raising them spreads their pools, but it doesn't make every part of each pool equally bright. Bright centers can still leave a dim middle.
That analogy helps explain why replacing existing fixtures without reviewing their positions and aiming can leave the original complaints unresolved. The equipment changes, while the troublesome stretch between a stall and a walkway remains.
Practical rule: Judge a parking layout from the route a person takes, not from the view of the glowing fixtures.
For a property manager, guessing creates operational risks worth discussing before equipment is ordered:
- Dark bands: Ask whether the proposal addresses the exact areas named in resident or tenant complaints.
- Bright islands: Question whether adding output beneath existing poles helps the spaces between them.
- Driver discomfort: Review what a driver sees while turning toward a fixture, not just the pavement below it.
- Retrofit assumptions: Don't assume existing pole locations are suitable because new LEDs will fit.
Treat LED lighting spacing as a safety and operations decision, without promising that lighting alone guarantees safety. For a Southern California commercial or multifamily property, the useful outcome is a layout people can move through comfortably and a system the maintenance team can support. Fixture count is only part of that decision.
How Photometrics Set LED Fixture Spacing
Photometric design means calculating where a selected fixture sends its light and how that pattern interacts with the site. Instead of drawing evenly spaced poles and hoping for coverage, the designer tests the proposed arrangement against the areas that need illumination.
Historical roadway research illustrates why spacing isn't a transferable rule: reported luminaire spacing ranged from 22 to 33 meters, averaging 27 meters, while LED road-lighting examples using 140-watt and 279-watt systems met respective average requirements of at least 15 lux and 30 lux, with overall uniformity of at least 0.4, all within their particular design classifications and photometric conditions (roadway-lighting research and design examples).
Those are roadway examples, not parking-lot spacing instructions. A straight road and a lot interrupted by stalls, islands, turning movements, and entrances present different coverage problems.
Start with the actual installation
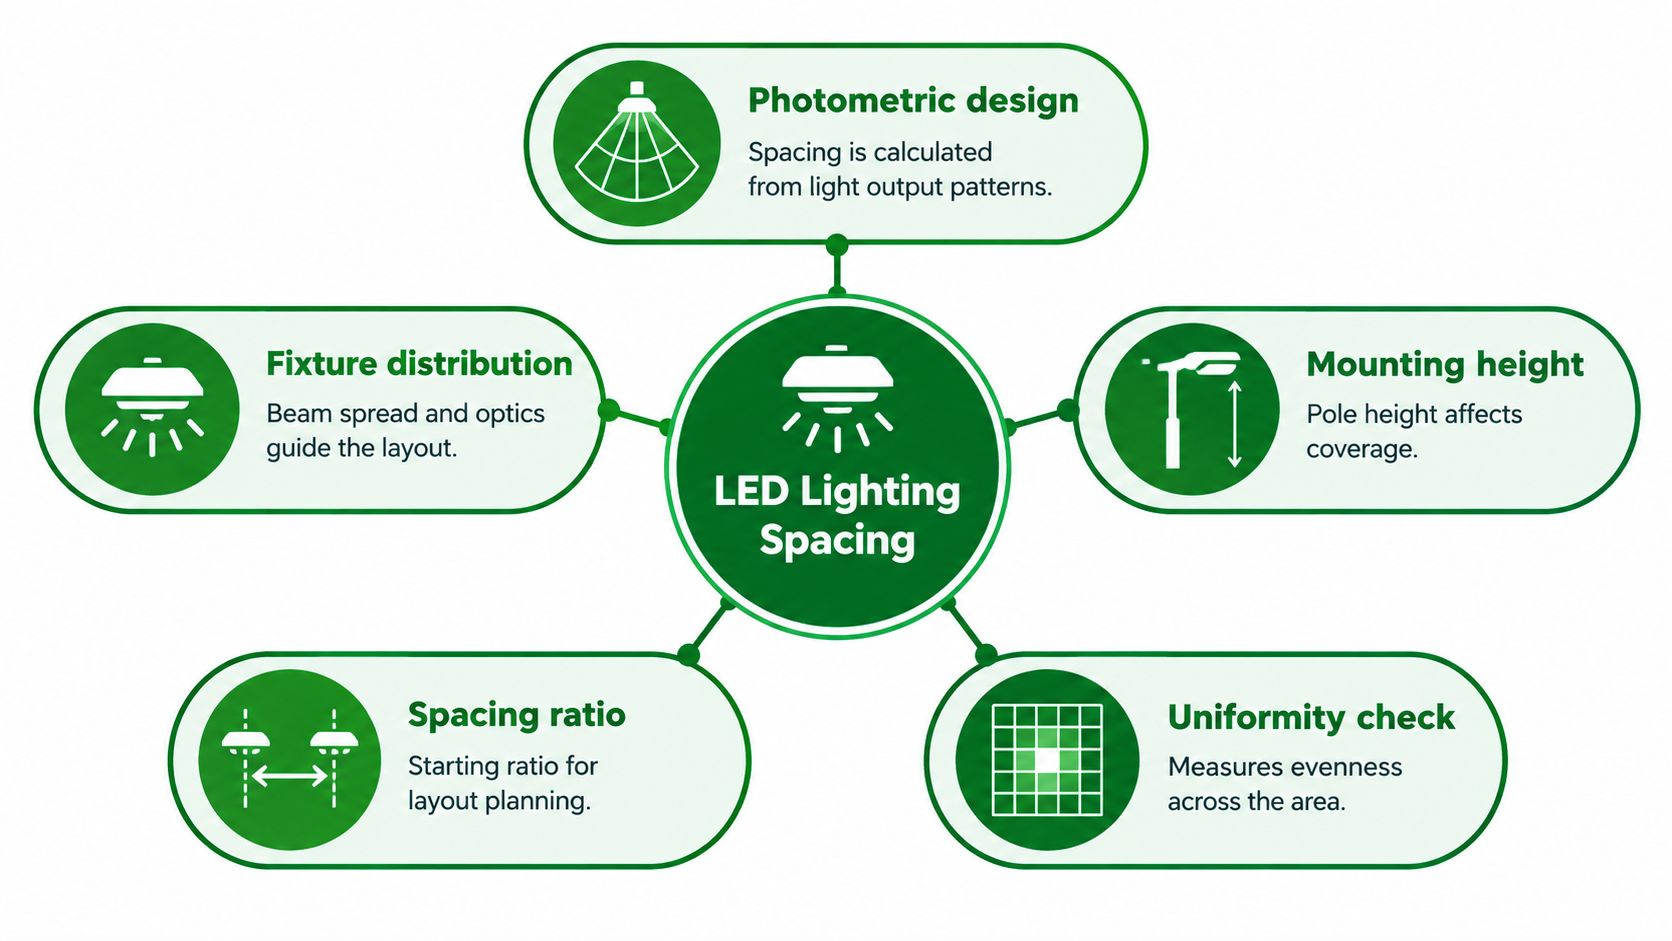
The designer needs to solve several inputs together:
- Mounting height: Identify the height of the light source, rather than relying on an approximate pole description.
- Fixture distribution: Select the optical pattern that sends light toward the intended pavement and paths.
- Mounting position: Show pole locations, fixture orientation, and any mounting offsets.
- Surface conditions: Identify pavement type and reflectance assumptions.
- Performance targets: Establish the required illuminance and uniformity for the applicable areas.
The relationship among these inputs is easier to understand as a connected design problem than as an isolated spacing formula.
Ask for proof across the site
A useful photometric layout shows calculated light levels across the proposed coverage area. Ask the designer to identify driving lanes, parking stalls, walkways, and entrances clearly, rather than presenting a single result for the entire property.
Then ask where the selected optics send light. A fixture intended to illuminate along a roadway may need a different orientation or distribution when installed beside a parking field. The site drawing should make that choice understandable.
Wattage doesn't locate the poles. It describes electrical input, not whether the proposed arrangement covers a particular stall end or door approach. Approve spacing only after the layout demonstrates the required results in the relevant areas.
Reading Ratios Uniformity and Minimum Light
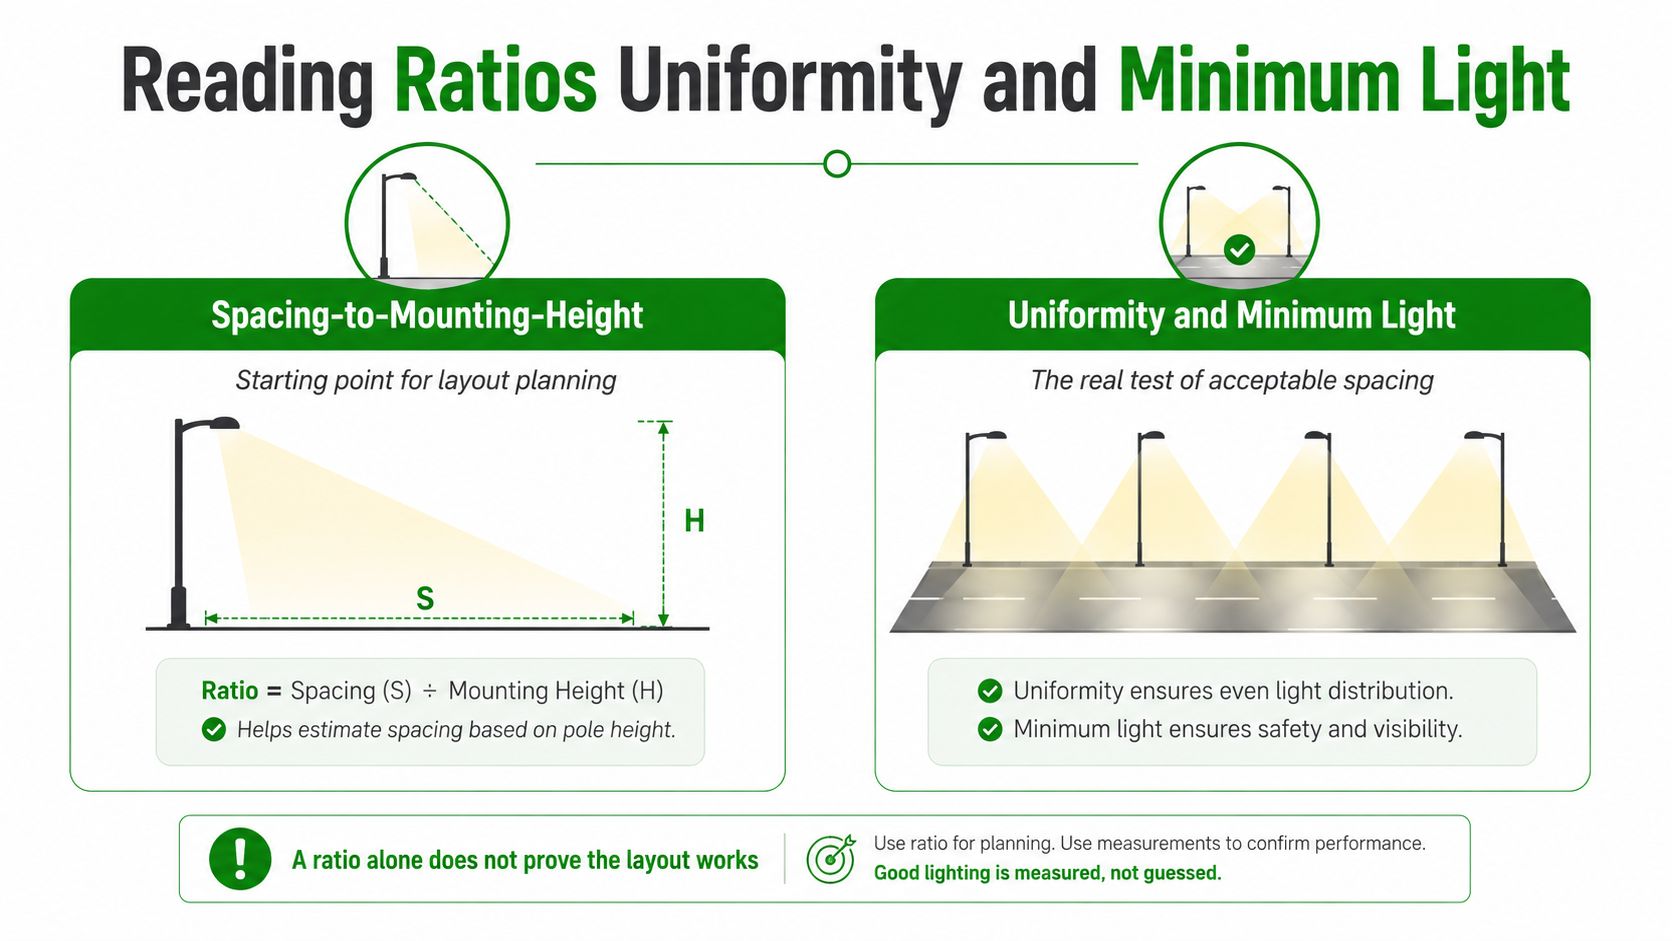
A spacing-to-mounting-height ratio can help start a design conversation. It cannot tell you whether the darkest point beside a walkway is acceptable, whether a bright patch dominates the average, or whether someone approaching the entrance will face glare.
Start by separating average illuminance from minimum illuminance. The average summarizes the calculated area. The minimum identifies its lowest calculated light level, which deserves attention when it falls on a route people use.
Read the contrast, not just the average
A Lighting Research Center comparison found similar safety ratings for a parking lot averaging 2.5 lux with a 2:1 uniformity ratio and one averaging 20 lux with a 15:1 ratio; the same DOE guidance describes a Virginia Tech evaluation in which approximately 2 lux on asphalt or concrete could support stronger visual performance and favorable safety, comfort, and visibility perceptions, while recommending IES-based design and evaluation of glare under actual mounting and nighttime conditions (DOE guidance on outdoor area lighting).
These findings aren't permission to specify a low light level everywhere. They show why a higher average, by itself, isn't convincing evidence of a better layout.
Uniformity describes the relationship between light levels across an area. Before comparing reported ratios, ask which relationship the designer has used. Don't compare a maximum-to-minimum value with an average-to-minimum value as though they mean the same thing.
A modest, even layout can be more useful than a bright average built from intense pools and weak gaps.
Scan the plan where people move
Use the calculation results to investigate specific locations:
- Between poles: Find the low points rather than assuming the overlap is adequate.
- Along pedestrian routes: Follow the entire path, including bends and transitions.
- At surface changes: Ask whether the pavement assumptions match the site.
- Near fixtures: Check the viewing angle from a pedestrian's position, not just the mounting geometry.
For context on the criteria behind a review, consult the applicable parking lot lighting standards with the designer. The project still needs its own targets and calculations.
Closer, lower-output fixtures deserve consideration when they improve the troublesome low points without creating unnecessary brightness elsewhere. That's a design alternative to test, not a universal prescription.
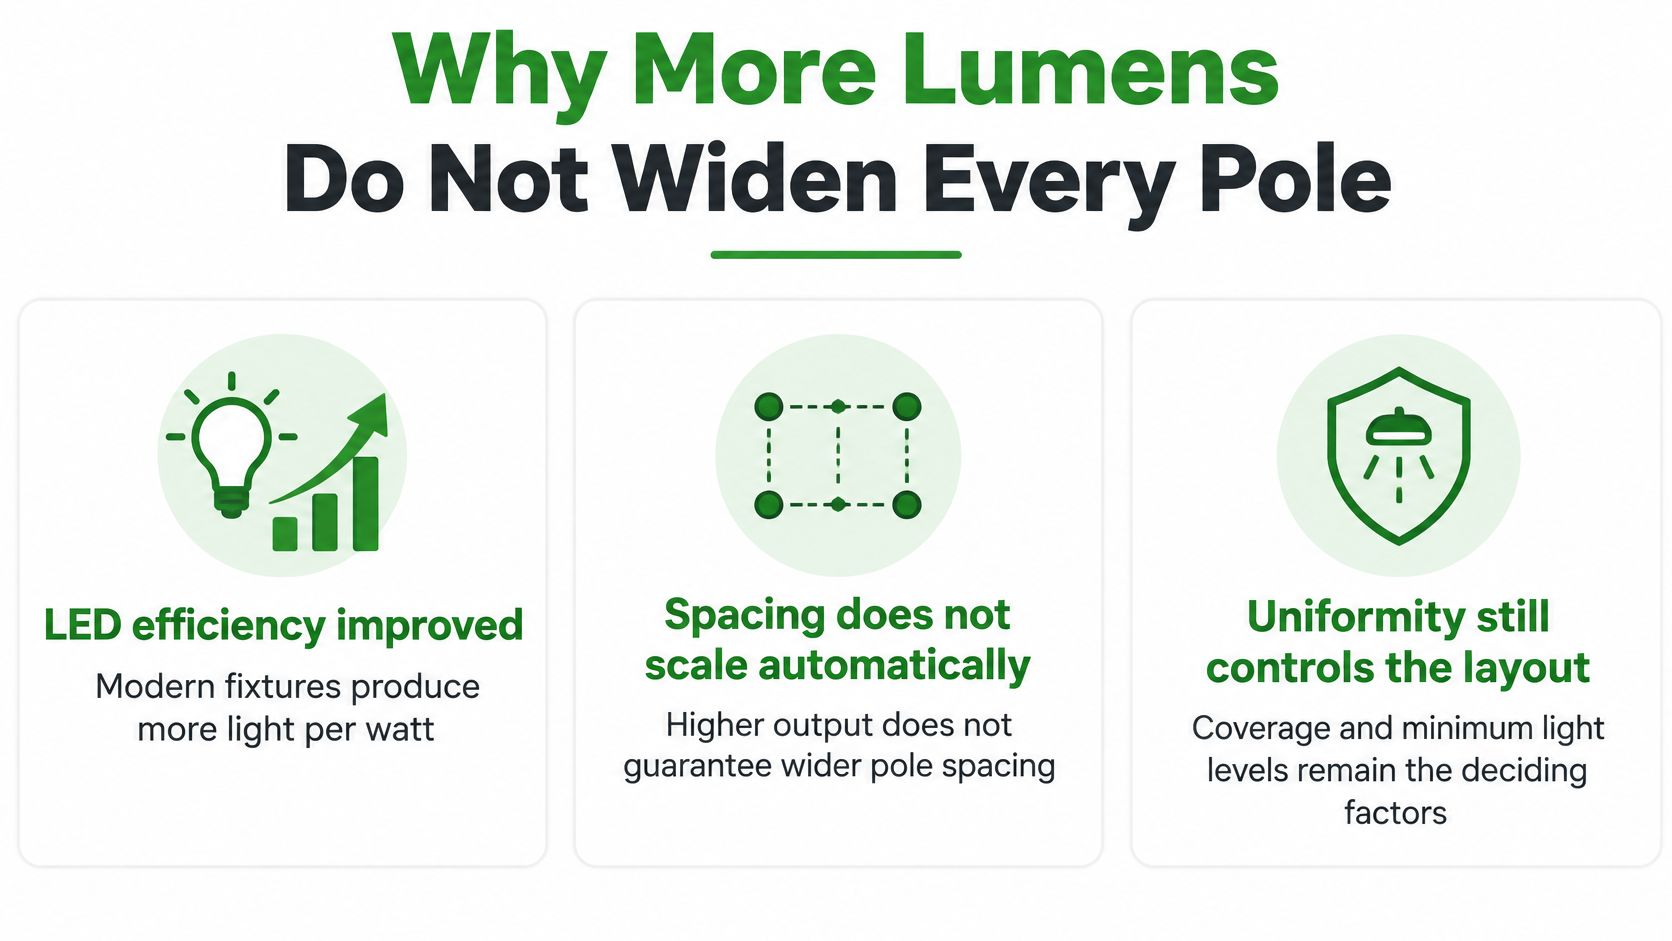
Why More Lumens Do Not Widen Every Pole
Newer LEDs give designers more options. They don't remove the need to check where the light goes.
The technology's improvement has been substantial: DOE reported approximately 50% higher LED efficacy from 2010 to 2014, manufacturing costs falling from about $150 per kilolumen in 2008 to $15 by 2014, leading devices reaching 160–170 lumens per watt, and complete luminaires achieving about 125–135 lumens per watt, with a stated complete-luminaire target above 200 lumens per watt; the historical review also described cool-white devices rising from roughly 30 to 80 lumens per watt and warm-white devices from about 10 to 50 between 2005 and October 2007 (DOE building technologies review).
Those milestones describe historical progress and a stated target, not guaranteed specifications for a fixture you're purchasing today.
Separate efficiency from coverage
Efficacy tells you how much light a product produces per unit of electrical input. Distribution tells you where the fixture directs that light. A more efficient product may reduce input power, increase available output, or create additional layout choices, but its efficacy rating doesn't establish suitable pole spacing.
Higher output and suitable optics can make a lower fixture count feasible. The legitimate opportunity is to compare alternatives through calculations, not to stretch an existing grid in proportion to the new lumen rating.
Evaluate the proposed fixture, not the sales category
When reviewing commercial parking lot lighting fixtures, request the exact model, optical distribution, output setting, mounting arrangement, and photometric information used in the proposal. A broad label such as “LED area light” isn't enough to evaluate coverage.
Also separate a fixture replacement from a layout redesign. Keeping the poles may be practical, but the designer must test the new equipment in those positions. Removing poles changes the installation significantly and needs its own comparison.
- Keep existing poles: Verify that the selected distribution works with their actual locations.
- Change fixture output: Recalculate rather than assuming every part of the site changes equally.
- Remove poles: Review the resulting gaps, viewing angles, and maintained performance before approving demolition.
Efficiency buys design flexibility, not permission to skip the calculation. A product can be efficient while remaining the wrong fit for a particular spacing arrangement.
Choosing Closer Poles or Fewer Bright Fixtures
An owner reviewing alternatives may prefer fewer poles because the equipment schedule looks simpler. A designer may instead recommend more closely spaced, lower-output fixtures to distribute useful light more evenly. Neither approach should win on fixture count alone.
Berlin lighting guidance identifies shorter pole spacing as beneficial to uniformity, describes an approximate pole-height-to-spacing ratio of 1:3 as optimal, and warns that long spacing with low mounting heights can require narrow beams that cause excessive glare; it also identifies limiting intensity near 70 to 90 degrees vertical as a way to reduce glare and trespass (Berlin guidance on outdoor LED layouts).
Compare the whole installation
Treat that ratio as a planning cue within the guidance, not a substitute for a site calculation. For a multifamily court or retail edge, the view from an adjacent window may matter as much as the pavement directly beneath the fixture.
DOE's outdoor-lighting guidance discussed earlier also calls for little or no upward intensity to limit skyglow. Ask how shielding, orientation, and distribution address both neighboring properties and the intended coverage area.
Closer Lower-Output Layout Versus Fewer Bright Poles
| Choice | What improves | What can go wrong | What must be verified |
|---|---|---|---|
| Closer, lower-output fixtures | Can provide smoother overlap and more localized coverage | Poor shielding or orientation can still create glare and trespass | Uniformity, boundary spill, viewing angles, and maintained light |
| Fewer, brighter fixtures | Can reduce fixture count and simplify some installation arrangements | Wide gaps may leave weak coverage while intense beams cause discomfort | Minimum light between poles, glare, trespass, and maintained light |
Make the energy comparison fairly
The open question is whether closer, lower-output fixtures will use less energy and create fewer operational problems than widely spaced bright fixtures. You can't answer it from the fixture schedule alone.
Compare the proposed power settings, operating hours, dimming sequences, and occupancy response. Require the same performance criteria for both alternatives so that a design doesn't appear economical because it provides less useful coverage.
Decision test: Ask each proposal to solve the same site problem under the same operating assumptions.
Installation capability matters too. For a Southern California project, look for a commercial electrical contractor whose scope includes LED site retrofits, pole testing and replacement, parking-structure controls, high-reach access, and Title 24 testing and documentation. Confirm who will coordinate the layout, install the selected equipment, and verify the completed work before accepting the proposal.
Worked Layouts for Lots Walks and Entries
The following are hypothetical review exercises, not completed projects. Use them to mark up a site plan and identify questions for the designer without inventing a spacing number.
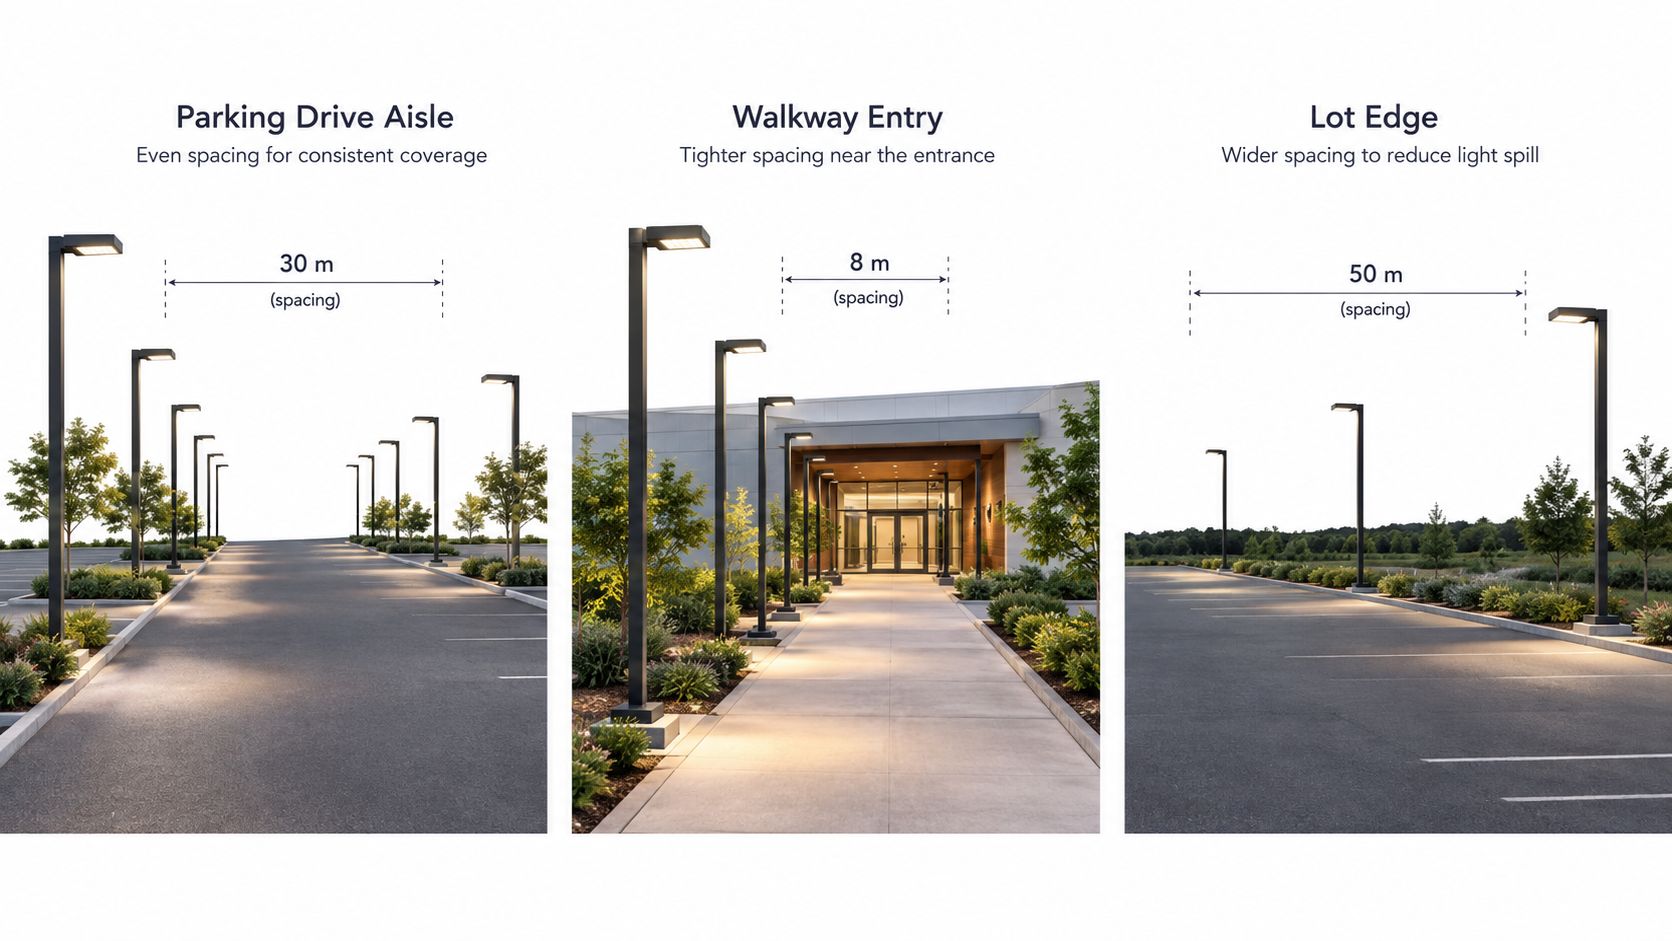
Parking drive aisle and stall field
Suppose poles run along a drive aisle, while parking stalls extend away from them. The lane calculation looks acceptable, but the property manager's complaints concern the far ends of the stalls.
Don't transfer the roadway spacing benchmark discussed earlier to the entire parking field. Ask the designer to identify calculation points within the stall area, not just along the lane center. The question is whether the selected distribution reaches the places occupants cross after leaving their vehicles.
On the drawing, mark pole height, fixture orientation, pavement type, and stall-end minimums. Note nearby residences and any upper-floor windows facing the luminaires. Ask whether the proposed model includes relevant obstructions or needs a separate field review.
Multifamily pedestrian route
Consider a walkway that bends between landscaping and apartment entries. Lower mounting positions and close pedestrian viewpoints make a pavement-only review incomplete.
Trace the walking route and mark where a resident looks toward each fixture. Then identify windows that face the same direction of light. Request an alternative distribution or placement if the proposal relies on an uncomfortable beam to reach around a bend.
The parking research discussed earlier supports questioning brightness-only decisions, but it doesn't establish the required level for this walkway. Mark mounting height, aiming, walking-surface material, minimum and average results, and window viewpoints so the designer can evaluate this route on its own terms.
Retail entrance and crosswalk
At an entrance, people change direction, wait, approach doors, and cross vehicle paths. A regular grid that suits the open lot may need different placement or optics near these movements.
Outline the crossing and door approach separately. Ask for results across those surfaces rather than accepting a broad lot average. The roadway uniformity example is a reminder to verify performance, not an entrance criterion to copy.
Record pole height, aiming, paving changes, minimum versus average, and neighboring sightlines. Walk the proposed route on the plan from stall to door, then reverse it as though you're leaving the building.
Across all these exercises, the useful habit is the same: mark the task area first, then ask the designer to demonstrate coverage there. Don't begin by drawing the widest possible pole grid.
Check the Layout Before You Move a Pole
Approval should depend on maintained light, meaning the performance the design is intended to provide after accounting for the project's light-loss assumptions. An initial-output calculation alone isn't enough to approve a long-term installation.
Ask the designer to identify the assumptions for lumen depreciation, dirt, and control settings. If the proposal includes dimming or occupancy response, request an explanation of the conditions being calculated. You need to understand what the site provides during ordinary operation, not just at full output when everything is new.
Assemble an approval package
Give the reviewer enough information to connect the drawing to the actual property:
- Gather the base plan: Include buildings, stalls, lanes, walks, entrances, property boundaries, and existing poles.
- Locate the complaints: Mark dark areas, uncomfortable views, and neighboring windows on the drawing.
- Confirm the equipment: Match fixture selections, distributions, mounting heights, and output settings to the calculations.
- Request maintained results: Require clearly identified minimums, averages, uniformity measures, and light-loss assumptions.
- Review before removal: Don't delete poles until the alternative layout has been evaluated.
A foot-candle calculator can help you become familiar with illumination planning. It doesn't replace a site-specific photometric layout or a review of glare and boundary conditions.
Verify the installed result
Include a nighttime review in the project scope. Observe the installation from a driver's seat, along the sidewalk, and from relevant neighboring viewpoints. Confirm that the installed fixture orientation and control settings match the approved design.
Keep the calculation report, equipment schedule, control sequence, and verification notes together. If tenants later report a problem, the maintenance team can compare the actual condition with the intended design rather than starting from a wattage label.
Approve demonstrated coverage, then finalize the fixture count. That order gives the owner, designer, and installer a shared basis for deciding whether poles should stay, move, or be removed.
Access Electrical and Lighting offers commercial site and parking LED retrofits, pole testing and replacement, lighting controls, and installation documentation for Southern California properties. Visit Access Electrical and Lighting to request a review of your existing lot or multifamily site and discuss a spacing and control approach that can be installed, tested, and documented before you commit to moving poles.