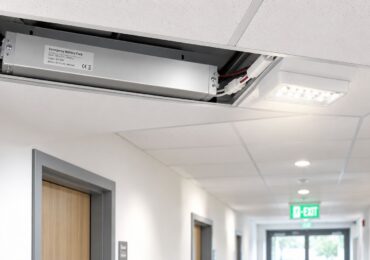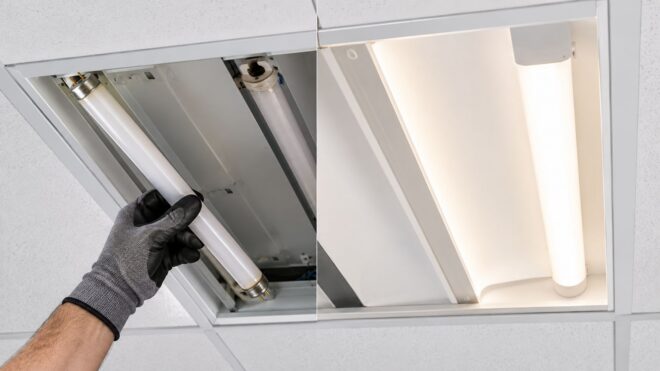
A typical commercial fluorescent-to-LED retrofit delivers 20% to 60% energy savings, while projects such as the New Carrollton Federal Building achieved an 82% reduction when the retrofit included controls. The right result depends less on buying an LED tube and more on choosing the correct conversion method for the fixture, wiring, controls, and California compliance requirements.
In Orange County, the request often starts with a familiar complaint: a property manager has a row of flickering troffers, a maintenance team that keeps replacing ballasts, or an energy bill that refuses to come down. The existing fixtures may look serviceable from the floor, but once the lens is removed, the job can involve brittle lampholders, incompatible ballasts, damaged wiring, crowded ceiling spaces, and labels that no longer match the modified fixture.
A successful LED retrofit for fluorescent lights solves more than lamp replacement. It should improve energy performance, preserve appropriate light levels, eliminate avoidable maintenance points, and leave every modified fixture safe for the next technician to service.
Why LED Retrofits Matter for Commercial Properties
A 40-troffer office floor that relamps twice a year can spend more on lift access, labor, and lamp disposal than on the lamps themselves. In Orange County, that is often how a fluorescent problem reaches the project list. Flickering rows, failed ballasts, tenant complaints, and aging ceiling wiring create service calls that rarely appear together in the energy budget.
The replacement decision also affects California compliance. Plug-and-play lamps, ballast-bypass tubes, retrofit kits, and complete fixtures carry different requirements for compatibility, wiring, labeling, documentation, and future servicing. A low-cost tube can become an expensive choice if the ballast is near failure, the sockets are brittle, or the installation requires undocumented line-voltage changes. The right comparison is installed cost and service risk, not lamp price alone.
The U.S. General Services Administration troffer retrofit guide identifies 20% to 60% energy savings as a typical project-level range for fluorescent troffer retrofits. It also documents the New Carrollton Federal Building, where lighting energy use fell by 82% and the annual lighting bill declined from $291,000 to $53,500 after 11,800 fluorescent troffers were replaced with LED fixtures and controls.
That project is a benchmark, not a promise for every office, retail center, or apartment property. Actual results depend on existing wattage, operating hours, fixture condition, controls, required light levels, and the electrical work exposed during installation. Controls can materially change the economics, but only when they suit the space and can be commissioned properly.
Timing affects the project strategy
Rebate rules are changing as California restricts certain linear fluorescent lamp products. Some utility programs are beginning to recognize LED-to-LED retrofit work, while other fluorescent replacement incentives are ending. Confirm eligibility, required equipment, application deadlines, and inspection rules with the applicable utility or program administrator before ordering materials. A rebate that appears available during budgeting may not apply to the selected conversion method.
That changes the maintenance question. If a property keeps buying fluorescent lamps and ballasts, it may carry recurring access, disposal, and failure costs. If it chooses the cheapest LED tube without checking glare, uniformity, controls, socket condition, or code documentation, it may create another retrofit sooner than planned.
Practical rule: Treat the lighting project as an electrical asset upgrade, not a box of replacement lamps.
A workable plan separates urgent repairs from the longer lifecycle decision. Address unsafe fixtures and obsolete components first when necessary. Then evaluate occupancy controls, daylight response, scheduling, and fixture layout after tenants and facility staff have experienced the new light.
The decision should account for energy, labor, access, controls, code documentation, disposal, and future serviceability. In California, those details belong in the scope, closeout package, and maintenance records, not as assumptions left for the next electrician.
Understanding the Three Retrofit Methods
Most fluorescent conversions fall into three practical paths: plug-and-play lamp replacement, ballast bypass, and retrofit kit or full fixture replacement. The labels matter because each path changes who carries the compatibility risk, how the fixture is serviced later, and how much rewiring the installation requires.
A federal field study of linear fluorescent troffers found that LED lamps with dedicated drivers produced 27% to 29% energy savings compared with a baseline T8 fluorescent lamp using a generic electronic ballast. Tested configurations measured around 42.9 watts. The same GSA linear LED retrofit findings describe a portfolio opportunity of approximately 134 GWh of annual electricity savings, or roughly 30% of the relevant lighting load.
Those figures describe measured benchmark conditions, not a guaranteed result for every product. They do show why the conversion method deserves attention. A tube that works with an existing ballast may be quick to install, but the old ballast remains a future failure point. A direct-wire tube removes that component but introduces line-voltage rewiring and socket decisions.
Comparing the available paths
Plug-and-play, or Type A, uses a compatible existing ballast. It can reduce disruption in a small tenant space or a building where the ballasts are known, documented, and in good condition. The weakness is that compatibility lists must be checked carefully. A tube can fit physically and still flicker, fail to dim, or operate poorly with the installed ballast.
Ballast bypass, or Type B, removes or permanently disconnects the ballast and sends line voltage directly to the LED tube. This is often a sensible long-term choice when ballasts are old, inconsistent, or already failing. It requires qualified electrical work, correct socket selection, manufacturer-specific wiring, and fixture relabeling.
Retrofit kits retain the housing while replacing the fluorescent lamps and internal components with a coordinated LED system. They generally offer more predictable optical and electrical performance than a tube-only swap. Full luminaire replacement removes the old fixture and installs a new LED fixture, which makes the most sense when the housing is damaged, the distribution is poor, or a remodel changes the ceiling and lighting layout.
| Retrofit Method | Energy Savings | Complexity | Best For |
|---|---|---|---|
| Plug-and-play lamp | Depends on the existing ballast and lamp system | Low installation complexity, high compatibility dependence | Sound fixtures with verified compatible ballasts |
| Ballast bypass lamp | Depends on the direct-wire product and existing fixture | Moderate electrical complexity | Large conversions where ballast maintenance should be eliminated |
| Retrofit kit | More predictable than a tube-only swap | Moderate, with component and optical work | Sound housings needing better distribution and controls |
| Full luminaire replacement | Designed as a complete LED system | Highest material and installation scope | Damaged fixtures, remodels, poor layouts, or demanding visual requirements |
Dedicated-driver products can also support cleaner electrical performance. The federal findings document a 0.90 power factor and less than 20% total harmonic distortion at full output for a tested dedicated-driver solution. Those characteristics matter when the project includes controls, power-quality concerns, or a large number of fixtures on a commercial distribution system.
For a practical overview of retrofit options and fixture applications, property teams can review commercial LED retrofit lighting services. The key is not to select the cheapest method across the entire property. Survey the fixture population first, then assign the method that fits each condition.
Planning Your LED Retrofit Installation
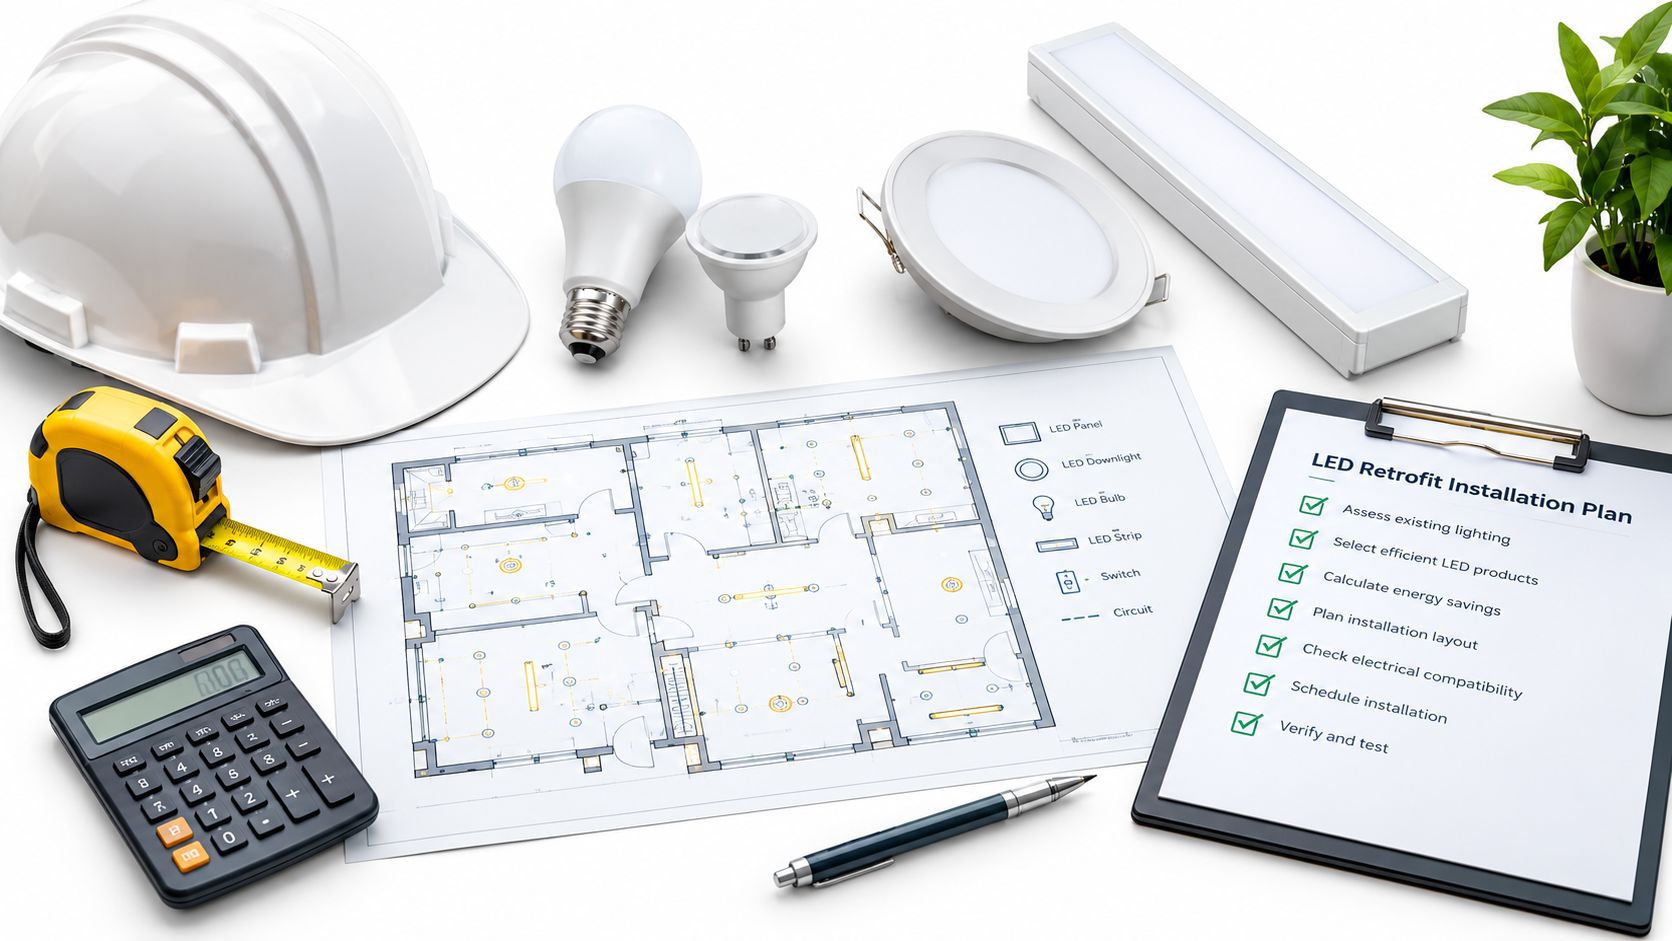
The most expensive retrofit mistakes usually happen before the electrician opens a fixture. A property may contain several generations of troffers, different ballast models, mixed voltage systems, shunted and non-shunted lampholders, and spaces with different lighting requirements. A visual count from the floor won't reveal those differences.
Start with an inventory. Record the fixture type, lamp configuration, ballast model, circuit voltage, control type, ceiling access, lens condition, and any signs of heat damage or corrosion. Photograph representative fixtures, including the ballast label and socket arrangement. If a site includes offices, corridors, garages, retail areas, or common rooms, sample each environment instead of assuming that one fixture represents the whole property.
Pilot before committing
The GSA TLED retrofit findings recommend installing the selected solution in at least four fixtures that match the predominant spacing, such as an 8' x 10' layout, then collecting feedback before full deployment. That pilot should include occupied areas whenever possible.
Check more than whether the lamps turn on:
- Fit: Confirm that lamps, sockets, covers, and reflectors work together without forcing components into place.
- Light levels: Compare the new output with the required task illumination. Lower luminous flux can create an underlit workspace even when the LED product appears bright from below.
- Glare: Look from seated and standing positions, especially in offices with computer screens.
- Color: Verify that the selected color temperature and appearance suit the space and adjacent fixtures.
- Controls: Test dimming, occupancy sensors, timers, and emergency operation rather than assuming compatibility.
- Noise and flicker: Observe the fixture during startup and at controlled output levels.
Put procurement requirements in writing
Product data should include photometric files, driver information, voltage range, dimming compatibility, socket requirements, enclosure limitations, warranty terms, and installation instructions. Don't accept a generic statement that a tube is “compatible with T8.” The ballast model, wiring method, socket type, and fixture geometry still need to match.
Failure-risk language deserves close attention. The GSA guidance cites an example that allowed up to 10% failure within 6,000 hours, and it notes that retrofit lamps may lack strong standardized failure-rate guarantees. That doesn't mean every product will perform poorly. It means the purchasing team should compare the warranty, driver quality, test documentation, and replacement process before approving a large order.
Plan the removal of fluorescent lamps and discarded ballasts before the first fixture is modified. Fluorescent lamps contain mercury, so the contractor and property owner need a lawful handling and disposal process. The closeout package should also identify which fixtures were rewired, what products were installed, and where labels were applied.
Wiring and Installation Steps for LED Retrofits
The installation sequence changes with the selected method, but the safety logic stays consistent. The circuit must be identified, de-energized, verified, and documented before anyone touches the fixture. In a commercial building, a wall switch isn't enough evidence that the wiring is safe.
For a plug-and-play installation, the electrician verifies the ballast model against the lamp manufacturer's compatibility information, inspects the sockets and wiring, installs the LED lamps, and tests startup, dimming, and normal operation. This path avoids rewiring, but it doesn't eliminate ballast failure or compatibility risk.
A ballast bypass conversion is more involved. The ballast is removed or permanently disconnected, line-voltage conductors are routed according to the product wiring diagram, and the sockets are replaced or reconfigured when required. Single-ended and double-ended tubes don't use the same connection arrangement. A shunted socket may be unsuitable for a product that requires separate contacts, so the installer must verify the actual socket configuration rather than relying on the fixture's age or appearance.
A controlled field sequence
- Identify and isolate the circuit. Follow the property's lockout and electrical safety procedures, then verify the absence of voltage at the fixture.
- Remove fluorescent lamps and the cover. Handle lamps carefully and set them aside for proper disposal or recycling.
- Inspect the housing. Look for heat damage, loose metal, corroded sockets, brittle insulation, and missing grounding connections.
- Confirm the conversion method. Don't improvise a bypass wiring arrangement because a supplied diagram is missing.
- Remove or disconnect the ballast when required. Leaving an unused ballast connected creates confusion and may preserve a failure point.
- Install the LED components. Secure the driver, kit, sockets, or fixture parts so nothing can shift during servicing.
- Ground and label the fixture. The label should make the modified wiring and lamp requirements clear to the next technician.
- Restore power and test. Check illumination, flicker, dimming, sensor response, emergency operation, and abnormal heat.
California state procurement guidance emphasizes relabeling every modified fixture because a converted fixture no longer remains compatible with fluorescent operation and can present shock or fire hazards if serviced incorrectly. In the field, that label is not paperwork for its own sake. It prevents a future worker from installing a fluorescent lamp into a direct-wire fixture or assuming the old ballast is still part of the circuit.
A retrofit kit can be a useful middle ground because it keeps a sound housing while replacing the components that create compatibility and optical problems. For smaller recessed fixtures and specialty applications, commercial LED downlight retrofit options may be more appropriate than forcing a linear tube into an unsuitable housing.
The closeout should include circuit identification, product information, fixture counts, test results, photographs of representative wiring, and any control settings. That record reduces troubleshooting time when a tenant reports a dark fixture months later.
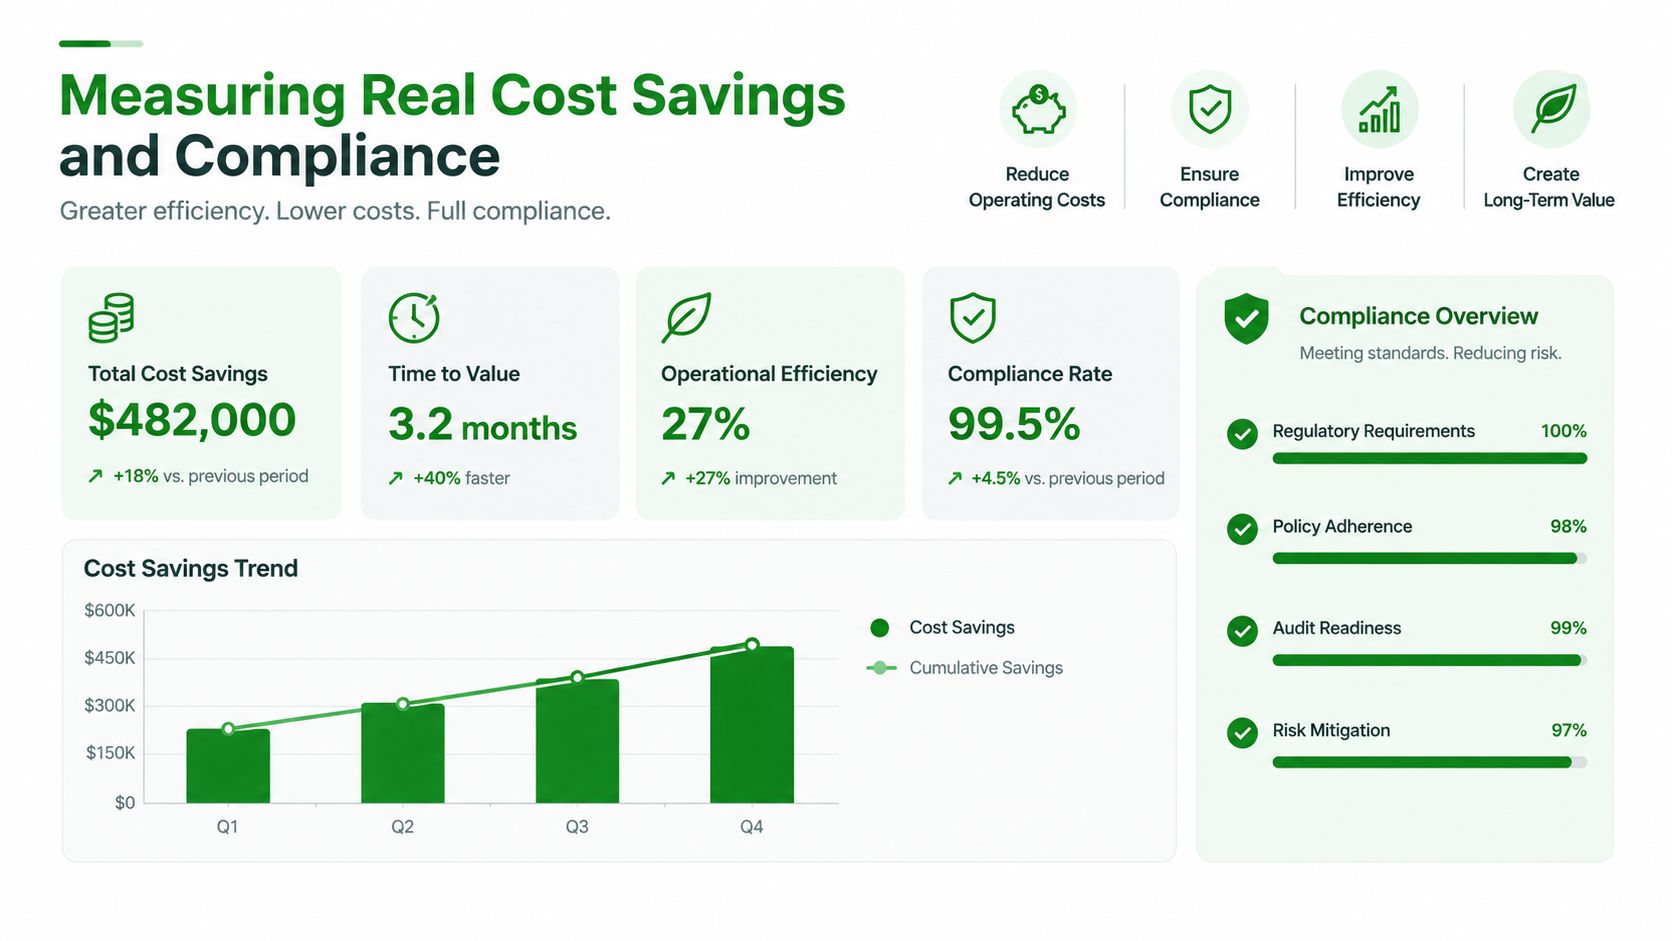
Measuring Real Cost Savings and Compliance
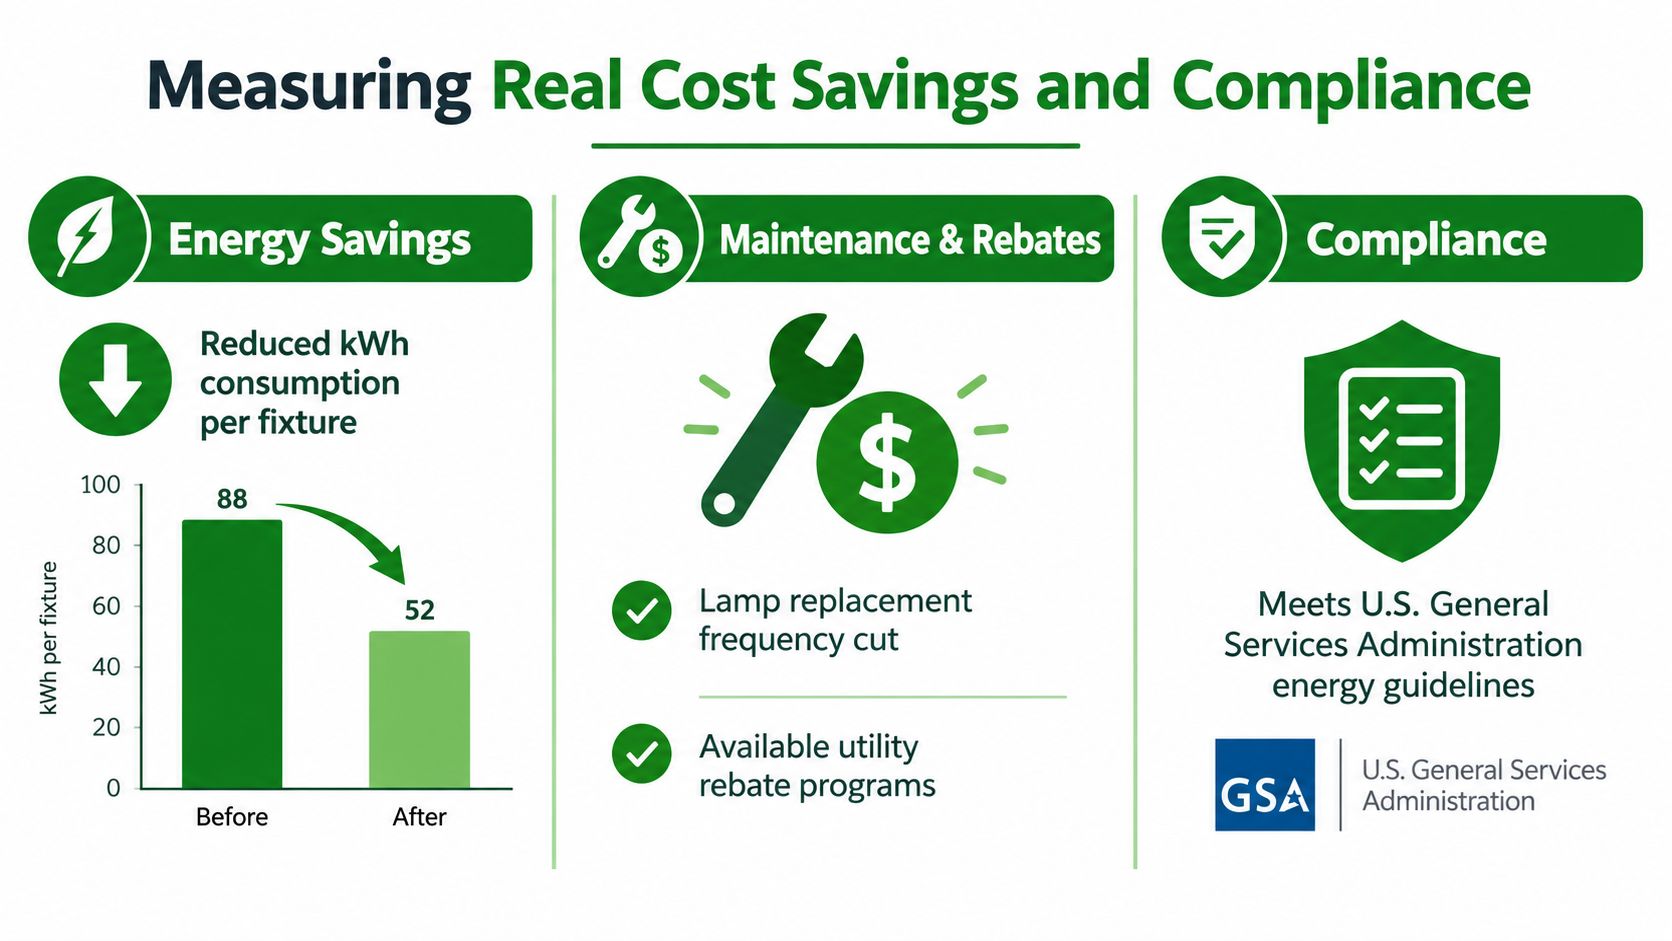
A lower wattage does not automatically produce a lower project cost. A retrofit that creates glare, loses dimming, or generates repeat service calls can erase part of the expected return. Evaluate the work against the property's actual schedules, tenant use, access conditions, and control requirements.
The New Carrollton result combined fixture conversion with controls. Because that scope included both elements, a lamp-only swap should be modelled against a controls-inclusive scenario rather than benchmarked against that 82% figure. Operating hours, fixture density, control schedules, tenant overrides, and lift access can change the result substantially.
The GSA troffer retrofit benchmark cited earlier demonstrates that outcomes vary widely by fixture type, controls, and operating conditions. Use that as context, not as a universal payback promise. A defensible calculation uses verified equipment wattage, actual operating patterns, local utility rates, material costs, labor, disposal, lifts, rewiring, commissioning, and expected service work.
Build the financial record before installation
Capture the existing condition before a crew starts removing lamps or opening fixtures. The record should include:
- Fixture inventory: Count fixtures by type and identify areas with different schedules or light-level requirements.
- Operating profile: Record normal hours, after-hours lighting, sensor behavior, and tenant overrides.
- Electrical baseline: Verify existing fixture wattage in the field instead of relying on a catalog assumption.
- Maintenance history: Review ballast replacements, relamping, lift access, and recurring trouble calls.
- Controls scope: Separate savings from the lamp or fixture conversion from savings produced by occupancy, scheduling, or daylight controls.
- Rebate requirements: Confirm product eligibility, preapproval, inspection rules, and submission deadlines with Southern California Edison or the property's actual utility administrator before ordering.
Track plug-and-play, ballast-bypass, and full-fixture replacement as separate scenarios. Plug-and-play can reduce rewiring labor, but it leaves ballast condition and compatibility in the cost model. Ballast bypass removes ballast failures, while full fixture replacement may provide better optics, controls integration, and warranty support at a higher initial cost. The lowest material price is not necessarily the lowest installed cost.
Compliance is part of the deliverable
California projects need a documentation plan before construction begins. Depending on the scope, that file may include product data, control sequences, electrical diagrams, fixture labels, inspection records, and Title 24 documentation. The applicable path depends on the building, the work area, the controls, and whether the project is part of a tenant improvement. Review the Title 24 lighting requirements and compliance services before the equipment is ordered, not after the inspection is scheduled.
Emergency lighting and exit signs require separate verification. Record functional testing and battery-backup operation where applicable, then retain the results with the closeout documents.
A fixture that illuminates is only an interim result. Closeout follows controls commissioning, accepted light levels, emergency-system testing, installed labels, and delivery of records that a service technician can use.
Keep future service in the decision. A sound retrofit leaves room for controls and uses products that can be sourced, repaired, or replaced without another disruptive rewiring cycle.
Long-Term Maintenance and Future Upgrades
LED conversion reduces routine maintenance, but it does not make a lighting system maintenance-free. Drivers, controls, sensors, emergency batteries, connections, and heat conditions still require attention. Schedule visual inspections, functional testing, documented emergency-lighting checks, and infrared thermography. Thermal scans can identify abnormal heating before it causes an outage or safety event.
Keep retrofit records current. The property file should identify rewired fixtures, installed lamps or drivers, fixture labels, and commissioned control settings. Include the wiring method and lamp type on the fixture label. Years later, a technician should be able to service the fixture without guessing whether it is still ballast-fed or direct-wired.
Newer LED systems can offer meaningful efficiency improvements over early LED products, supporting a phased upgrade strategy instead of a one-time replacement mindset. Incentives may also apply to LED-to-LED upgrades, but verify current program rules before including them in the project budget.
Use this decision checklist:
- Keep the housing when it is structurally sound, serviceable, and suited to the required light distribution.
- Choose ballast bypass when removing ballast failures matters more than minimizing installation labor.
- Use a retrofit kit when the housing is sound but the optical or electrical system needs a coordinated upgrade.
- Replace the fixture when corrosion, damage, poor distribution, or a remodel makes the existing housing a liability.
- Add controls when occupancy patterns and operating schedules can support a later efficiency improvement.
- Document everything so compliance and future service do not depend on memory.
For an Orange County property, judge the retrofit by whether a technician who never saw the project can identify the wiring method, lamp type, and control settings from the fixture label and service records. Review the fixture population, pilot the selected products, verify wiring, test controls, and schedule the next inspection before closing the project.
Access Electrical and Lighting provides commercial LED retrofit installation, lighting maintenance, controls support, emergency lighting testing, infrared inspections, and Title 24 documentation across Orange County and Southern California. If fluorescent fixtures are failing, inconsistent, or difficult to service, contact Access Electrical and Lighting for an assessment based on actual site conditions.