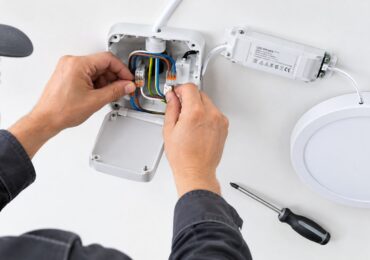
You've probably got the same problem in front of you right now. A retail center has a dark drive aisle, a multifamily owner wants fewer service calls, or a city-style retrofit quote landed on your desk with a pile of cut sheets and not much clarity on what will pass inspection. On a roadway job, the fixture is only part of the job. The work is making the lighting behave correctly on poles, at grade, under code, and in the kind of Southern California weather and maintenance reality that punishes weak submittals.
What LED Roadway Lights Actually Are on a Job Site
A property manager in Orange County usually doesn't call for LED roadway lights because they want a new fixture family. They call because one corner of the site feels unsafe, the loading bay is dim, or the inspector wants the submittal package cleaned up before sign-off. That's where the conversation shifts from “light fixture” to purpose-built roadway luminaire.
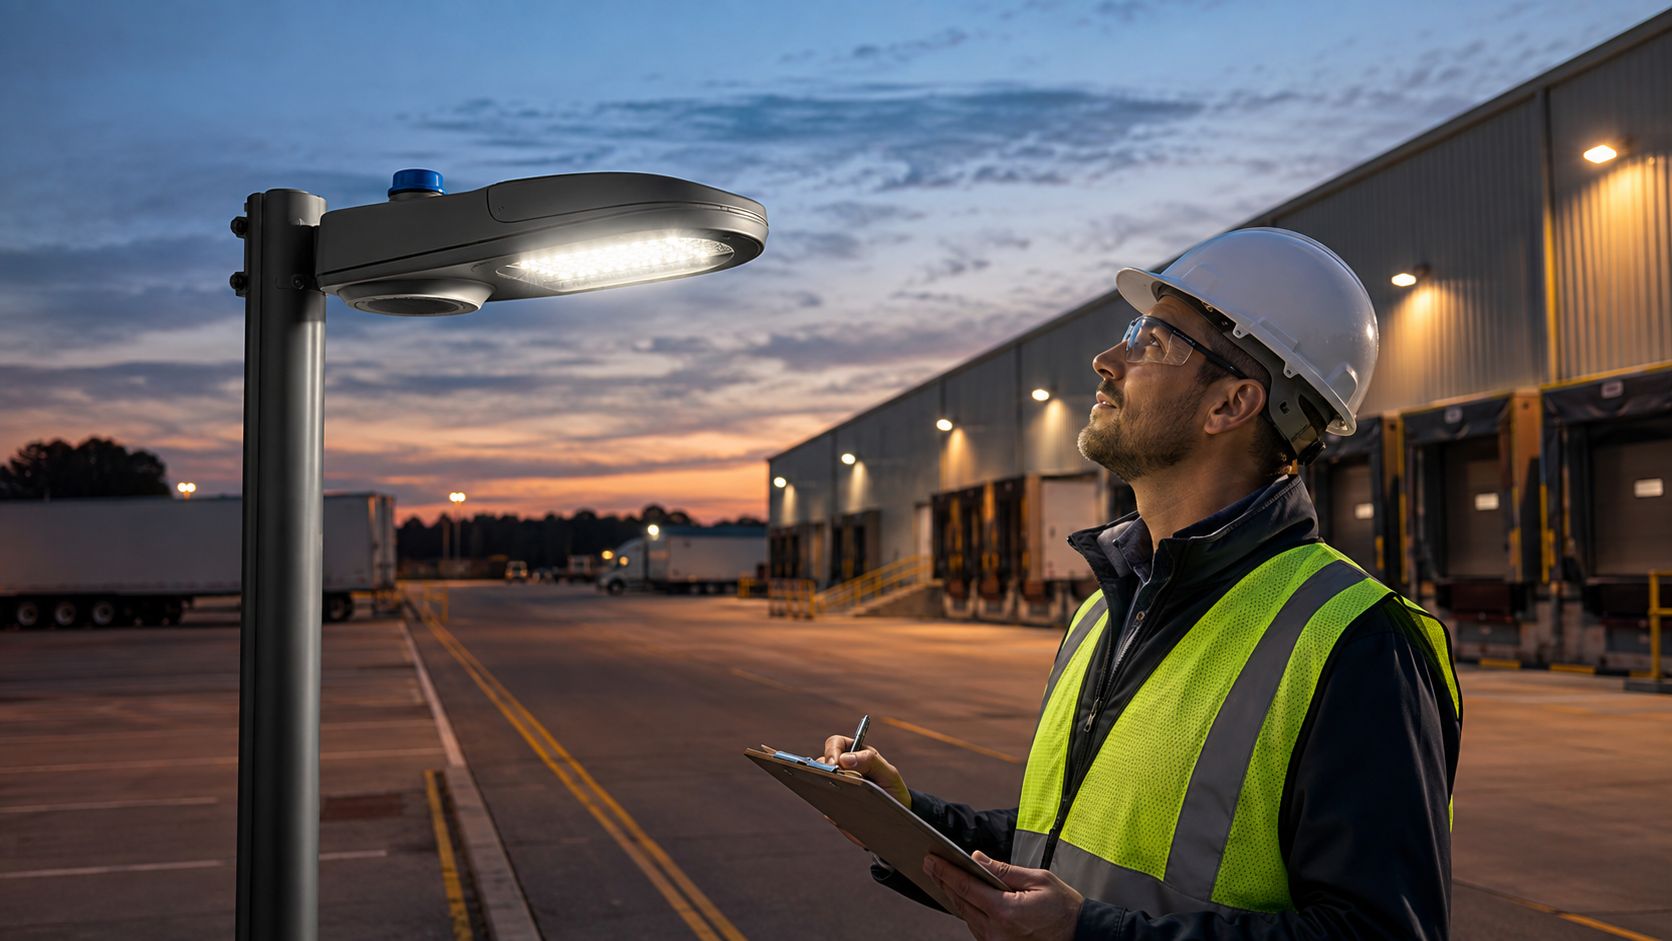
A roadway luminaire is not the same thing as a parking lot fixture or a wall pack. It's designed to throw light where drivers need it, hold that distribution across a pole layout, and avoid wasting output into the sky or across property lines. The practical distinction matters because a clean-looking fixture on paper can still be wrong for the actual pole height, setback, or street width.
What I check first on the submittal
Before anyone orders hardware, the submittal has to answer three questions clearly.
- IES distribution type: The optic has to match the site geometry, not just the wattage.
- BUG rating: If the cut sheet won't show glare and uplight behavior, I treat that as a warning.
- Pole height fit: A fixture that looks strong on a low wall can fail badly on a tall pole.
Roadway lighting is safety work and compliance work. It's also a durability job, because once fixtures are up, the owner expects them to survive years of weather, vibration, and service access. The earliest U.S. milestones make that shift clear, from the first full LED street lighting deployment in Ann Arbor in 2006 to large-scale retrofits in Los Angeles in 2009 and Seattle in 2010 (Stouch Lighting history). That's the point where the category stopped being experimental and became a normal infrastructure upgrade.
For the broader context, electric street lighting has a long history, but the LED version only became practical after the visible LED in 1962 and the blue-LED breakthroughs of the early 1990s made white roadway light workable at scale (Evluma lighting history). That's why today's project is never just “swap the lamp.” It's a complete exterior lighting package that has to work on the site you have.
The Specs That Drive a Real Submittal
The easiest way to waste money on a roadway retrofit is to compare cut sheets by wattage alone. Wattage tells you connected load. It doesn't tell you whether the fixture will survive heat, keep its output, or hold up in the field after the truck is gone.
The numbers that actually matter
A technically solid roadway luminaire is usually defined by a full operating envelope, not one line item. A representative roadway datasheet lists 30 to 180 W input power, 3,900 to 20,700 lumens, up to 125 lm/W efficacy, IP66 ingress protection, IK10 impact resistance, a recommended mounting height of 8 to 12 m, and an ambient range of -30°C to +50°C (Best Light LED datasheet). Those numbers aren't decoration. They tell you whether the housing can handle weather, whether the driver and thermal path can hold up, and whether the fixture belongs on a pole top or just in a spec binder.
Here's the practical reading of the sheet:
- Lumens tell you how much light is being produced.
- Efficacy tells you how efficiently the fixture turns power into useful light.
- CCT tells you the light's visual tone, and in public-sector roadway specs, 4000 K is common in British Columbia's minimum requirements (BC minimum specifications).
- CRI matters when people need to distinguish objects and pavement detail, and the same British Columbia document sets a minimum CRI 70 (BC minimum specifications).
- IP66 and IK10 are not nice-to-haves. They tell you the housing is built for exposed outdoor service and real-world impact.
- Ambient operating range matters more than you might think in Southern California, because a fixture can look great on paper and still struggle when heat builds up around the driver compartment.
Why lifecycle data wins over brochure claims
For public-sector roadway programs, the British Columbia minimum spec also requires 120-277 V, 0-10 V dimming, a minimum 0.90 power factor, and at least 70 lm/W by IES LM-79 test data (BC minimum specifications). Los Angeles County goes further on maintenance engineering, requiring 85% of initial output after 55,000 hours per TM-21-11 and an expected effective life of 15 years, or 63,000 hours, under nighttime operation (BC minimum specifications). That's the kind of spec that matters when you're comparing a cheap import fixture to a better-built one. The cheap one may light the site tonight. The better one is the one that still looks right when the owner stops paying for constant lift access.
If you're comparing roadway gear against parking lot gear, start with the fixture's intended use and optical control, not just a generic product family like the ones discussed in this commercial parking lot lighting fixtures guide. The more disciplined the cut sheet, the easier the field work gets.
Practical rule: If the submittal doesn't give you verified photometry and maintenance data, you're not buying a roadway fixture. You're buying a hope.
Glare, Skyglow, and Why Brighter Is Not Safer
A lot of buyers still equate “more light” with “better safety.” On a roadway, that assumption can cost you visibility. Drivers don't just need more brightness on the pavement. They need a distribution that avoids discomfort glare, doesn't throw light into their eyes, and doesn't waste output above the useful zone.
What the eye actually sees on a road
The U.S. Department of Energy's outdoor area lighting guidance says roadway design should follow IESNA recommendations rather than relying only on average pavement illuminance, because illuminance alone doesn't capture disabling glare that reduces visibility for drivers. It also advises reducing light output in the 70° to 90° vertical range, minimizing output between 90° and 100°, and checking glare under real nighttime mounting conditions (DOE outdoor area lighting guidance). That's why a fixture with huge output can still be the wrong answer if the distribution is sloppy.
The same guidance separates roadway visibility from raw illuminance. That's the field lesson most buyers miss. A brighter fixture can create harder shadows, more spill, and worse visual comfort if the optic is wrong for the pole placement.
How to read distribution without getting fooled
A roadway optic is about where the light lands. Type II, Type III, Type IV, and Type V distributions each push light differently across the street, curb, or intersection geometry. In practice, that means a narrow local drive aisle and a wider arterial edge need different optics, even if the pole spacing looks similar on paper. If the fixture is wrong, the crew ends up compensating with tilt, spacing changes, or a second pass of relayout.
Light above the useful zone is usually a liability, not an asset.
That's where BUG ratings earn their keep. Backlight, uplight, and glare are the practical questions, not just the marketing language around “full cutoff.” If the spec sheet hides those angles, you're probably looking at a fixture that wasn't built with roadway control in mind.
The Colorado DOT warning fits the same field logic. It notes that light aimed above 63° can cause disability glare and should be minimized (DOE outdoor area lighting guidance). For a contractor, that's a reminder to check the photometric file, not the brochure headline. Brighter doesn't automatically mean safer. Correctly controlled does.
Siting, Poles, and the Field Conditions That Decide a Project
Roadway work looks like a lighting job, but on site it behaves like four jobs at once. You're handling photometrics, structure, electrical distribution, and controls. If any one of those is weak, the whole project ages badly.
Start with the pole, not the fixture
I always look at the existing pole inventory first. Steel, aluminum, and composite poles don't behave the same way once you add new fixtures, arm loads, or upgraded hardware. A pole that looked serviceable before the retrofit can become the limiting factor once the fixture changes weight, wind profile, or mounting geometry.
The next issue is base condition. Corrosion at the anchor bolts or base plate is a structural problem, not a lighting problem. If the base is compromised, a “simple” LED replacement turns into a replacement-and-restoration scope.
The site geometry has to be respected
Mounting height and setback decide a lot more than buyers expect. A fixture specified for one pole height can throw too much light too close to the pole or leave dead zones if the height changes. Spacing does the same thing. Over-spacing leads to dark gaps. Under-spacing can create bright nodes and visual discomfort.
Voltage drop matters too, especially on long home-run circuits. A roadway retrofit that ignores circuit length can leave you with uneven performance, nuisance driver issues, or dimmer-than-expected output at the far end of the run. That's why the electrical side has to be checked before anyone signs off on a quantity count.
If the project also includes new pole work, a contractor who understands commercial light pole installation can keep the scope aligned instead of treating the poles like a separate afterthought.
The field checklist I use
- Measure actual mounting height: Don't trust old as-builts if the poles have been altered.
- Confirm arm length and setback: Small differences change the photometric result.
- Inspect pole bases and fasteners: Corrosion changes the risk profile fast.
- Check circuit length and source voltage: Long runs can distort the intended performance.
- Verify access for lifts and trucks: A good design still has to be serviceable.
A roadway project fails quietly when the layout is right on paper but wrong at the pole.
That's the practical reason I treat every roadway job as a field problem first and a fixture selection second. The fixture only works if the site allows it to work.
Title 24 and Code Compliance in California
California projects have a paperwork layer that many out-of-state owners underestimate. If the fixtures are right but the documentation is thin, the job can still stall at final inspection.
What the compliance path really looks like
Title 24 Part 6 is where the owner, contractor, and inspector all have to line up. For roadway-adjacent exterior lighting, the question is not just whether the fixtures are efficient. It's whether the design, controls, and paperwork match the installed condition. That's where acceptance testing and certification become part of the actual build, not an optional closeout task.
The state's Title 24 resources and documentation path are laid out in the Title 24 lighting requirements guide. In practice, the owner needs the submittal package to show the installed fixture data, the controls behavior, and the acceptance record that proves the system does what the plans said it would do.
Where projects get stuck
The field failures are usually unglamorous:
- Missing control schedules: The inspector wants to see the programmed behavior, not a verbal description.
- Incomplete BUG documentation: If the glare and uplight data aren't in the package, the review slows down.
- Photocell override confusion: If the system doesn't respond as the control narrative says it should, the acceptance step becomes a problem.
- No clean as-built record: When the installed fixture differs from the approved cut sheet, someone has to reconcile it before sign-off.
California owners also need to budget the acceptance step itself. That means the contractor should be thinking about the testing sequence, the control logic, and the documentation package from day one. If the property has a C-10 contractor already engaged, that scope can include testing, certification, and the paperwork trail that supports final approval.
Why this matters on a real property
A successful roadway job in California is rarely the one with the cheapest hardware. It's the one that clears inspection without rework and doesn't leave the owner chasing signatures after the crew leaves. For multifamily, retail, and office sites, that's not an administrative detail. It's part of the project cost and part of the schedule.
If the controls are part of the scope, ask for the acceptance records early, not at the end. That's where many projects lose time they didn't plan for.
Retrofit Versus New Install The Honest Trade-Off
Most Southern California owners face one of two choices. They can keep the poles and swap the fixtures, or they can rebuild the system with new poles, bases, conduit, and controls. Both paths work, but they solve different problems.
Retrofit when the structure is still worth keeping
A one-for-one retrofit makes sense when the existing poles are sound, the bases are clean, and the site geometry already works. In that case, you're mainly buying better optics, lower energy use, and less maintenance chasing. The labor is usually the bigger part of the cost because the infrastructure is staying in place.
That's the path I lean toward when the owner has a stable pole field and wants a cleaner operating budget without a full civil scope. It's also the practical choice when utility incentives support the conversion and the old fixtures are the main source of trouble.
New install when the assets have aged out
A full new install is the smarter move when corrosion, repeated outages, bad spill, or structurally questionable poles have already shortened the life of the system. If you're replacing bases, re-pulling wire, or upsizing poles anyway, the project stops being a retrofit. It becomes a proper rebuild.
If the pole is already failing, a better fixture won't save the asset.
That's the part owners often resist. They want the lighting problem solved without touching the structure. Sometimes that works. Sometimes it just delays the inevitable and leaves the owner paying twice.
The decision comes down to asset condition
Think about these questions before choosing the path:
- Are the poles still structurally worth retaining?
- Is the existing conduit and wiring in serviceable shape?
- Does the current layout already meet the site's real coverage needs?
- Would a new pole field reduce service calls over the next maintenance cycle?
Retrofit wins on speed and lower disruption when the infrastructure is good. New install wins when the site has already crossed the line where piecemeal fixes make less sense. That's the honest trade-off, and it's the one I'd rather explain up front than defend after the third service callback.
Controls, Smart Lighting, and the Payback Math
LED efficiency is only part of the savings story. Once the hardware is already efficient, the next gains come from controls, scheduling, and not sending a truck out every time a fixture fails or a lamp ages out.
Build the payback around real operating cost
A simple payback check for roadway lighting should include three things. Energy savings. Avoided maintenance lift access. And the actual project cost. If you leave out lift-truck time or undercount service calls, the math is too optimistic and the owner can tell when reality doesn't match the spreadsheet.
The maintenance side is where lumen retention matters. The Los Angeles County roadway spec requiring 85% of initial output after 55,000 hours and an expected effective life of 15 years, or 63,000 hours, under nighttime use is useful because it ties procurement to a service interval, not just a product brochure (BC minimum specifications). That's the kind of data that helps a property manager decide whether the next maintenance cycle is a relamp, a lens clean, or a deeper retrofit.
Controls are where the new savings live
Photocells are the baseline. After that, significant gains come from dimming, scheduled reduction, and networked control strategies that let the owner cut unnecessary runtime. The British Columbia spec's requirement for 0-10 V dimming and 0.90 power factor is a good example of how public-sector programs think about controllability and utility impact together (BC minimum specifications).
The caution is vendor lock-in. If the controls system depends on one proprietary path for commissioning, replacement, or expansion, the owner may save energy but inherit a long-term service headache. I always ask who can service the system, what happens if one node fails, and whether the lighting schedule can be adjusted without a proprietary technician.
Access Electrical and Lighting is one option for owners who want the lighting, controls, and documentation handled together on a Southern California site, especially where roadway fixtures, pole work, and Title 24 closeout all touch the same project.
Maintenance, Inspections, and Your Local Next Steps
The best roadway project isn't done at commissioning. It's done when the owner has a maintenance rhythm that prevents small issues from turning into pole failures, outage complaints, or failed inspections later.
Put the maintenance calendar in place
Start with visual checks. Poles, bases, arms, and fixtures should be looked at regularly for corrosion, water ingress, tilt, or damaged hardware. Then add infrared scans of feeds and panels so hot spots show up before they become outages or fire risk. Access Electrical and Lighting uses infrared thermography for non-invasive diagnostics, which is especially useful when you want evidence before you open up a panel or schedule corrective work.
Pole integrity inspections matter just as much as electrical testing. A lighting system can look fine from the ground while the anchor hardware or base condition is getting worse. Group maintenance decisions should follow actual fixture condition and lumen retention, not just calendar habit.
Questions to bring to a Southern California contractor
- Can you review the pole condition and not just the fixture count?
- Will you provide IR inspection records for the electrical gear?
- Do you handle Title 24 testing and documentation as part of closeout?
- Can the crew manage lifts, outages, and after-hours work if the site can't shut down?
- Will the proposal separate retrofit work from structural replacement if the poles are tired?
For Orange County and nearby Southern California properties, the right next step is usually a site walk, a pole and circuit assessment, and a submittal review before anyone orders material. That keeps the project tight, reduces disruption, and avoids the common mistake of buying fixtures before confirming the field conditions they have to live in.
If you're ready to compare a retrofit against a full replacement, get the pole condition checked, the photometry reviewed, and the paperwork path mapped before the crews show up. That's the fastest way to turn a rough lighting problem into a scoped project with a clean closeout.
If you want a contractor who can handle roadway LED retrofits, pole integrity, infrared diagnostics, and Title 24 documentation on a Southern California site, visit Access Electrical and Lighting and ask for a field review. We can help you sort out whether your project needs a retrofit, a rebuild, or a compliance-ready closeout package that won't get stuck at final inspection.