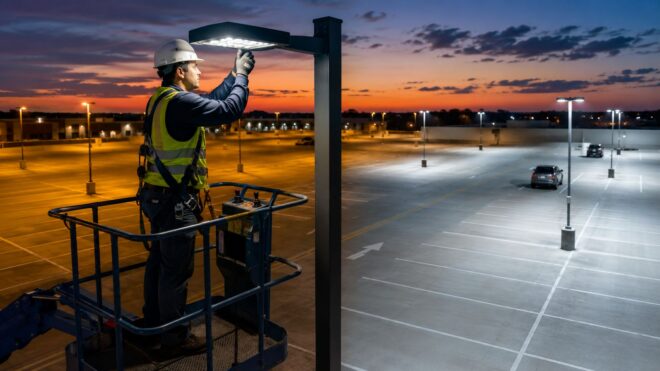
At 10 p.m., a property manager rolls past a commercial lot and sees the same problems that keep generating work orders: dark patches between poles, harsh glare at the drive aisle, and fixtures that seem to consume power without putting light where people walk. The lot may be technically illuminated, but it doesn't feel controlled, even, or dependable.
A properly planned LED retrofit for parking lot lights isn't just a lamp replacement. It combines three decisions: which fixtures to install, how those fixtures will respond to occupancy and schedules, and what documentation will prove the system was installed and tested correctly. A cheap fixture swap can reduce wattage while leaving bad aiming, excessive light spill, and all-night operation untouched.
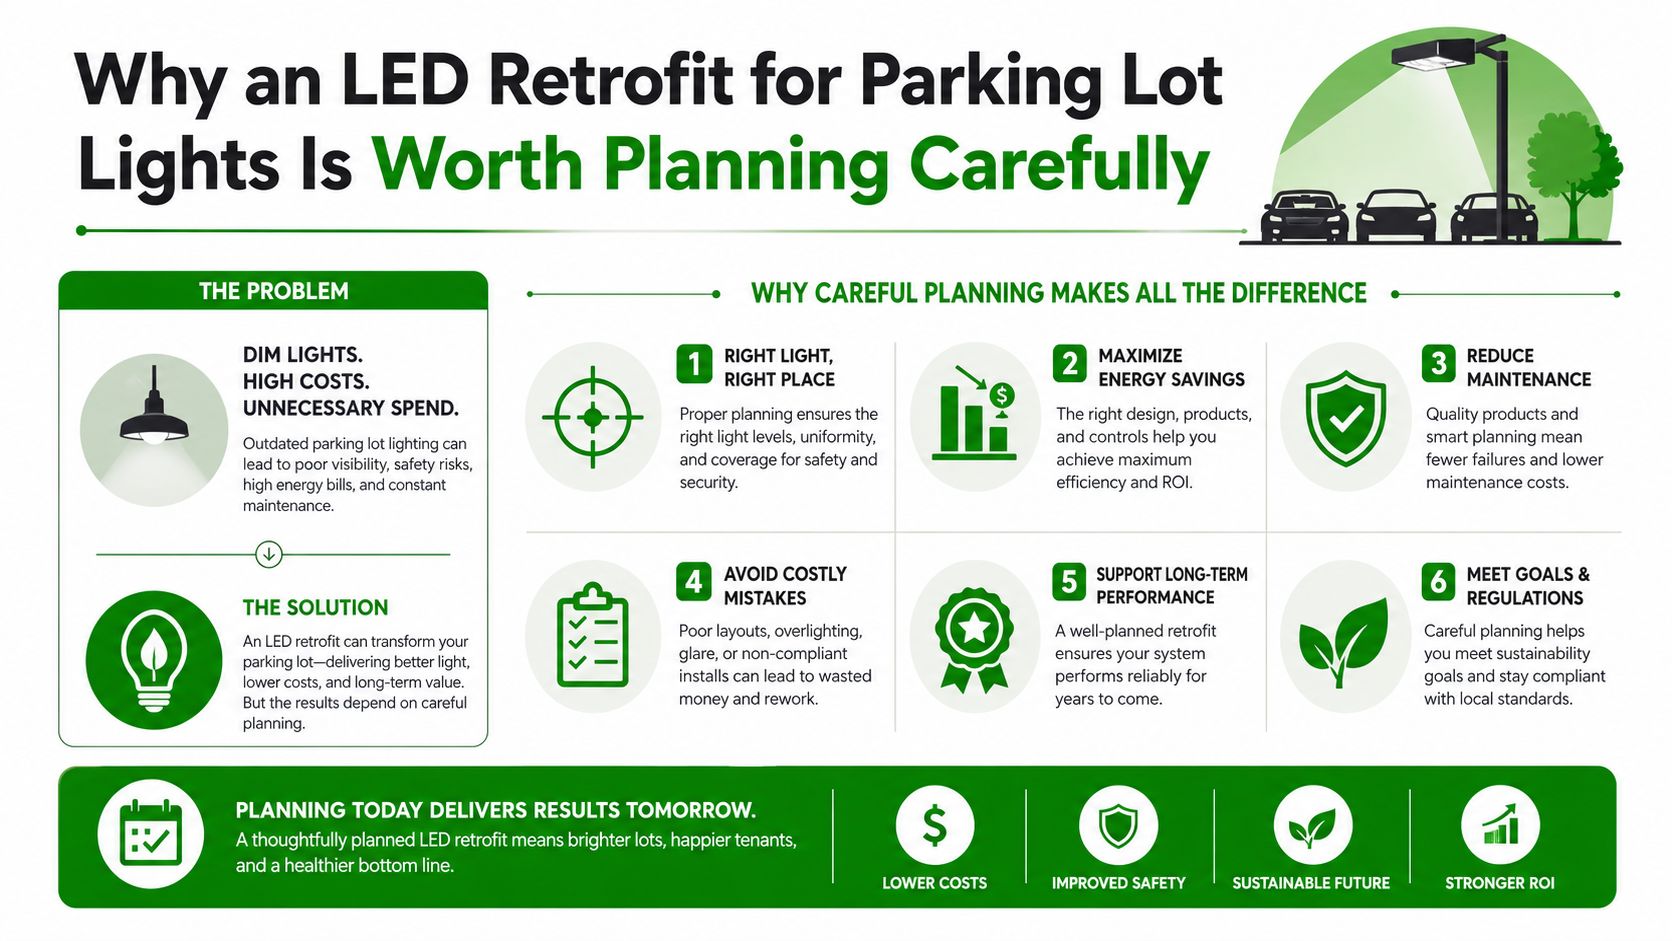
Why an LED Retrofit for Parking Lot Lights Is Worth Planning Carefully
The strongest reason to plan carefully is that the retrofit window gives you access to equipment that normally gets ignored. Once a lift is on site, crews can correct fixture orientation, inspect pole connections, verify circuits, and install controls without treating each task as a separate emergency. If the project only replaces lamps, those opportunities usually disappear until the next outage or complaint.
LED adoption has already changed the economics of parking lighting. A U.S. Department of Energy analysis found that parking-lot lighting energy consumption fell about 21%, from 436 tBtu to 344 tBtu, between 2016 and 2018, as LED use increased, while parking-garage applications fell 22%, from 278 tBtu to 216 tBtu over the same period. The analysis estimated that LEDs could provide 20% to 60% additional savings, depending on the application and operating conditions. The DOE analysis shows why LED is now the normal starting point, not the end of the conversation.
Three decisions belong in one scope
Energy means selecting an efficient fixture and reducing unnecessary operating hours. Light quality means controlling glare, color temperature, distribution, and spill beyond the property line. Code means verifying required controls, emergency conditions, and closeout records before the contractor leaves.
Practical rule: Don't approve a fixture schedule until the proposal explains the control strategy and the verification documents that come with it.
That rule separates a durable retrofit from a product sale. The contractor should show what changes at the pole, what changes at the panel or control system, and how the finished installation will be measured. If those items aren't connected in the quote, the property may receive better hardware without receiving the full operating benefit.
Auditing Your Parking Lot Before Anyone Touches a Fixture
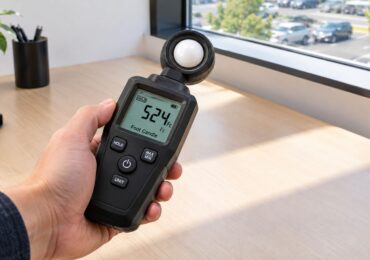
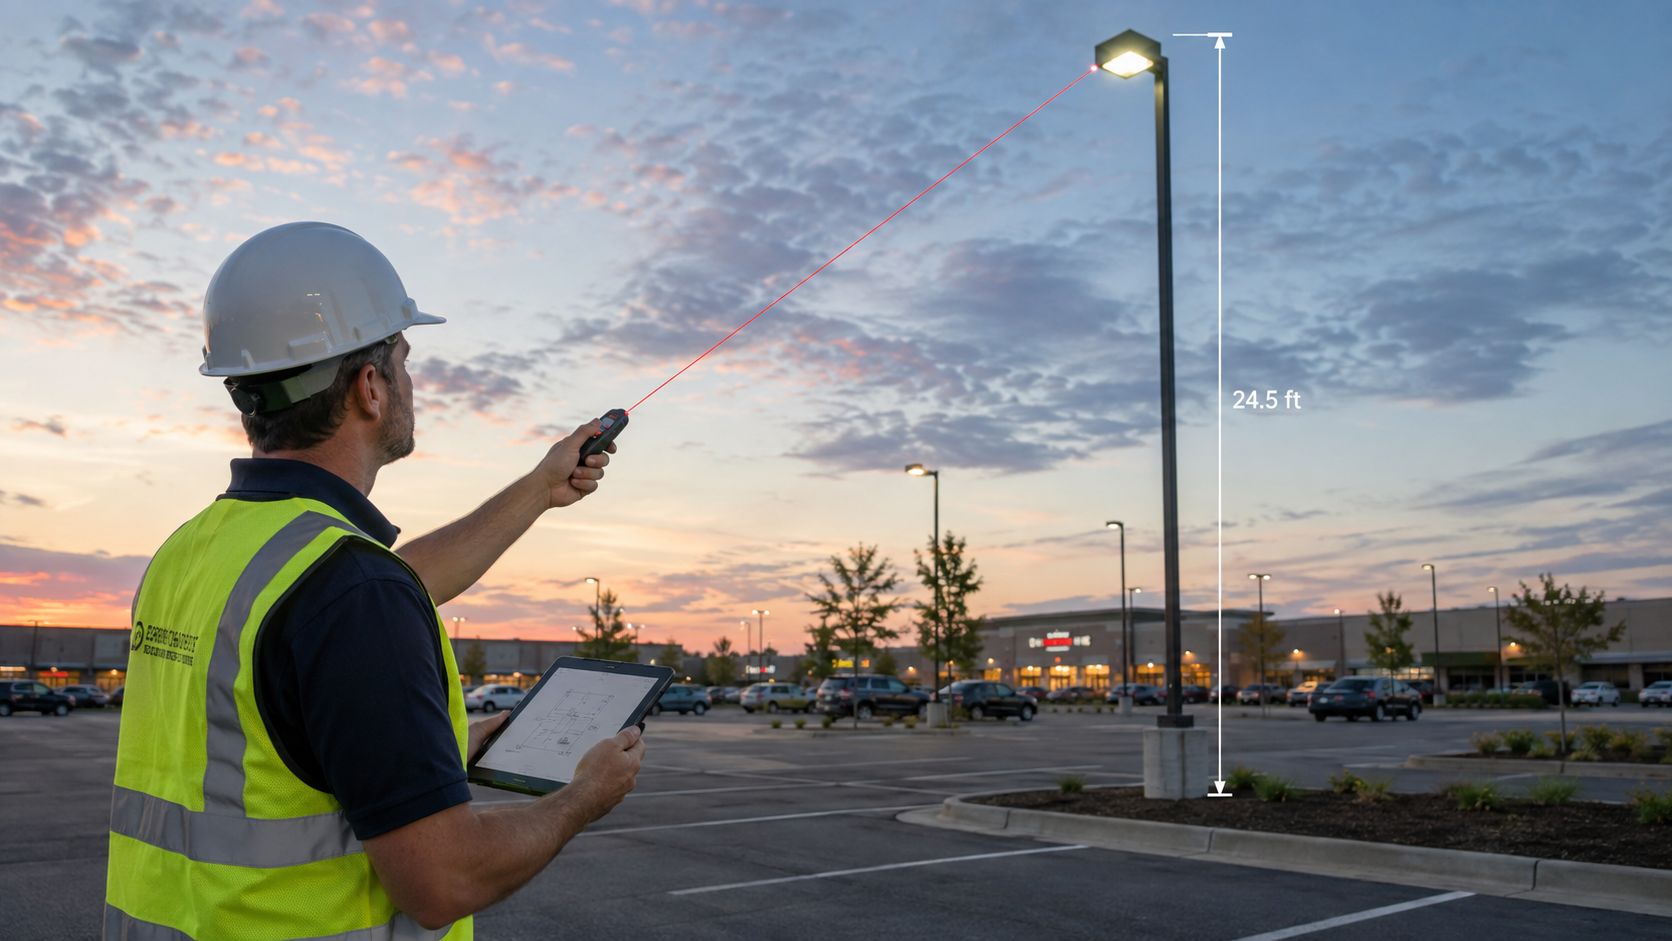
A good audit starts at the property, not in a catalog. Walk the lot around dusk, when existing light levels begin to matter and the eye can reveal dark transitions that a daytime inspection misses. Bring a clipboard, site plan, light meter if available, camera, and a way to record pole and circuit information.
Record the existing system
Begin pole by pole. Capture the following information:
- Pole identification: Number each pole and photograph its location from a consistent direction.
- Mounting conditions: Record approximate mounting height, bracket type, fixture orientation, and signs of corrosion or movement.
- Existing equipment: Note lamp technology, fixture wattage, ballast or driver condition, lens damage, and visible heat damage.
- Electrical details: Photograph panel labels, disconnects, junction boxes, handholes, and conduit entries. Record which fixtures appear to share each circuit.
- Operating pattern: Confirm when the lights turn on, when they turn off, and whether schedules change by season or operating activity.
The audit should also capture light levels at representative locations, including parking spaces, pedestrian routes, entrances, drive aisles, and the curb or property edge. Don't measure only directly below a fixture. The spaces between poles are where poor distribution and weak uniformity become obvious.
Photograph the problems a quote can hide
Look for tilted heads, blocked optics, tree growth, dark pedestrian routes, and light directed toward apartments or neighboring streets. Photograph pole bases closely. A fixture upgrade doesn't fix a pole that has an unstable base, damaged handhole, or deteriorated anchor connection.
Check stair towers, accessible paths, building exits, and emergency egress routes separately. Those areas may have requirements that don't match ordinary parking-area lighting, and a contractor needs to identify them before proposing occupancy dimming.
A one-hour dusk walk catches problems that a desktop fixture schedule can't see.
Have the contractor sign off on the audit before pricing is final. The record should include the existing wattage, approximate runtime, pole conditions, circuit map, measured observations, and a list of exclusions. That gives the design team something better than a fixture count and protects the owner from discovering site conditions after the lift is already mobilized.
Fixture Selection and Why Controls Change the Math
A fixture should never be selected independently from its control method. The right question isn't, “What LED replaces this HID?” It's, “What light level does this area need when occupied, what level is appropriate when it's quiet, and how will the system transition between those states?”
The documented savings make the distinction clear. In a Pacific Northwest National Laboratory project, a combined 495 W of high-pressure sodium and 470 W of metal halide was replaced with LED equipment. The high operating state dropped to 234 W, a 57% reduction, while the low state dropped to 74 W, an 86% reduction. Across a year, the system saved 34,767 kWh, or 73% compared with the original system, as reported in the PNNL parking lighting primer.
Compare the operating concepts
| Approach | Typical Operating Wattage | Annual Energy Savings | Notes |
|---|---|---|---|
| Fixture swap only | New LED fixture wattage | Depends on the existing system and runtime | Light generally operates on the existing schedule |
| Fixture plus controls | Full output when needed, reduced output during low activity | The PNNL example averaged 73% against the original system | Requires sensor placement, zoning, commissioning, and documented settings |
A straight swap can make sense where the lot stays busy, security policy requires constant output, or the existing control system already manages operating hours well. It isn't automatically a poor choice. The mistake is treating controls as an accessory when the property has predictable quiet periods.
Match the fixture to the control narrative
Specify distribution first. A pole near a property line may need a shielded forward-throw optic. A central pole may need a broad distribution. A fixture that looks efficient on a datasheet can create dark gaps if its beam pattern doesn't match mounting height and spacing.
Then decide how occupancy will work:
- Dim-to-low: Useful where the lot needs a visible baseline but sees intermittent activity.
- Dim-to-off: Appropriate only where darkness during vacancy is acceptable and detection coverage is reliable.
- Zone response: Better for larger lots, where a moving vehicle or pedestrian should raise nearby fixtures without waking the entire site.
- Scheduled reduction: Useful when operating hours are predictable, even without occupancy sensors.
The PNNL example supports specifying the fixture and control package together. Federal examples also show that some projects can reach 85% savings, while another federal parking-lighting program cited about 70 million kWh and $7 million in annual electricity savings across 200 million square feet, with average payback under 6 years. Those figures come from the LED parking lighting primer, and they shouldn't be copied into a proposal without site-specific modeling.
For fixture options and application details, review commercial parking lot lighting fixtures alongside the audit. The bill of materials should identify wattage, optic, shielding, mounting adapter, sensor, control zone, dimming protocol, and replacement access.
Title 24 Compliance and Acceptance Testing in California
A parking lot can be fully lit and still fail review if the controls, schedules, and records do not match the approved design. California requirements may apply to outdoor lighting controls, automatic shutoff or reduction, operating schedules, and documentation. Confirm the applicable code edition and project requirements during design, not at inspection.
Make the compliance file part of the design
Require a submittal package that names the fixture models, wattages, photometric files, mounting details, control components, and sequence of operation. The control narrative should describe normal hours, reduced output, vacancy, detection, manual override, and power restoration.
Treat the fixture and controls as one compliance decision. A fixture that meets the photometric plan can still create a problem if its sensor, dimming method, or control zone cannot deliver the approved operation.
Assign responsibility for the compliance forms before the proposal is signed. California projects commonly require certification and acceptance records identifying the tested equipment and confirming that required functions operate as designed. Facility teams can use this Title 24 lighting requirements guide to frame those questions with the contractor.
Acceptance testing follows final programming
Testing belongs after installation, programming, and aiming are complete. The certifier or responsible testing professional needs access to the controls, panels, sensors, schedules, and the relevant portions of the property. Test the installed system under actual conditions, rather than relying on the intended sequence in the submittal.
Record the results for each function:
- Automatic scheduling: Verify the system follows the approved operating schedule.
- Occupancy response: Trigger sensors from the paths used by pedestrians and vehicles.
- Dimming behavior: Confirm the fixtures reach their specified high and low states without flicker or nuisance cycling.
- Manual controls: Check authorized overrides, time limits, and return to automatic operation.
- Zone assignment: Confirm activity in one area does not produce an unintended site-wide response.
- Records: Capture final settings, test results, fixture schedules, and responsible signatures.
Keep approved plans, equipment cutsheets, control diagrams, acceptance forms, commissioning notes, and warranty information together. A facility manager should be able to understand the system without rebuilding it from invoices and photographs. If construction changes the approved design, mark the final condition and update the closeout documents before turnover.
Installation Night and Commissioning Without Callbacks
At dusk, a retrofit can look finished from the pavement while a loose tenon, reversed dimming pair, or wrong sensor zone waits to create a callback. Installation night protects the design through disciplined staging, verification, and commissioning. A boom truck in the wrong position can add hours, and an unverified bracket can leave a fixture aimed several degrees away from the photometric plan.
Before removal, confirm traffic protection, the work area, lockout procedure, lift access, and replacement hardware. Match every fixture to the pole schedule. Inspect each mounting adapter and verify its fit on the existing tenon or arm. A loose or damaged pole stops the work. Document the condition instead of forcing the installation.
Once the old equipment is down, inspect conductors, connectors, junction boxes, and grounding points. Make new terminations weather-resistant and mechanically secure. Label circuits as the crew progresses, particularly where one panel serves multiple zones or buildings.
Commissioning should proceed by zone, with the crew proving each function before moving on. Energize the circuit and confirm voltage, phase identification where applicable, grounding, and breaker labeling. Check fixture output, driver status, dimming response, and orientation. Verify 0-10 V polarity and control connections before connecting the next zone.
Then test the installed behavior, not just the wiring. Walk and drive through the intended detection area to confirm the correct fixtures respond. Wait through the programmed timeout and verify the fixtures return to the specified low state. Photograph controller screens or record final values in the daily report. Compare fixture orientation with the approved photometric layout, using the plan rather than a quick glance from the lift.
Commissioning rule: If the crew can't demonstrate every control zone before the lift leaves, the project isn't finished.
The recurring callback sources are practical: reversed dimming polarity, drivers installed in an unapproved orientation, loose photocell connections, incorrect sensor zones, and pole-base hardware without clear torque verification. Require a closeout report listing each pole, fixture model, circuit, control zone, observed issue, correction, and final status. This record gives the facility team a usable handoff and makes unresolved work visible before the crew leaves.
Light Quality, Glare, and Why a Brighter Lot Can Still Be the Wrong Lot
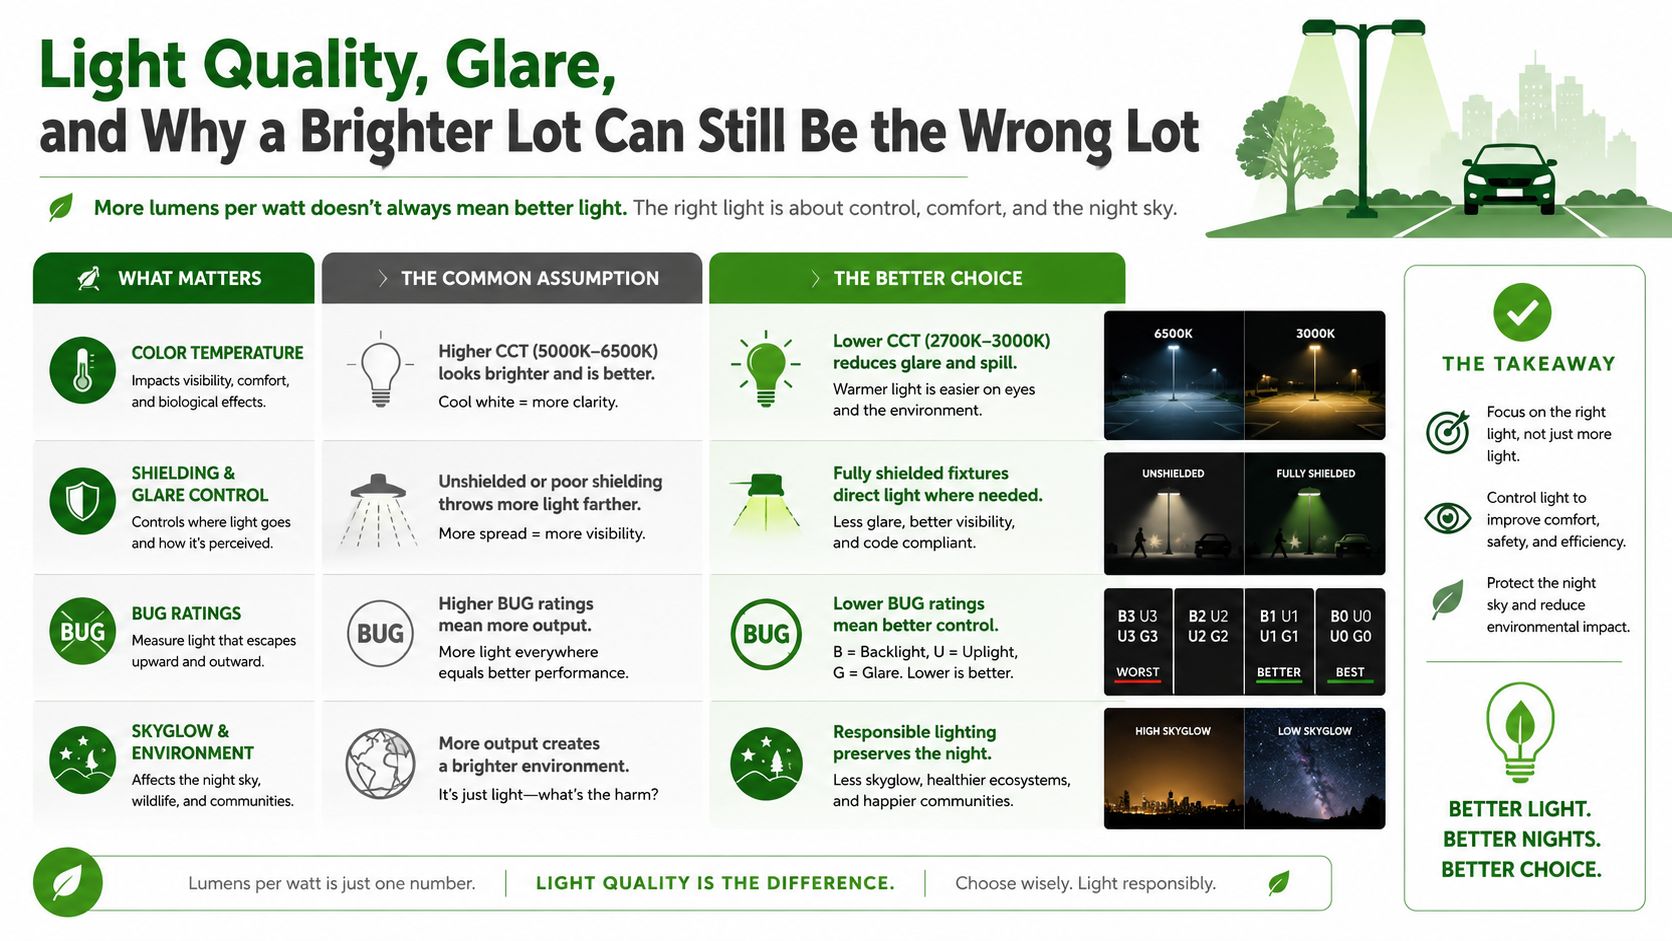
At dusk, a parking lot can look impressively bright from the drive aisle and still perform poorly at the property edge. Glare in a windshield, light through a bedroom window, and dark pockets between poles create complaints and safety concerns. The fixture, optic, mounting height, and controls must work together. A lamp swap that increases output without addressing those conditions misses the larger retrofit opportunity.
Start with the photometric plan, not the product lumen rating. Review the property boundary, nearby residences, roadways, pedestrian paths, loading areas, and building façades. Look for high-angle light and confirm whether shielding or a different optic can control spill without leaving the curb or walkway too dark. Ask the designer to show the effect of the proposed fixture at the edges, not only the average levels in the parking stalls.
Color temperature also affects the decision. A 2025 outdoor-lighting research report states that 3000K LEDs can produce roughly 50% more skyglow than HPS at the same lumen output. It identifies lower CCT, shielding, and adaptive controls as methods for keeping light directed toward the task area. The PNNL outdoor-lighting report reinforces the practical point: fixture efficiency does not by itself make an installation responsible.
Specify comfort and control behavior with the fixture. The proposal should identify:
- CCT: Choose a color temperature that fits the property, neighbors, and local requirements.
- Shielding: Use shields or cutoff optics where pole locations expose drivers or adjacent properties.
- BUG classification: Review uplight, backlight, and glare, rather than wattage alone.
- Uniformity: Inspect the darkest spaces, not just the calculated average.
- Aiming tolerance: State how fixtures will be aligned and checked after installation.
- Controls: Define high, low, and off states, schedules, and sensor response in the same design review.
A brighter lot can feel less comfortable when glare and contrast make people look away from the source. The stronger retrofit balances visibility, uniformity, spill control, and nighttime behavior, with the controls package specified as part of the lighting decision rather than added after the fixtures are chosen.
Maintaining the Savings and Keeping Documentation Inspection-Ready
The retrofit doesn't end when the lift is gone. A control system can drift through programming changes, sensors can become blocked by landscaping, and a fixture can move after contact with a vehicle or pole work. Maintenance protects the original three decisions: energy performance, light quality, and compliance.
Use a practical 12-month routine
During the first month, walk the site at night and compare the installed result with the commissioning record. Confirm that no zone remains at full output unnecessarily, that sensors detect expected movement, and that residents, tenants, or drivers aren't reporting glare.
At the next scheduled service visit, inspect pole bases, handholes, brackets, gaskets, lenses, and electrical connections. Check for vegetation growth that blocks sensors or changes the intended photometric pattern. If a fixture has shifted, correct the aiming and update the record.
A useful annual routine includes:
- Control review: Verify schedules, firmware or software status, sensor settings, and manual overrides.
- Fixture inspection: Check drivers, lenses, mounting hardware, and signs of water entry.
- Light-level review: Recheck representative areas after major site changes.
- Complaint log: Record location, time, weather, fixture number, and corrective action.
- Document update: Preserve the final fixture schedule, control narrative, acceptance forms, and service history.
LED systems don't require traditional group relamping in the same way as older lamp-based equipment, but they still need driver and connection planning. Keep manufacturer information and warranty records with the property file, and record any replacement part by pole and fixture location.
For broader electrical condition records, use a documented electrical inspection report format that lets the next facility manager understand what was inspected and what remains outstanding. The file should survive a property sale, staff turnover, and the next inspection without forcing anyone to start over.
Access Electrical and Lighting provides commercial parking-lot and garage LED retrofit installation, lighting controls, Title 24 testing and documentation, high-reach boom truck service, and ongoing electrical maintenance across Southern California. Visit Access Electrical and Lighting to request a site audit that evaluates fixtures, controls, aiming, and closeout requirements as one project.